|
|||||||||||||||
|
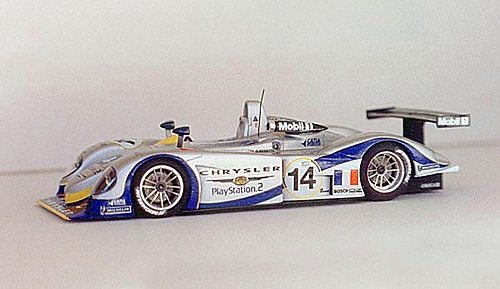
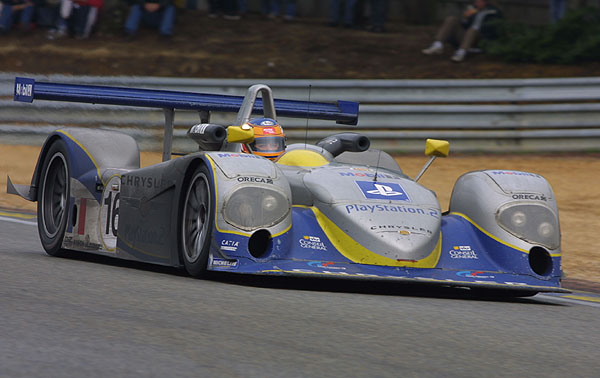
Editor note: We have featured an extensive review of this model , if you want to read it as complement of this article, click the following link Chrysler Le Mans Prototype (LMP) 2001 Even though there were not too many teams challenging for victory in the 2001 LeMans, a diversity of manufactures always makes the race more interesting. For that reason, I chose the Chrysler LMP kit as the first of what was available to build.
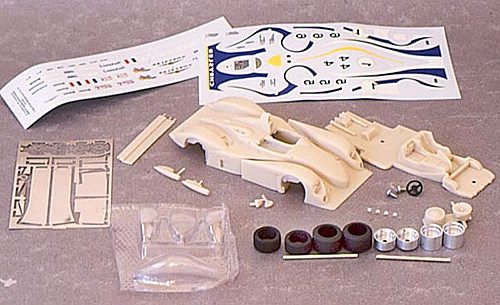
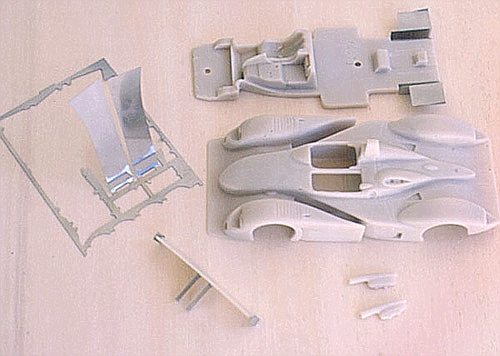
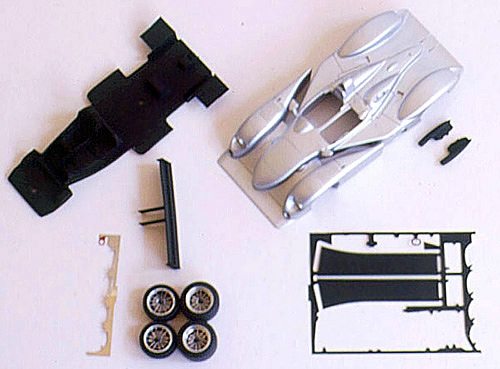
There should be resin wheel inserts to place behind the photoetched wheel spokes. Other than that issue, everything was fine. Beginning
I also drill out antenna and mirror holes now. Even if they close up during painting, redrilling later will go much easier. Cleaning / Painting
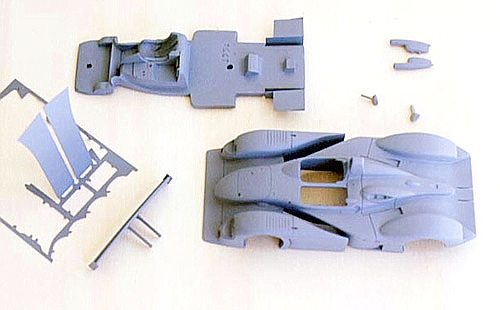
The area between the fender and body did need some extra attention. After another coat of primer I moved on to the color coats. Chassis
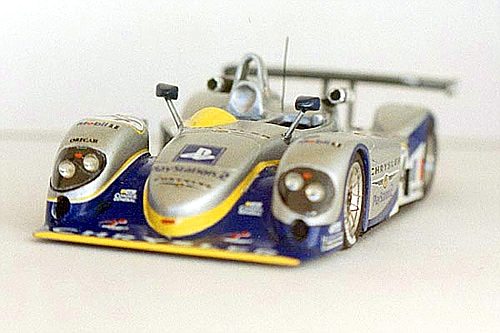
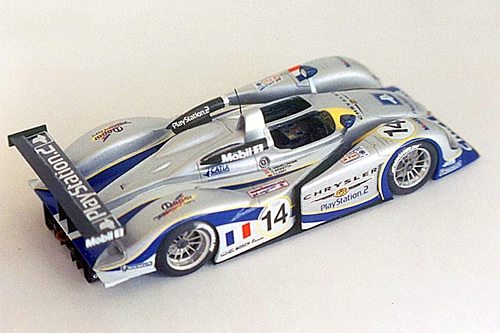
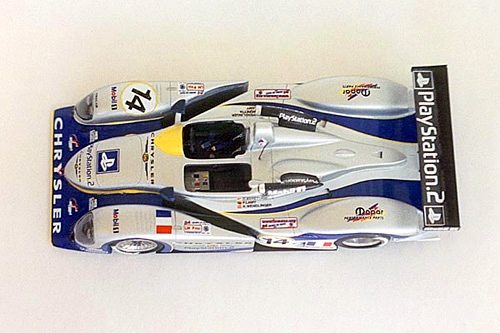
The wheels were also assembled at this time. I solved my little missing insert problem by using some extra brakes left over from a Renaissance kit. I was lucky that the size was perfect for the Provence Moulage wheels. The brakes were attached to a tube cut to the length that the photoetched wheel spokes would attach to. Then I place the brakes on the tube, a rod inside the tube that sticks out a little further that I can place a wheel nut left over from another kit. This looks much better than the insert would have, but that was my only set of extra brakes. If it happens again, I'll need to find another substitute for brakes. Interior While the body is being painted, drying and decaled then clear coated, I start working on the cockpit section. This is where reference material really helps. Unfortunately, I didn't have much. To show surface changes, I painted the seat, a very dark gray. Some decals are supplied for the interior. They were added. But other than that and the seatbelts, there is not much else to detail on the inside. At the back, I replaced the cast exhausts with metal tubing that I wash over with various colors to show wear. I do this because I think that exhausts should be hollow and also since it is easier to paint the washes on metal to get the correct effect. Exterior The decals went on without too much trouble even though much of the car is covered with them. The fit was quite good. I noticed on the instruction sheet that Provence Moulage didn't sink the big decal on the engine cover down in the NACA ducts. I did this as best as I could. It does start to twist the decal around a little bit, though. The biggest challenge at the front is keeping them symmetrical while not having any gaps. The decals reacted well with Micro Sol to help sit on the body and form to all the curves. Afterwards, I clear coated with the Tamiya clear acrylic. I did two coats of clear. This paint doesn't appear overly shiny, which I like. I don't like thick coats of clear. Makes it look toy-like to
|
|||||||||||||||