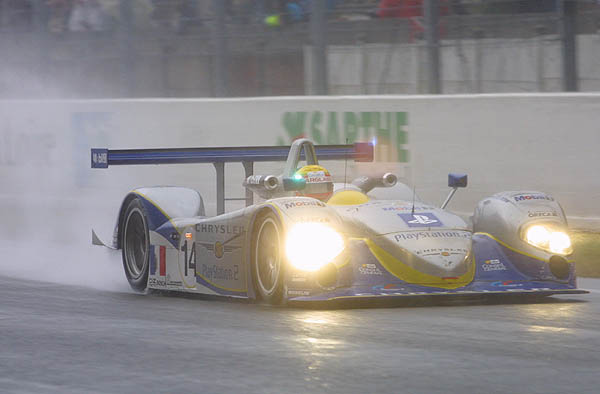
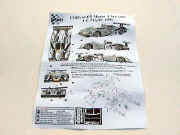
Considered a Dark Horse for Le Mans, the Dallara designed Chrysler LMP 2001, with a stressed engine, showed its prowess by placing a remarkable 4th overall. Accolades to Provence Moulage for finely producing another round of current year Le Mans race car kits ...and I hope that includes the Bentley too.
Presentation
My kit arrived in typical Provence Moulage packaging: the resin body and chassis blanketed in bubble wrap; the two decals sheets with their protected covers facing down at bottom of the box. Placed above the decals is the photo-etched sheet. A zip lock plastic bag holds all the other loose parts.
The clear vacuform parts sit separately in the box and encapsulating all these goodies in the box is the single page instruction sheet. The box is clearly labeled identifying it contents.
The Kit Components
I have built a few Provence Moulage kits and a couple of them have been the Le Mans cars. For those who are familiar with PM, there are no surprises with this kit. For those who are thinking about building their first 1/43 kit and are deciding on which one to do, I highly recommend starting with this kit or any later model PM Le Mans kit.
|
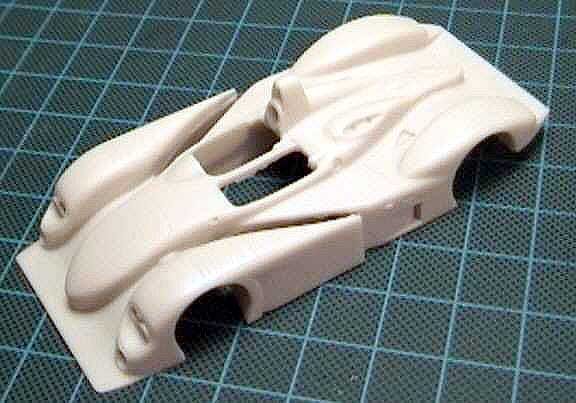
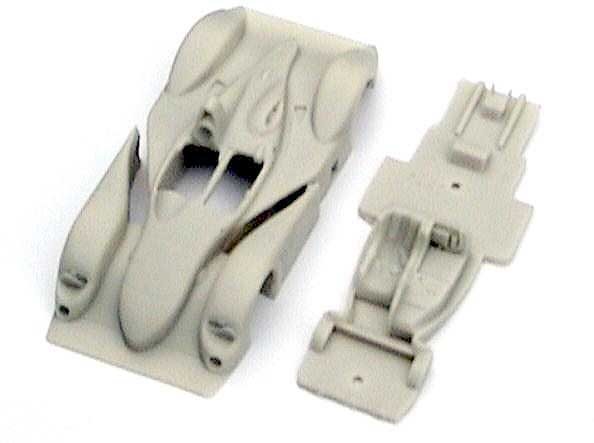
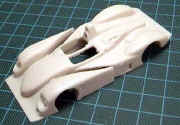
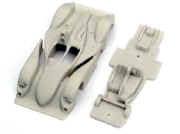
Body and chassis are cast in resin with flash located in the traditional places: fender wells, around the cockpit opening, and for this subject, the fender farings. Flash on the chassis is minimal and is mainly around the edges. The detail and engraving on the body and chassis is typical PM: sharp and crisp. However, if you are applying enamel paint the panel lines will have to be scribed deeper to retain their presence. Cockpit details are molded integral to the chassis and also inside of the body. The steering wheel, rear air scoops, rear view mirrors, and wing are finely cast in resin. I did not see any air holes in the resin. An enjoyable short session with the No 11, Flexi-grit, needle and foam files, will clean these parts up very nicely. I predict that a Milliput session for this kit is not required (translated, no filling required).
|
|
|
|
Though I did not take measurements, the shape of the body looks right when compared to the pictures I have seen of the real car.
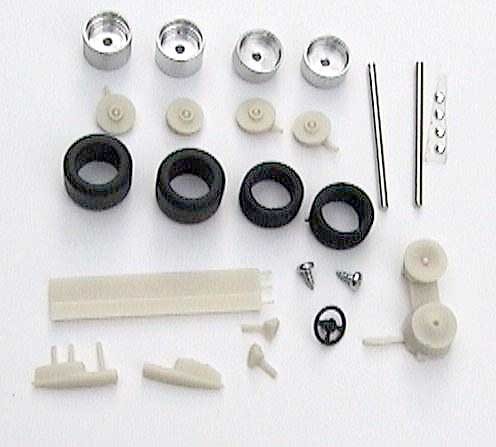
Each wheel is a five-piece affair: rubber tire, turned rim, resin hub, photo-etch insert, and tire decal. PM supplies a special jig with the kit that bends the photo-etch inserts to shape. From experience, these wheels will set the car apart once assembled.
|

|
I don't anticipate any problems...
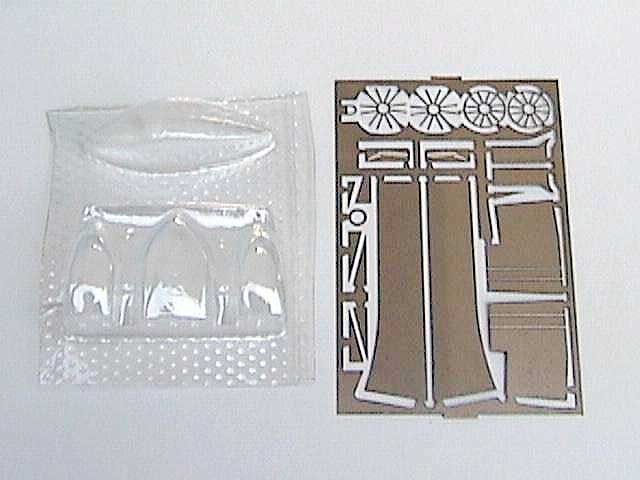
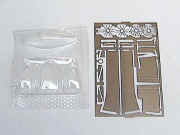
The headlights are realistically represented by four shinny lenses while the rear tail lights are decals. In the event a mistake is made (and who hasn't), two identical clear vacuform sheets are provided for the headlight and tail light covers. I personally find that cutting out, fitting, and attaching the clear covers is the hardest part of building these types of kits (maybe this could be a subject in itself for a short how-to piece?).
|
The photo-etch sheet is nicely done with the cut-off points for each piece clearly marked. The photo-etch rear air diffusers require bending to shape and PM has made this easy by engraving a grove on the photo-etch piece where the bends are to occur.
|
|
|
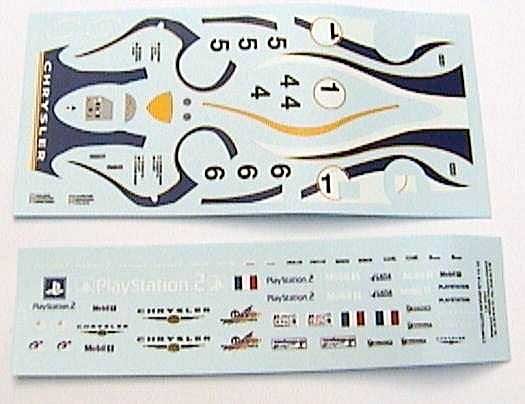
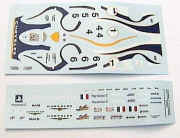
Two separate decals sheets printed by VIRAGE are included with this kit. In addition to the various sponsorship markings, numbers, and interior details the blue trim on this car is represented by decals. This will save masking during the painting process not to mentioned finding a suitable paint match for the blue -- I just wish they would include an extra set of decals like they do with the clear parts.
|
|
Based on prior experience, I have not had any great problems using the decals that come with PM kits, and I don't anticipate any problems with these.
|
Instructions
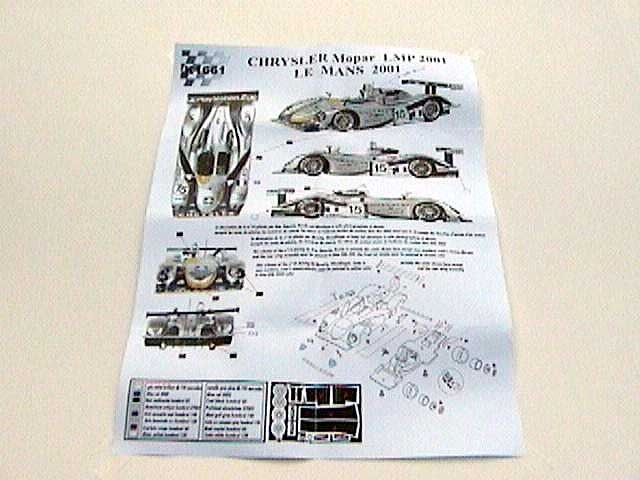
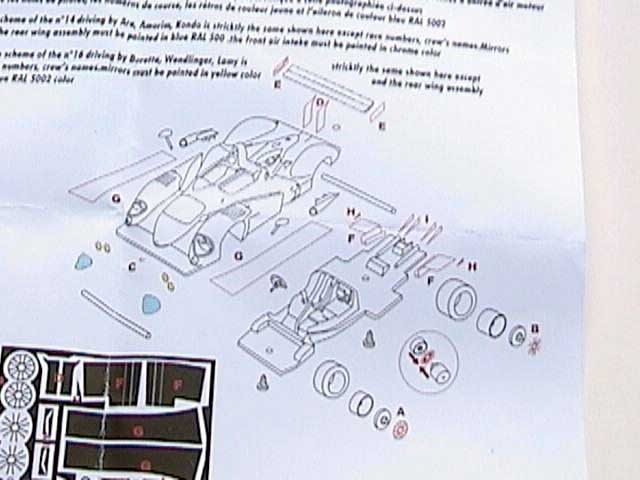
The instruction sheet provides top, rear, front, and side color views of the completed model which allows easy decal placement. An exploded assembly diagram is provided and is not difficult to follow -- just study the parts and the diagram (there are not that many!). The photo-etch pieces are identified by a letter which corresponds to a placement on the exploded assembly diagram. Also included on the sheet is a paint legend with suggested colors (some listed by brand names) and where they are to be applied on the car. I strongly recommend placing the instruction sheet inside a photo album page to preserve the color pictures; bending or folding the sheet too much will destroy the color pictures.
|
|
|

|
Overall Impression
As I mentioned initially, with those that are familiar with PM kits there are no surprises. For those just entering 43rd, this is a good first kit. With relative ease, this kit will build up into a very attractive addition to your Le Mans collection. Now, if they would only mold the seat separately......
|