|
||||||||||||||||||
|
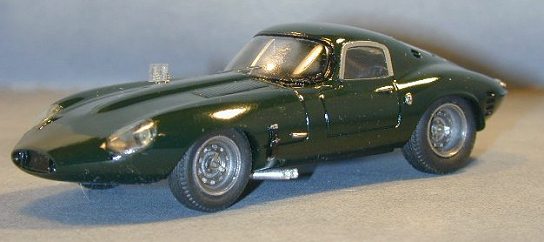
Classic Jaguar Miniatures Low Drag E Type Part I > Here It is only when you come to build a kit that you begin to form a true impression, no matter how many times you look at a set of bits its only when you start to put them together that you are sure that they will fit and that the final model will have that “look and feel of the full size car”.
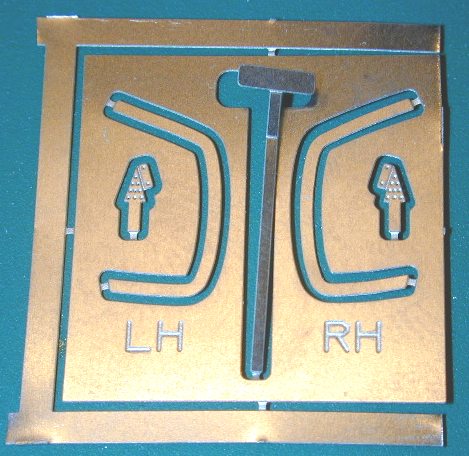
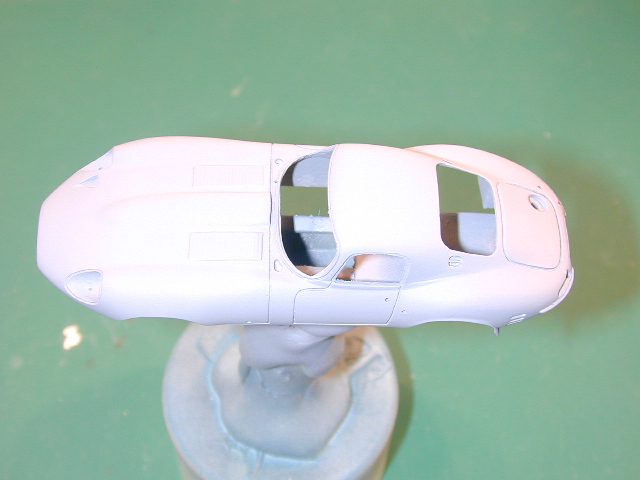
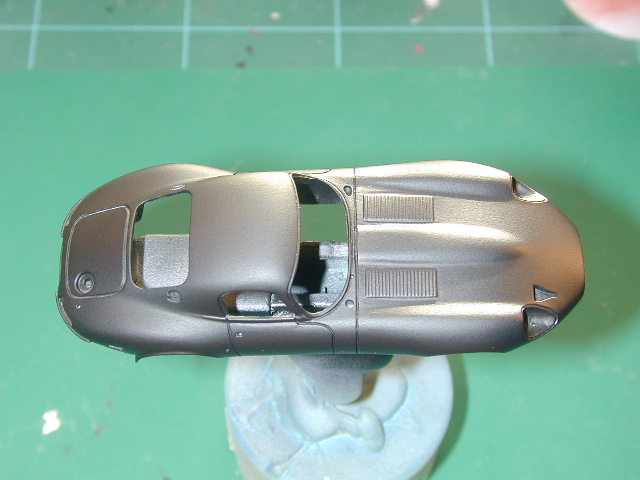
The kit is a combination of resin (body, interior and dash), white metal (base, wheels, brake cooling pipes, bonnet straps, front side lights two exhausts), chromed white metal ( gear lever, handbrake, rear lights, fuel filler cap, bullet mirrors, door handles, wheel spinners, steering wheel, mirror and support), photo etch (wiper, mirror and support, side window frames, bug screen supports) the remaining sundry parts are vac form for windows plus two for the headlights (well done as these are the most easily ruined parts), four rubber tyres, two screws and a length of axle rod. Building The first stage is preparation of the parts, I always start with the body as I like to get this painted first so that the paint has time to harden while I work on the other bits. It is important to check what parts are going to be fitted to the body once it is painted so a dry fit of screens, side screen surrounds, handles and tail lights is important. For handles and illumination lights it is important to drill out location holes oversize as some paint will reduce the size. Ideally you do not want to have to drill out holes when the body is painted as paint might crack around the hole ruining an otherwise perfect finish. Again it is important that your vacforms fit as to start trimming the body once it is painted is usually a recipe for disaster so time spent in preparation is time and tears saved later. The body was near perfect, (I suspect cast by CMA) there were no blow holes, the panel lines are sharp and minimal flash was present.
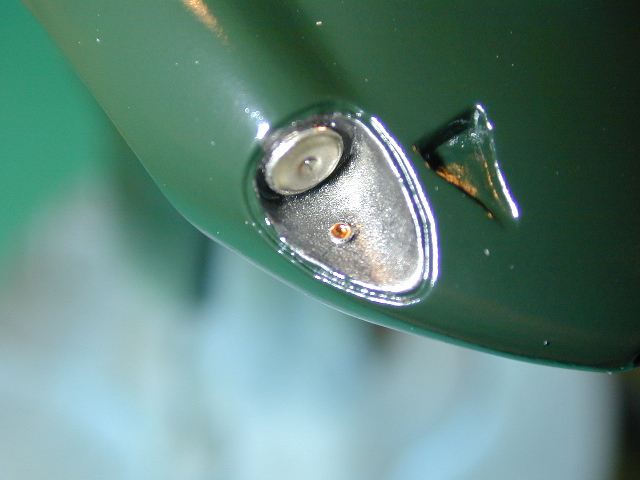
Normally I dislike chromed white metal as it becomes very brittle, invariably they come attached to the sprue with flash and seldom look good. Again the thought and preparation in producing this kit shows through as all but the illumination lights have been detached from the sprue and nicely prepared before they were chromed. “WELL DONE CJM” The illumination lights are on long stalks and left attached as I presume they would be rather small loose. An extra light on the sprue would be a useful addition as during the build the inevitable “ping” occurred but fortunately this was one of the rarely recovered bits!
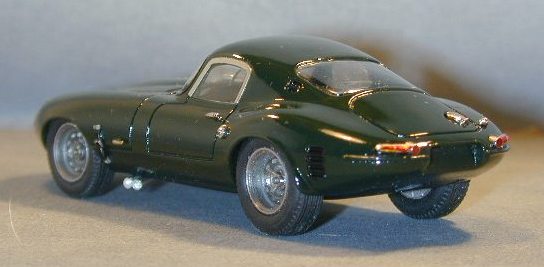
Once prepared the body was first primed with grey plastic primer followed by a thin coat of matt black was applied. I always use matt black as a base for dark blues or greens as it prevents the grey primer showing through on panel lines. I use red primer under red see article which shows the possible problem (Ferrari 375MM Berlinetta Coupe). This allows me to use a thin colour coat so fine detail is not obscured. CJM provided an ICI colour reference but Halfords could not match this. They had several Jaguar BRG references and we settled on Jaguar 602 which looks pretty close to me.
Once the paint on the body was completely hard (about 10 days in this case but I try where possible to allow at least a week) it only remained to start the final assembly. First all the screens were fitted using thinned PVA.
In the past I have avoided lacquer where ever possible particularly on period models but these days more and more I am using a very thin coat. Where decaling is complicated I lacquer thinly as a seal but in this case more as extra security for small parts. Thus in this case the handles were gently pushed into their holes without adhesive and the bonnet straps secured with PVA. The lacquer creeps into the joints and once dry gives a secure finish and I can avoid as much as possible the use of superglue on paint. The decals were then applied after the lacquer was hard.
The decals were of good quality and reacted well to microsol, One small point on applying decals, where the cross a panel shut line once the decal has set take a very sharp scalpel along the panel line to cut through the decal then with a little softener tease the decal into the shut line. If not just consider how the hell you open the door or panel! A simple thing which is often overlooked on some expensive models.
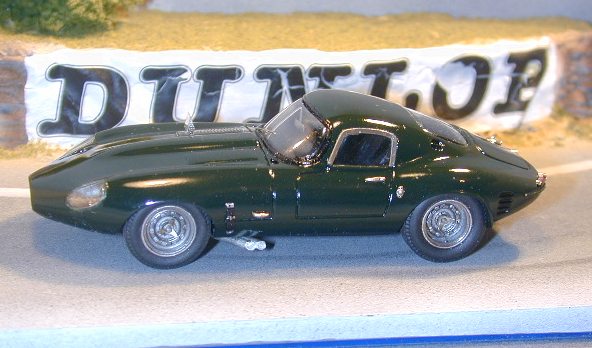
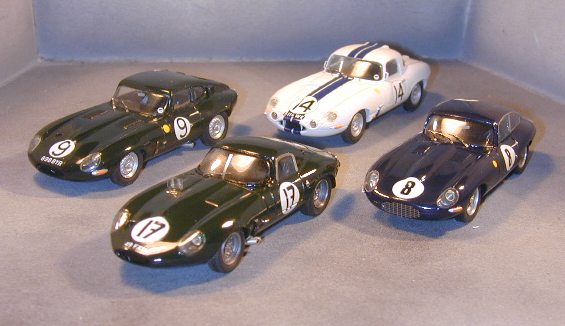
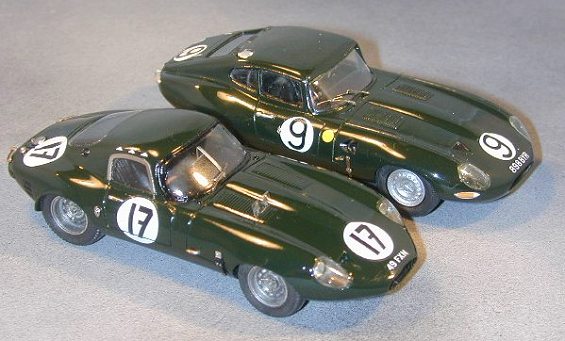
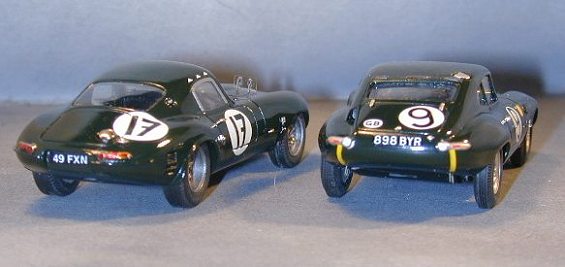
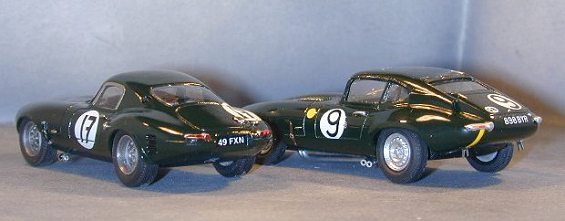
One aspect of FXN was that the car was lowered by 4 inches. I hope that this is apparent in the Pictures with the Sargent Lumsden BYR from 1962. The Blue coupe is the Charles/Coundley FHC from 1962 and the white Hardtop is one of the Cunningham cars from 1963.
Conclusion CJM have taken a considerable risk in buying the masters of the so recently out of production Vroom kit. Friends and readers of the site will know I rate Vroom kits very highly. Gary has researched the kit very thoroughly including talking to both Peters and Samir Klat who was responsible for the delightful shape. Gary reports:
CJM ......Removed
CJM ...... Added
So if you have the original is it worth replacing it? I think so even if you only build the other version. The improvements are sufficient to consider this a completely new kit rather than an upgrade and it stands up very well in todays market. Oh and there remains one little mystery, the three triangles over the drivers door! What did they signify?
For a first entry to the kit market this is a very promising start and future products from CJM will be eagerly awaited. There are aspects that could be improved on but overall this kit rates very highly.
|