|
|||||||||||||||||||||||||||||||||||||||
|
Trying to unravel the history without chassis number references is a bit of a hit and miss affair but here goes
Ford then adopted both efforts, Chassis 2 sent to Cologne under care of Lothar Pinske. Chassis 3 to Zakspeed who did some early German GT races. Chassis 2 Scruffy at Monza DNF Chassis 3 at Silverstone finished 8th Both raced at Le Mans then the Pinske car was withdrawn to be used as a test bed for the Turbo DFL.
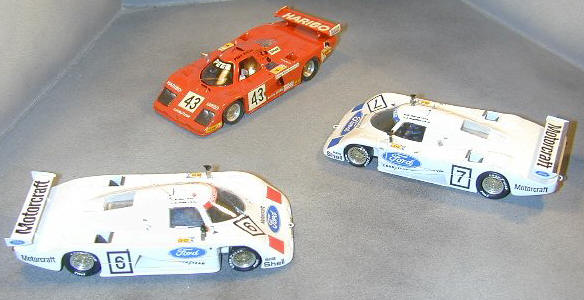
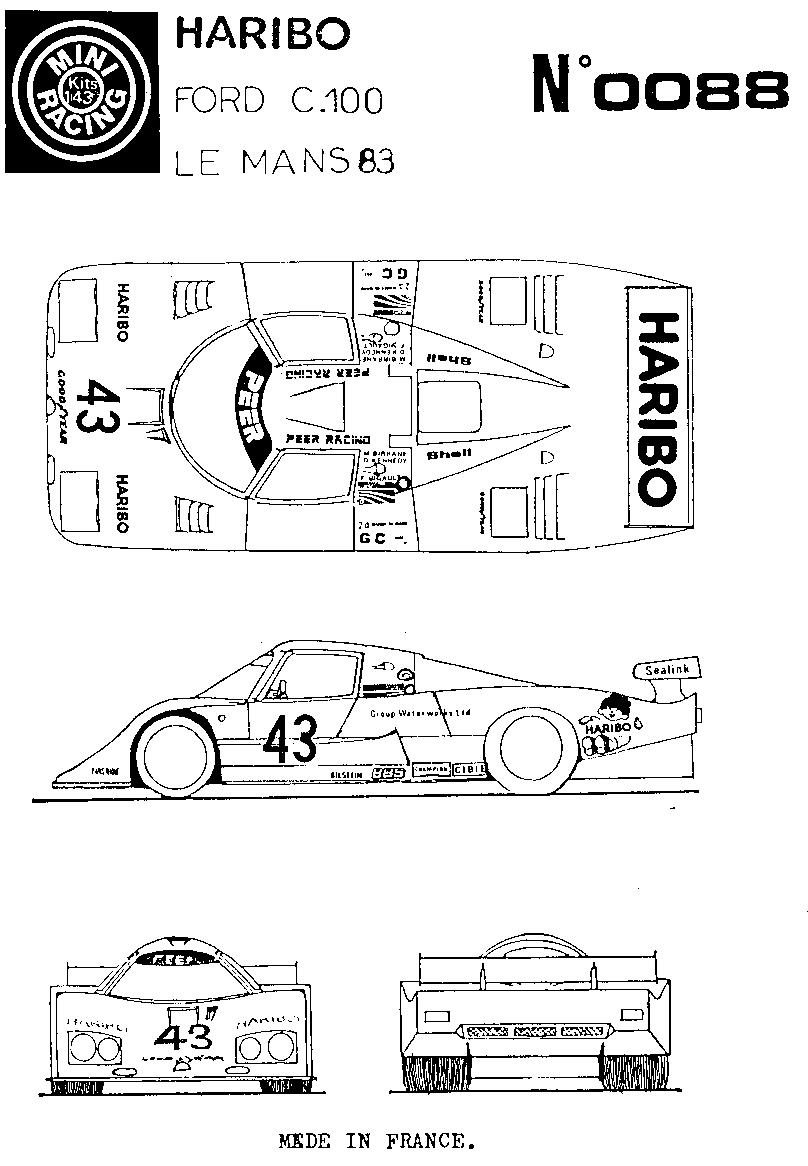
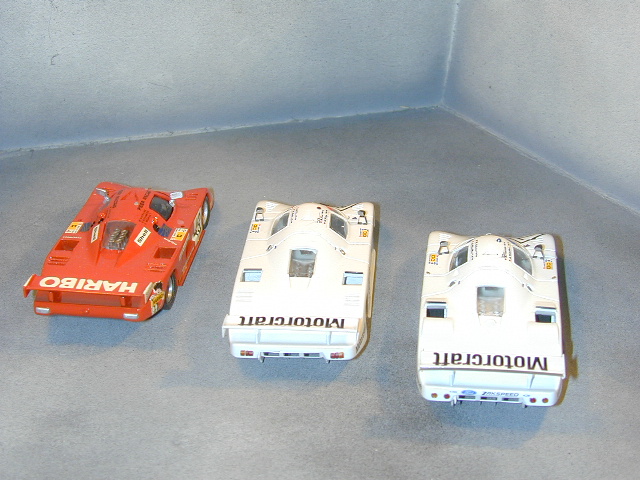
Brands Chassis 3,4 and 5 ran one retired the others finished 4th and 5th their best results During the Winter Gordon Spice built a new car now called C001 For the DFL turbo. Zakspeed decided to use his 1.7 turbo in his cars. In March 83 Stuart Turner canned the project. Zakspeed sold one of Chassis 3,4, or 5 to Matin Birrane as the Haribo Le Mans 83. One would suspect he kept the MkIII chasis so I think the Birrane car is the number 6 Le Mans car (Chasis 3) Now that we have the potted history out of the way we can turn to the kits.
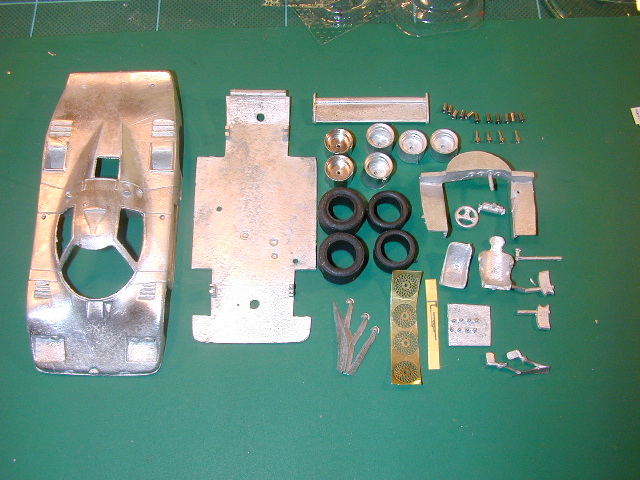
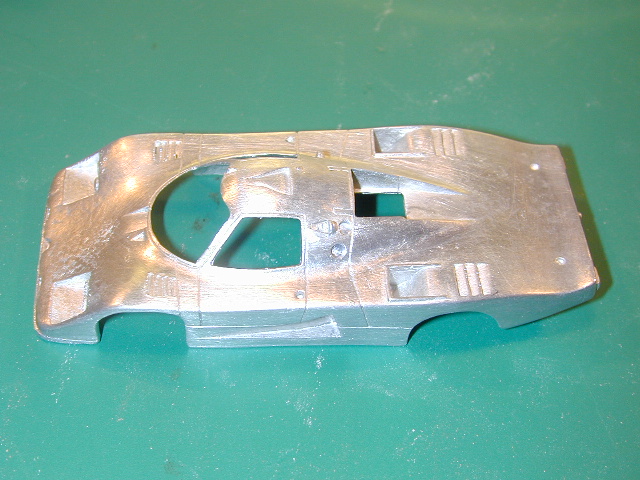
Mini Racing Kit ref 0088 The Mini Racing kit is one of the very early white metal kits, It has been sitting on my shelf for many years and only the arrival of the 1982 Le Mans cars from Marsh persuaded me to take the box from the shelf! On opening it I almost wished I had not but to be fair to Mini Racing this is not typical of their products today. It is typical of what we had 15-20 years ago.
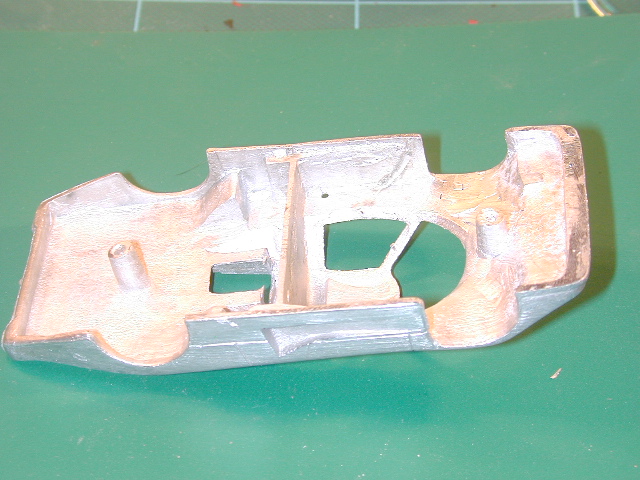
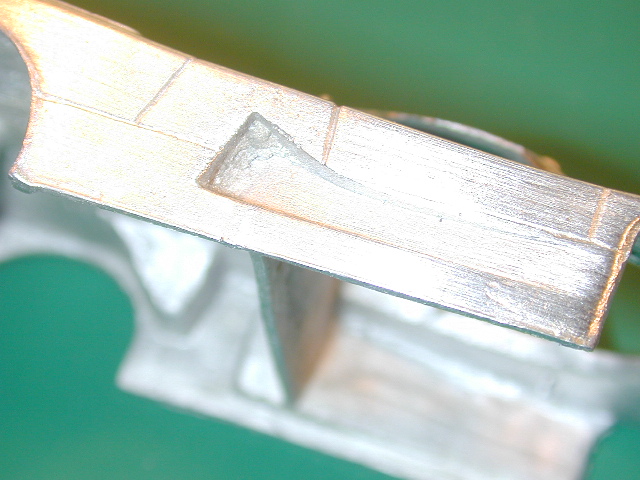
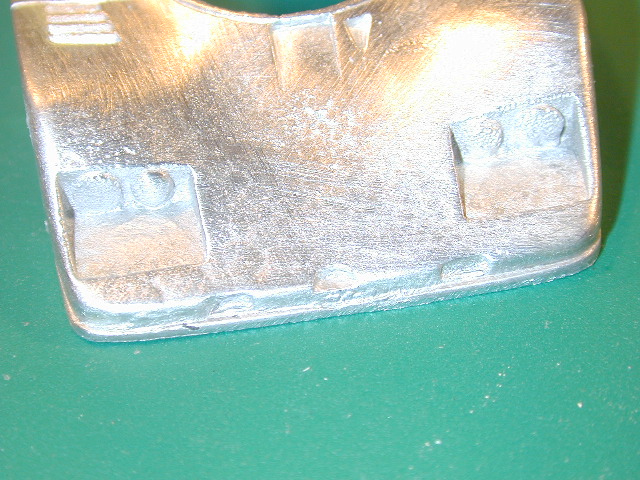
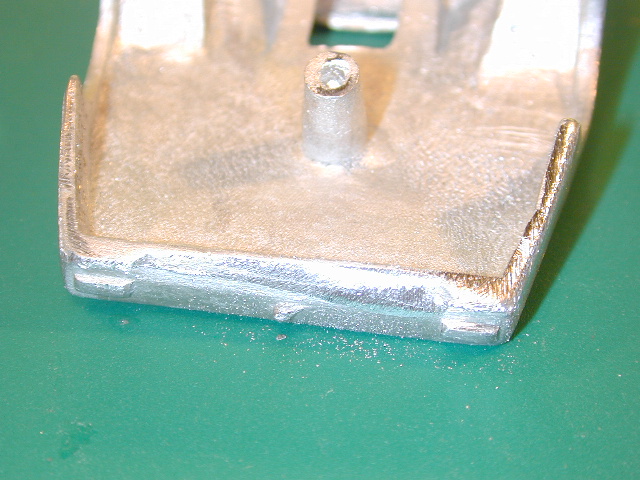
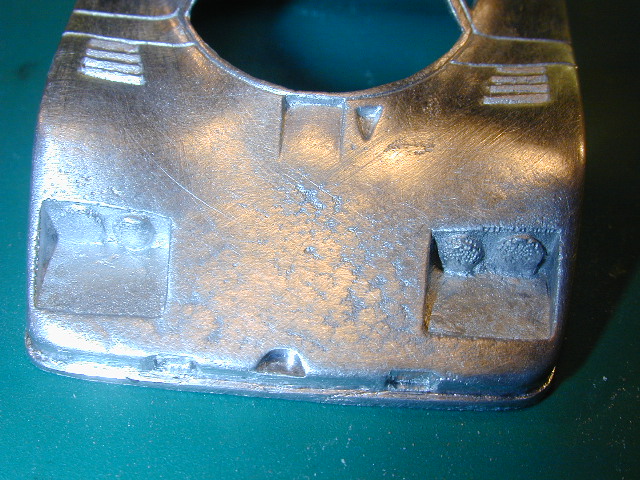
The white metal castings were on the whole very good, the one exception was the body. There was considerable porosity and the side “splitters” on one side were non existent.
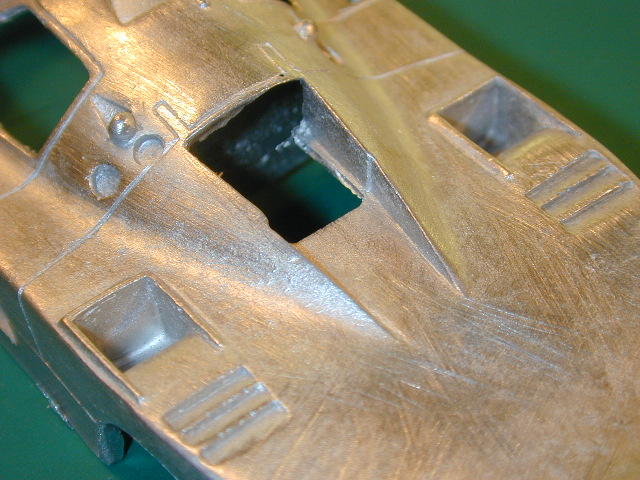
Initially the body was attacked with a file until the basic shape was right and flash etc removed. I then gave it a good polish with a rubber wheel and then wire wool. This confirmed my worst fears about the porosity! At this stage it was a question of how far to go, to accept what I had and achieve a respectable finish or too really spend some time filling, re-cutting panel lines etc.
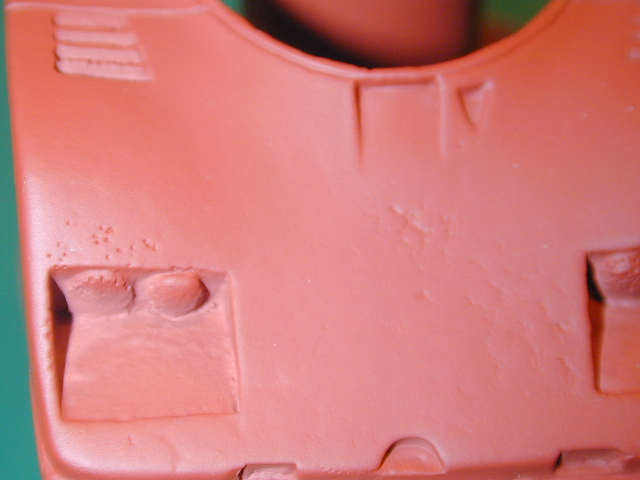
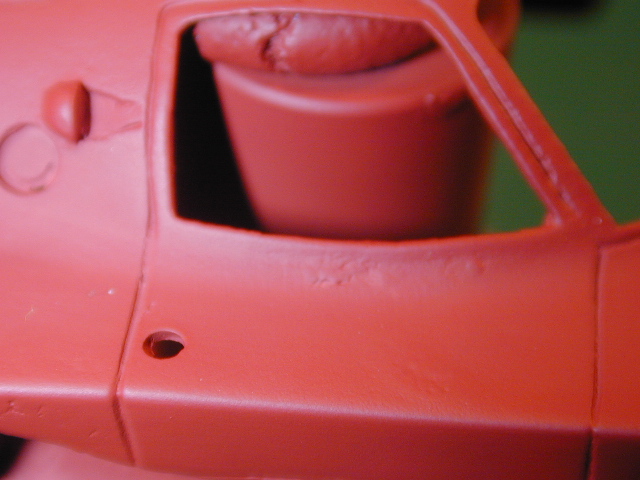
As the main idea was to report on the Marsh kits I decided to try to create a respectable end product without too much work. The body was first primed with red primer then given a thick coat of yellow filler primer. It was then rubbed down with fine wet and dry and then the red/yellow process repeated until an acceptable finish was achieved. The side splitters were made from a piece of scrap photo etch. The final colour was matched to what appeared to be a good colour picture. Completion of the kit can be followed in the photo sequence. In conclusion the best idea would have been to obtain a second Marsh kit MM94 and use the Mini Racing decals on it.
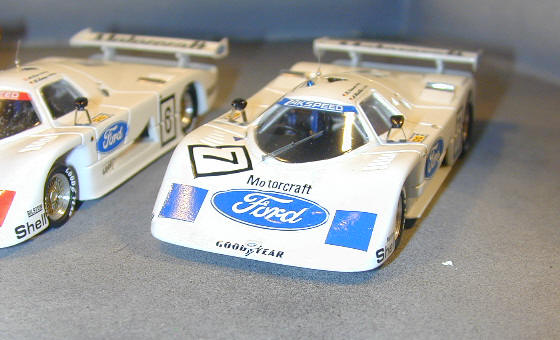
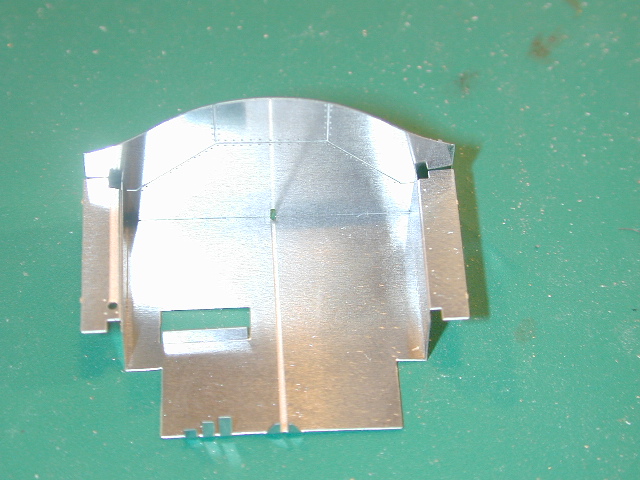
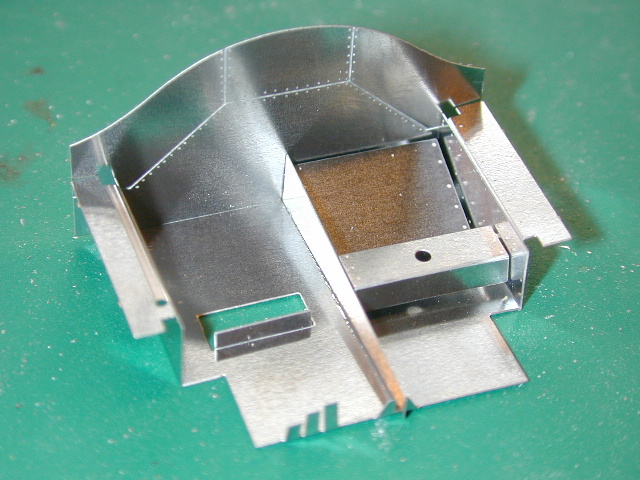
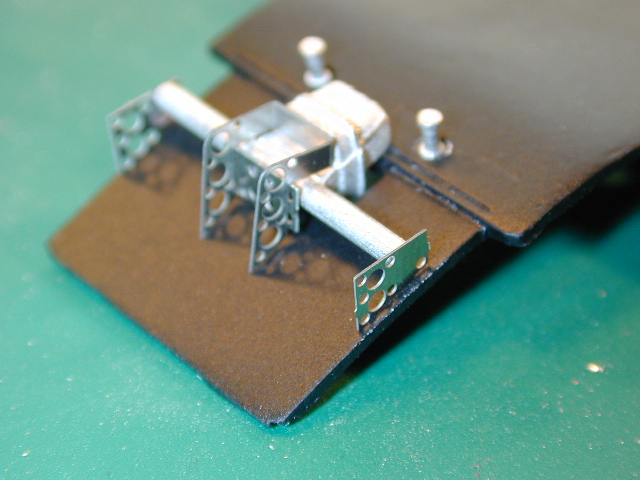
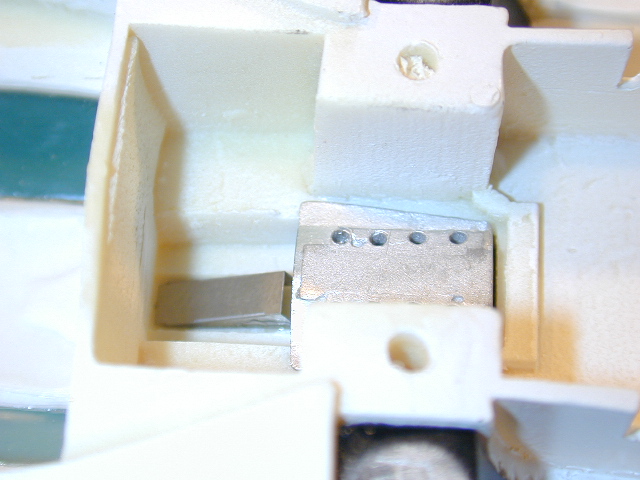
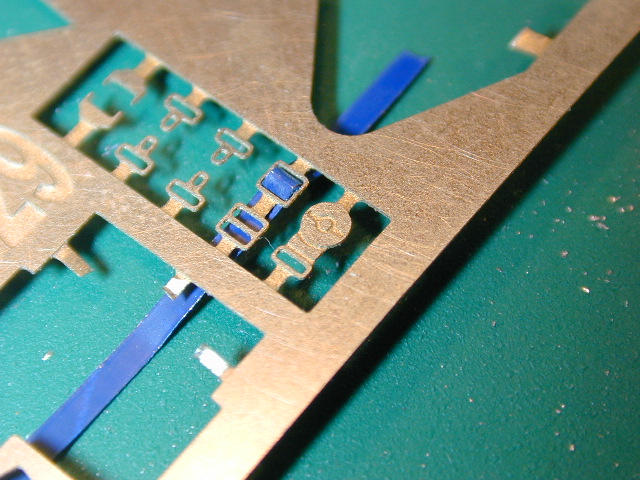
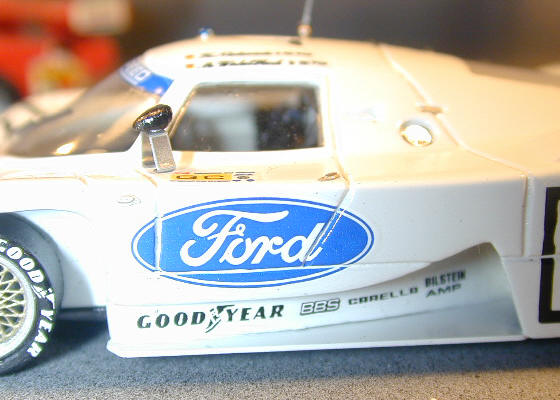
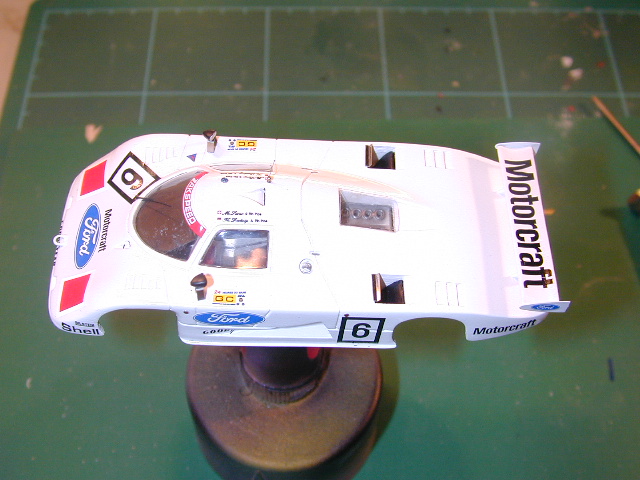
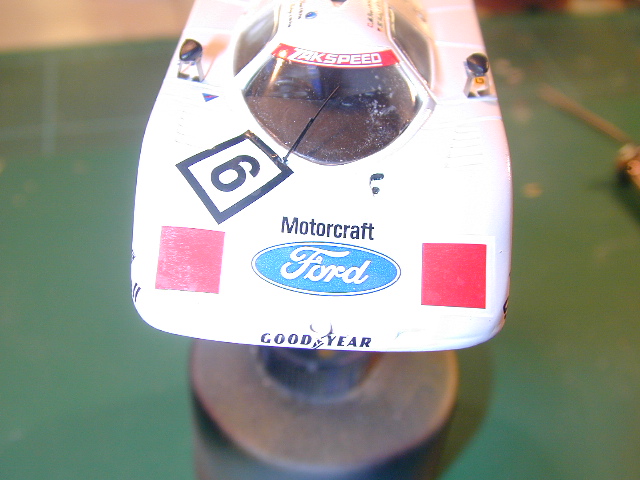
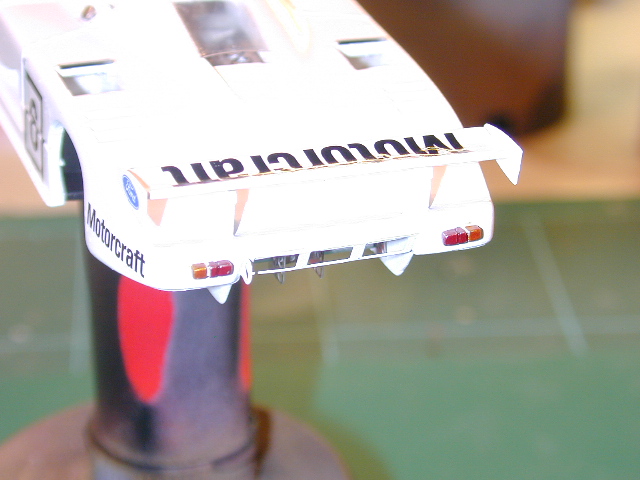
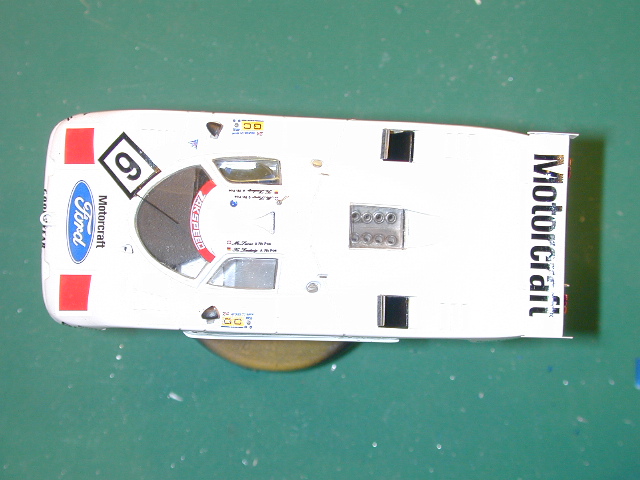
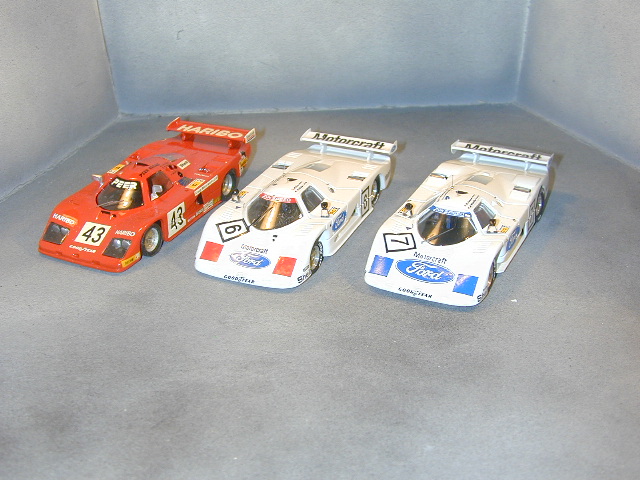
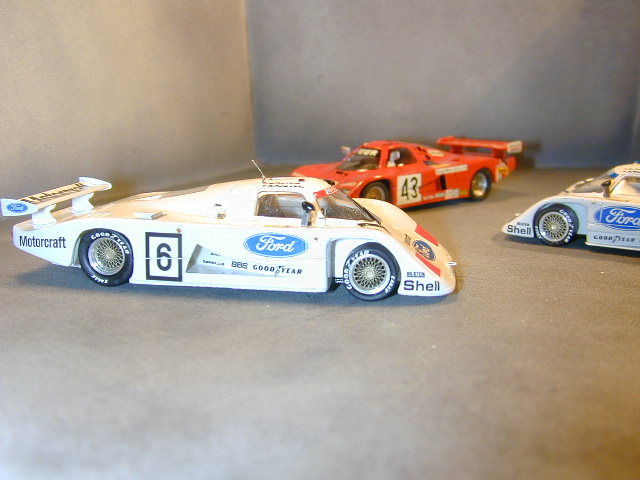
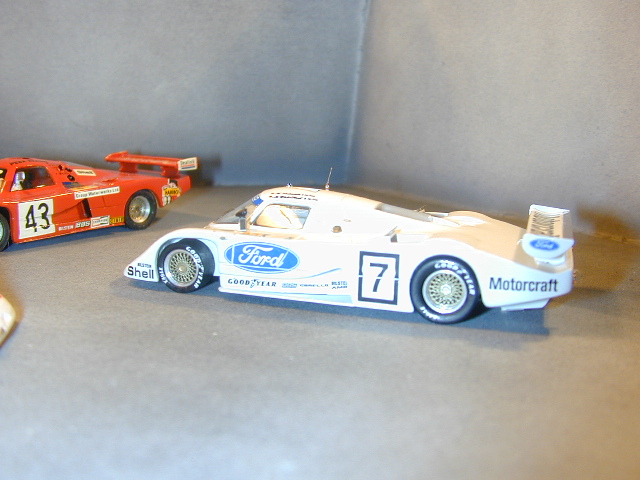
Marsh Models Kits MM94 and MM86 The photo sequence is of the build of MM94 the number 6 Surer/Ludwig LM 1982 car. The construction of MM86 Winkelhock/Niedzwieds car is essentially the same. These are the now typical Marsh kits with a mixture of Resin, white Metal and extensive use of superb photo etch parts. All the cast parts are of good quality and little clean up was required. The interior is the now expected photo etch tub and it was here that I had the only difficulty.
There are slots in the front of the side pontoons which appeared to be for the front roll hoop. Try as I might I could not get this too fit as appeared to be intended. In the end I omitted the roll hoop. A later conversation with John confirmed that this was the original intention but later it was realised that the part just sat nicely in the inside of the body. The hoop is in MM86. Easy when you know how!!
The body requires little preparation before painting. As usual I test fit the vacforms and while doing so I thinned the screen pillars. Once I was sure the vacforms were a snug fit all white parts were assembled and holes for lights, wipers etc. drilled. The unit was then primed white followed by a white gloss coat. This was set aside to dry for a few days.
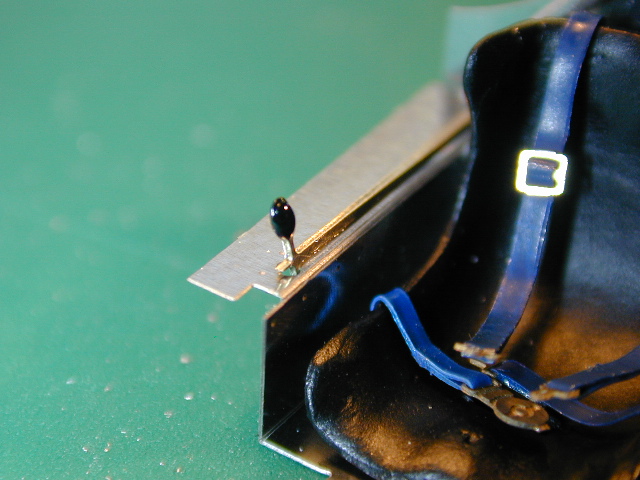
While the body cured the remaining parts were completed. I never have had much success with photoetch seat belts, I can never get them to lay and look realistic, I made my own using some “lead” from a wine bottle and spare buckles from a Provence Moulage kit. The belts were made when the blue paint was touch dry as it then allowed the belts to be bent without the paint cracking off.
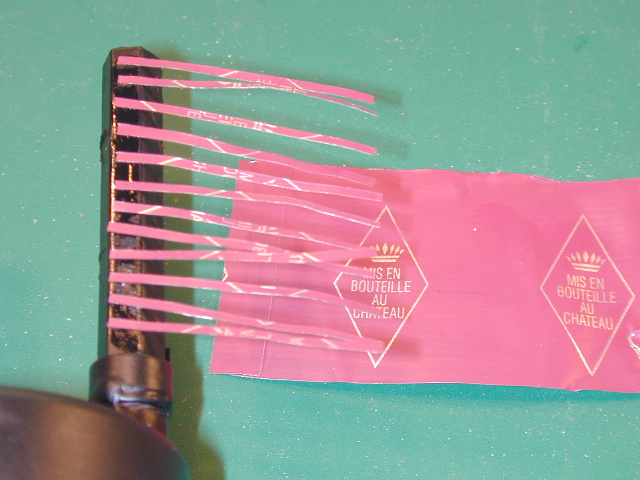
Decals are excellent but the pictures for decal placement are a little confusing. The sheet has a large number of decals covering both cars plus it appears a few spares. Which Ford logos to use is not too clear on MM86 and also the decals in the vents to the side radiators are not clearly shown in either set of instructions. The other problem I had with MM94 built first was that when the decals were placed on the body they would not “slide” into position. Fortunately I had both kits so could rob the second sheet for replacements. I used a little washing up liquid with a drop of water to initially place the replacement decals. Once the decals had dried for several hours I carefully cut along the panel lines and adapted the cut edges with a little microsol allowing the doors to appear to open!
|