|
|||||
|
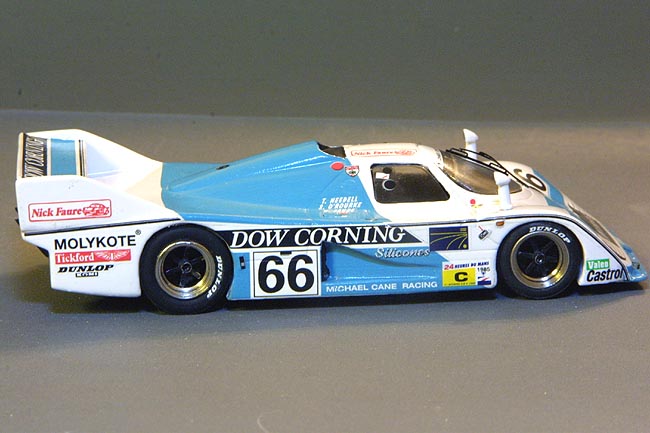
Back to the basics. There is something that is very enjoyable about that to me. Now don’t get me wrong. It is not that I don’t like building complicated and involved models, but I just don’t really have the time. Working full time, being active with my family and covering the racing sportscar racing scene really doesn’t leave me with much time at all. So when I actually sit down to work on a kit, I want some instant gratification. For my fix this time, I chose the Miniracing re-release of the Aston Martin EMKA from Le Mans 1985. The fact that the car actually led the race and finished 11th overall sealed the decision.
Looking back on this build, it may not have been the absolutely best choice for a truly quick build, but oh well. For those not familiar with Miniracing kits, these are quite simple curbside kits, made of a minimum amount of parts. In this case, this kit consists of a resin body, white metal rear wing, base plate, dashboard, seat, steering wheel, mirrors, exhaust and wheel inserts. Rubber tires that fit on turned metal rims, 2 axles, a photoetched wiper, decals, a so-called instruction sheet and vacuform glass complete the kit. This kit is part of their program of re-releasing their older white metal kits.
WARNING - Avoid these older white metal versions. I Repeat – avoid their all white metal kits. Crude doesn’t begin to describe them.
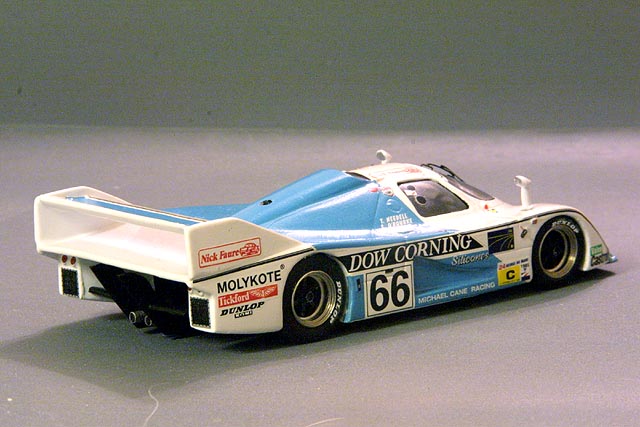
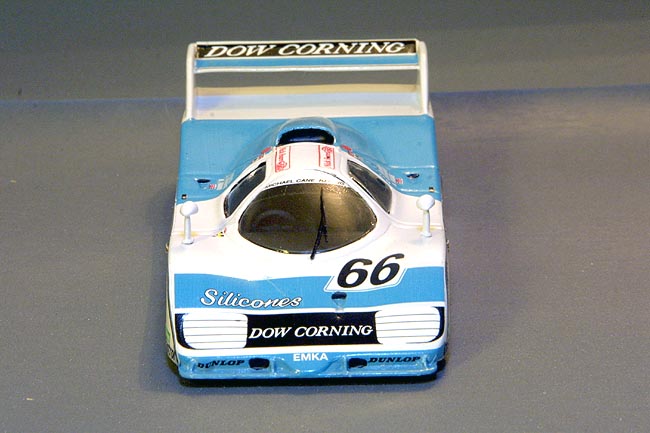
From the beginning... In the case of this model, body prep was really a minimal task and really presented no problems at all. Well, at least it shouldn’t have. My kit arrived with a busted front splitter, but thankfully all of the parts were still in the box, so there was nothing that some super glue and a little sanding could not fix. Fitting the rear wing was not extremely easy, as there was no real location spots, but just a little sanding made the fit pretty much a snap. For final gluing and positioning, I positioned the wing so the main element was flat, then I set the body upside down, resting on the rear fins and aligned the upper edge of the wing upper element to line up with the top of the fins. A few double checks and voila, the wing is aligned.
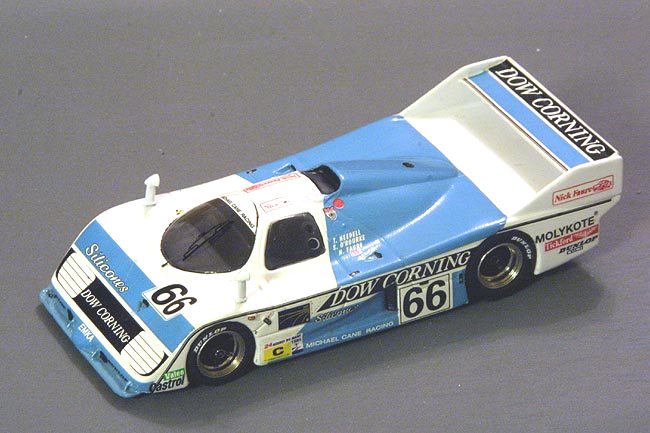
Painting could not be any easier. Prime, wet-sand and then spray the body in your favorite white. I use rattle can Krylon when possible. It covers well, is durable and dries quickly. After a day or so of sitting, I polished out the body. Actually, I may have waited a year to polish out the body on this kit, but that is more a reflection on my building time than anything else. OK, brace your self. It is time for the decals. I know, most of you would two-tone paint this model, but I usually enjoy decaling a model. Well, this was a little different as the decals are a little thick and difficult to work with. In hindsight, painting the green/blue might have been a better decision, but I persevered with the job and eventually over a few months I got it all done. Just as a warning, Solvaset decal setting solution did work but the large decals took a little persuasion to fall into place properly. The end result was satisfactory, but I started to stress out about decaling the splitter and the body side radiator inlets.
So the kit sat again, collecting dust. Finally, I figured I better get it off the kitchen counter where it sat before it got destroyed. Hmmm… Something about that distinct green/blue caught my eye and I remembered a collection of paint that I had stashed away while attempting to find Leyton House Green. I found a rattle can of Pontiac Engine green, dusted it off and was simply blown away. It was a perfect match. End of paint and decal issues. It was not possible to tell the difference between the decal and painted areas. Wow, I think I might actually finish a model here. Finally the model is going out... A month later, after finishing up all of my obligations from the Petit Le Mans race, and finding 5 minutes here and another 15 there, a miracle happens. A model is finished. If you have built a Starter Porsche 956, installing the “glass” in this model is no problem, and really it was all a snap. A rather long snap, but still a snap. As a finished product, I feel pretty happy with it. It is not a highly detailed show piece model. I knew that going in and did not expect it to be at all. Instead, what I got was a nice alternative to the hoards of Porsche 956/962 Group C and IMSA cars in my collection. Is it a must have? No, but at this point in my life, I have to realistically look at things and really wonder if any of these are. Did I enjoy it? Definitely. Will I build another? I sure hope so, as I have another 200-300 unbuilt kits sitting up in my room waiting to be built. I figure at my current rate, it will be the year 2304 when they are all complete.
Conclusion Unfortunately about the time I finished this model, I read that Steve O’Rourke had passed away. Steve was a great enthusiast about racing and was responsible for many interesting cars that raced at Le Mans, including this one. Besides the racing, Steve was also in the music business and had connections with Pink Floyd. I guess it is time for “The Wall”. Steve, you will be missed… |