|
||||||||||
|
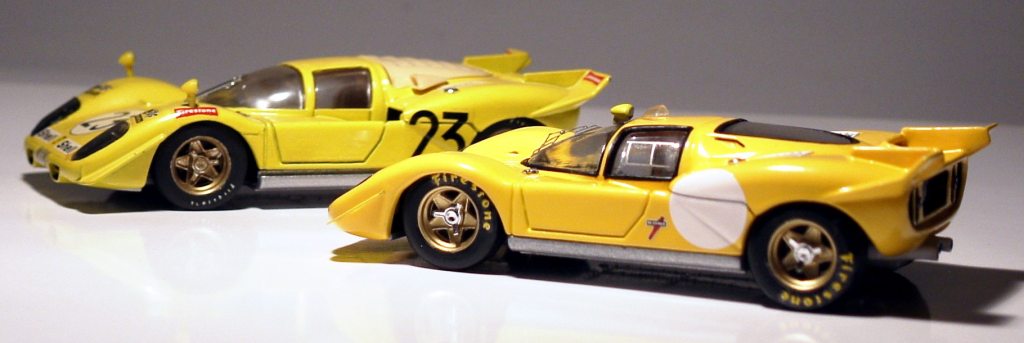
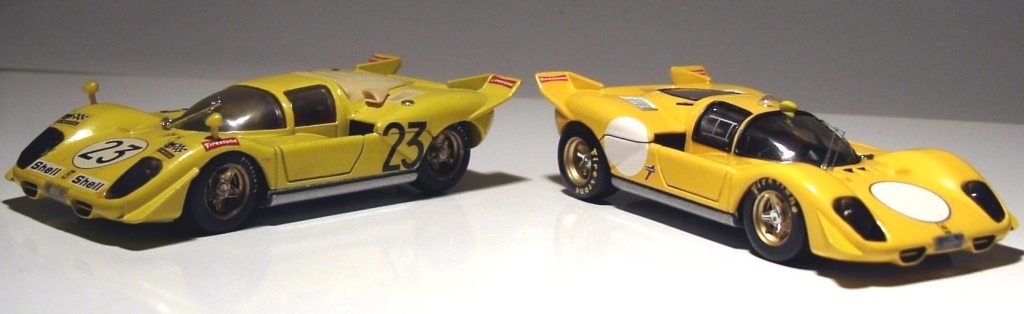
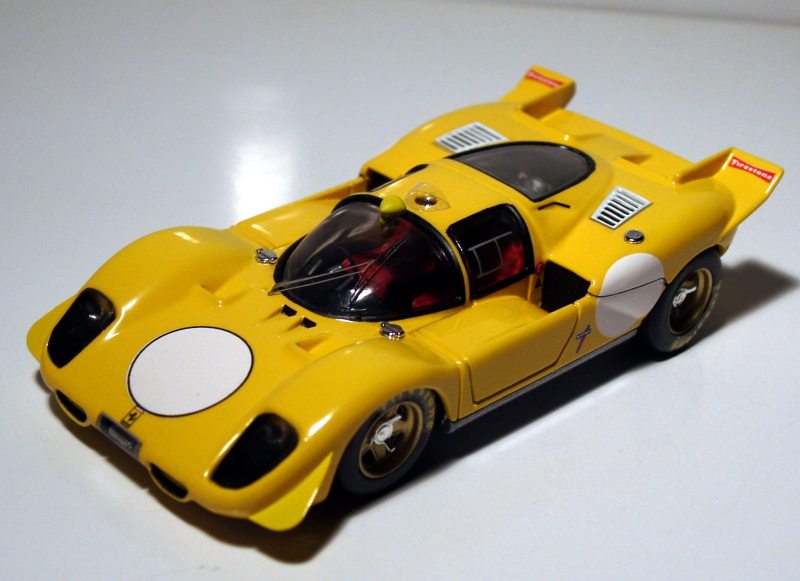
In this short note, specially focused to people who are fond of beginning with the construction of inexpensive kits, you’ll find several basic changes, to improve the general look of a die-cast model. I have to tell you, that I bought this model at a bargain sale four years ago, and its price, was equivalent to 6 current euros. This previous comment is to make plain that, thinking on economic terms, the risk of spoiling this die-cast, was minimum.
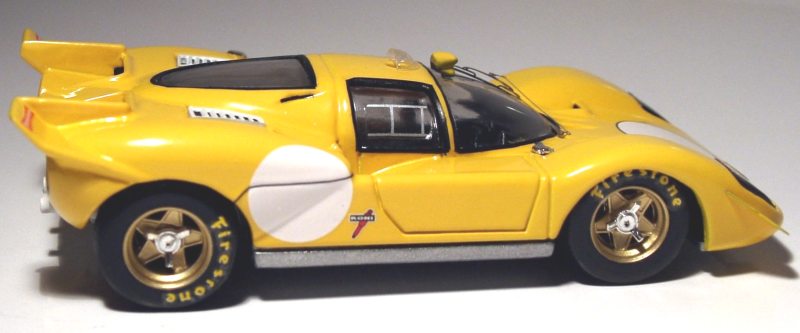
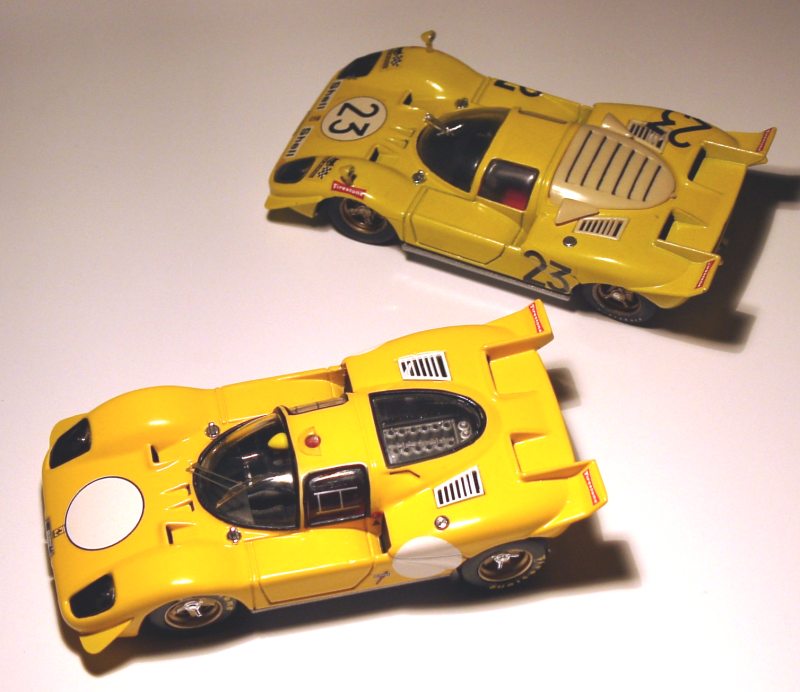
These cars’ shapes are quite good, and most of the original parts are useful (wheels, tires, windows, interiors parts, etc.....).
First, you’ve to disassemble it thoroughly, being careful not to spoil those parts which you suppose are difficult to be replaced. The job is simple, because the contact adhesive used by the manufacturer (for those few glued parts) can easily be removed. Then, all small parts should be cleaned and sanded to have them ready for the final mounting. The following step is to remove the paint. This task will cause you no trouble and, by using any release agent (gel used to remove paints), it will take you no more than an hour, since the model is made out of Zamac. It’s very important that the gel doesn’t touch any portion of the plastic, be careful with the clear parts!!!!!!!!. Regarding to the rest of the plastic parts, such as the engine, escapes, seats, etc...., the paint should not to be removed. After filing the flashes or flaws, you may paint those parts again. Once the original paint has been removed, let’s go on polishing the body. To my liking, the front winglets were too thick, that’s why I cut them away. As the Zamac is very hard, I had to use an appropriated tool mounted on a Dremel. Don’t hurry and be patient when doing this, so as not to nick the rest of the body. The windshield, rear window and side windows edges were filed (using diamond files), and all metal parts were sanded and filed with common files. The next steps will be achieved in the same way as if we were mounting any other kit, so they’ll not be detailed or listed. However in this case, we must resize the distance between the wheels to add new front flaps made out of aluminum from a drink can (you may use a scissor to cut it), but any other similar material with the same thickness would be also suitable. The final mounting has nothing special at all. Nevertheless, owing to the thickness of the material around the windshield and windows edges, I decided to paint fine windscreen pillars with Tamiya matt black enamel, in order to simulate them at sight. I think the final result is worthwhile.
|