|
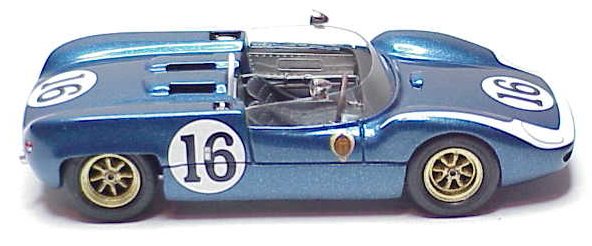
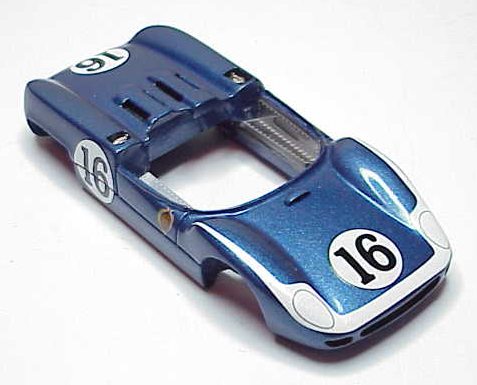
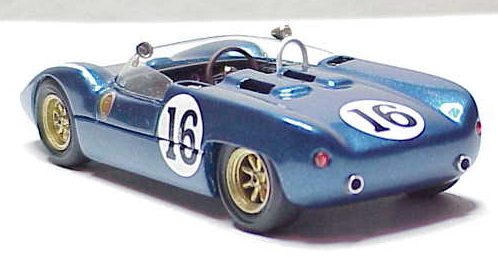
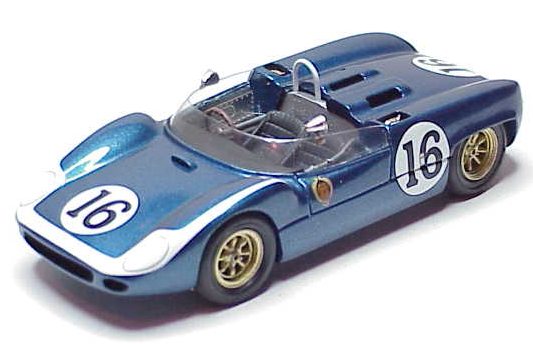
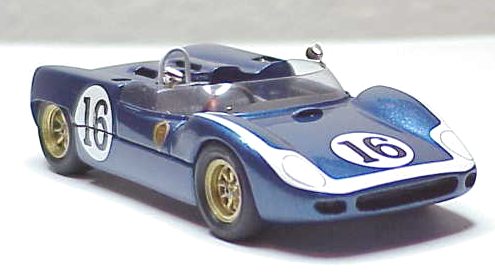
This kit models the first mid-engine Scarab as raced at Santa Barbara in 1962.
Building the Scarab step by step
|
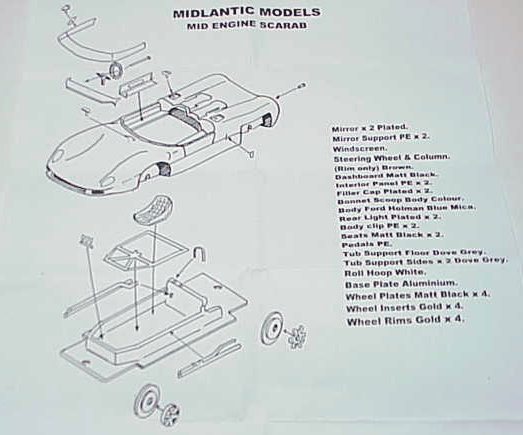
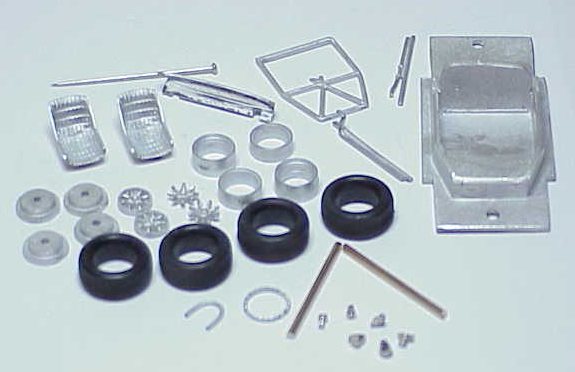
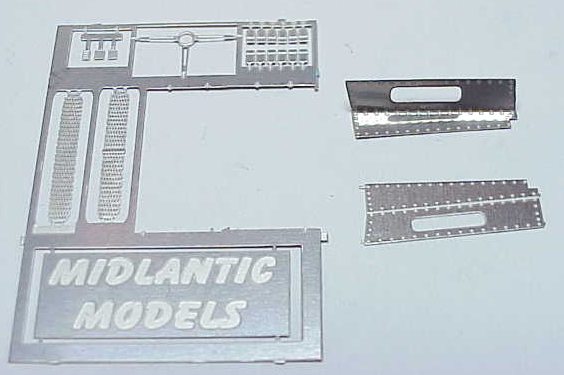
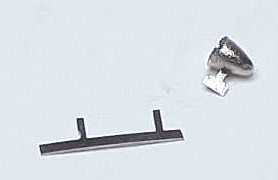
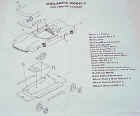
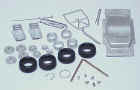
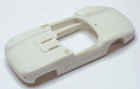
As evidenced by the instructions, this is a fairly basic kit with resin body, white metal ancillaries, and a small amount of photo-etched parts.
|
|
|
|
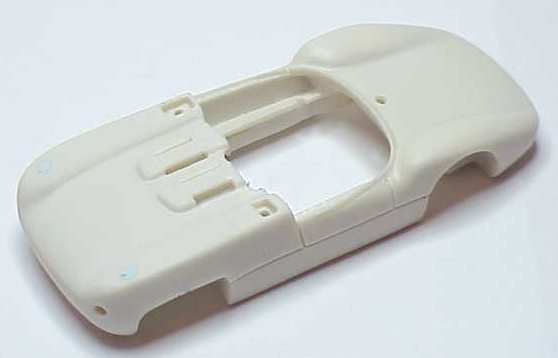
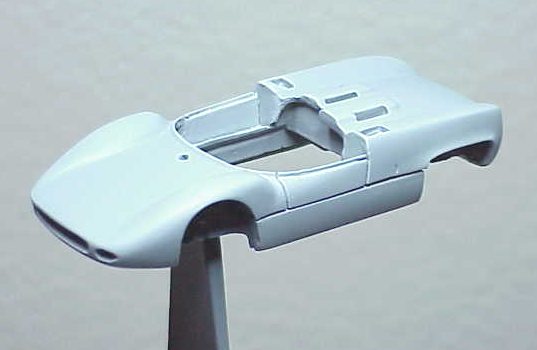
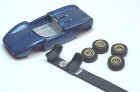
The first order of business was to clean up the body and fill the mounting holes in the upper rear fender area. These are used to mount air scoops on a different version of this car. There was also a small pinhole in the right rear wheel opening that needed filling. I use a two-part polyester putty for this purpose.
|
|
|
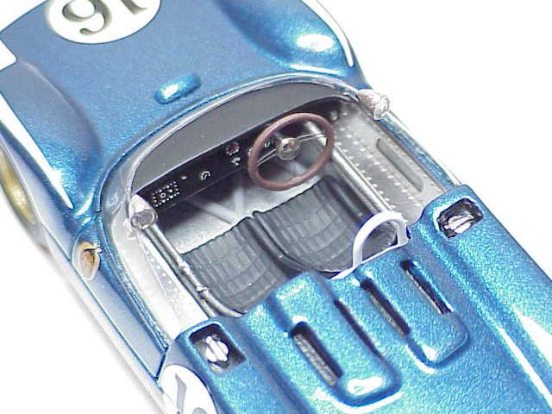
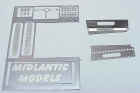
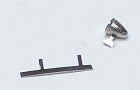
Included on the photo-etched fret is a pair of nicely done interior side panels with rivet detail. The instructions also mention mirror supports as photo-etched pieces, but I did not see any. More on that later.
|
|
|
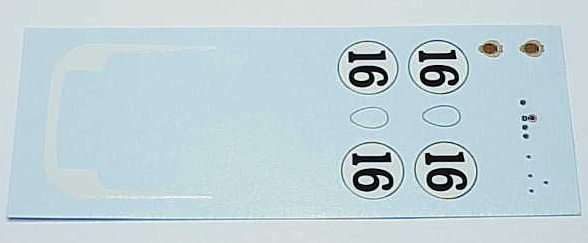
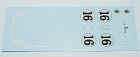
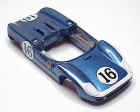
One added bonus to building 1950s to '60s racers is the lack of complicated decal schemes. The decals included are nicely printed and conform well. They are fairly thin, so caution must be used. I made the mistake of not "testing" the temperature of the water before submerging the nose scallop decal and it curled up into a ball! After receiving a replacement set, I made sure the water was not too hot, and tried again. This time was successful.
|
|
|
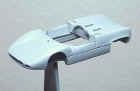
The body needed very little work, other than the previously mentioned items, to be ready for primer. Two coats of light gray primer were sufficient for a good base coat.
|
|
|
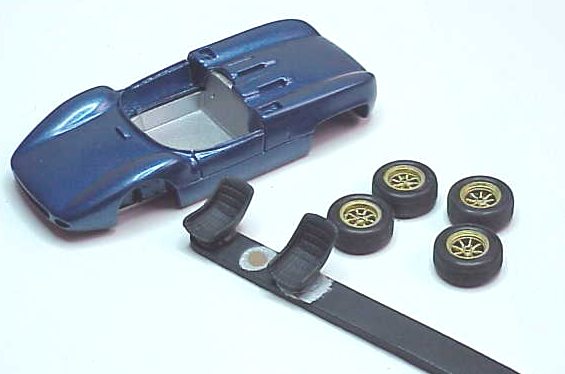
Duplicolor Medium Blue metallic lacquer was used for the body color. The wheels were brush painted with Floquil brass. Floquil paints have a smaller pigment than regular hobby enamels, which looks more to scale. The seats were first sprayed with black primer then brush painted with Testor's interior black.
|
|
|
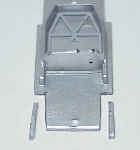
The rear of the chassis plate needed to be narrowed to make clearance for the rear tires. This was easily accomplished with a razor saw. The chassis/interior was then sprayed with Duplicolor Radiant silver.
|
|
|
Three coats of clear lacquer were sprayed on the body and after the usual sanding with a 3600 grit cloth and polishing with Novus #2 the decals were applied.
|
|
|
Because there was no obvious way to attach the mirrors to the windshield, I had to come up with my own solution. Small holes (0.5mm) were drilled into the mirrors and pieces of photo-etched sprue were attached using two- part epoxy. These were then attached to the windshield using contact adhesive.
|
|
Conclusion
With only a few modifications, this kit built up very well. Aluminum tubing was added to replicate exhaust pipes. The only real complaint I have is that there is no shift lever included, or any place to mount a scratch built one for that matter. Rather than guessing where to try to install one, I built it without a shifter. If someday I find some good interior pictures of this car, I could
|