|
Manufacturer: SHMR
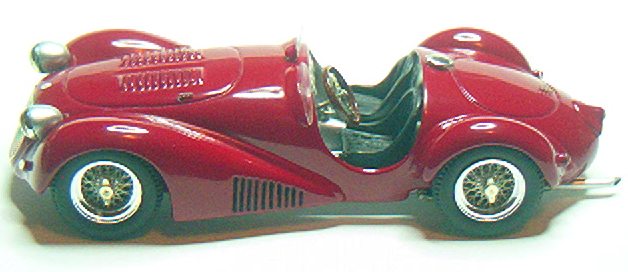
Maserati A6GCS
scale : 1/43
|
Part I > Here
Building
|
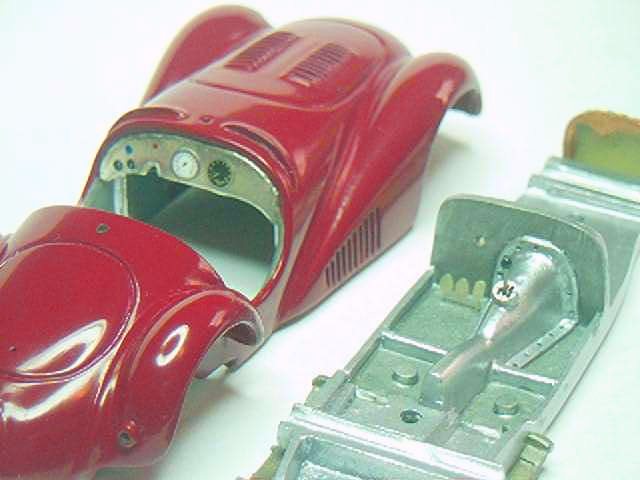
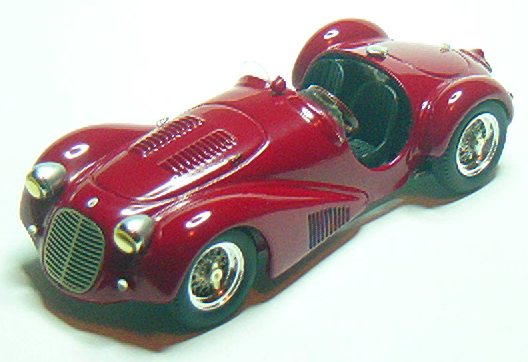
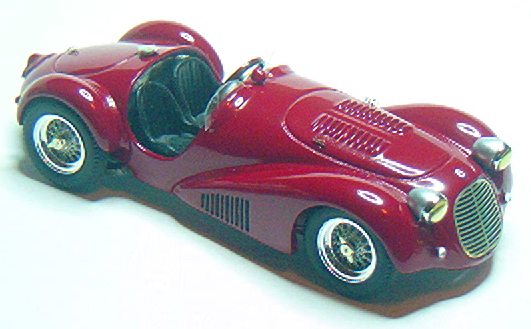
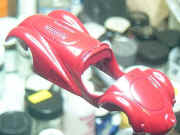
As mentioned in the previous installment, the body of this kit needed very little preparation before primer and paint. All locating holes were drilled out after which the body and all other parts were washed in dish detergent and allowed to air dry. Three light coats of primer were applied followed by three coats of Duplicolor Milano red.
|
|
|
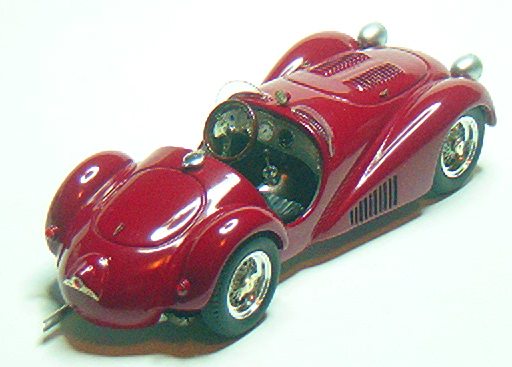
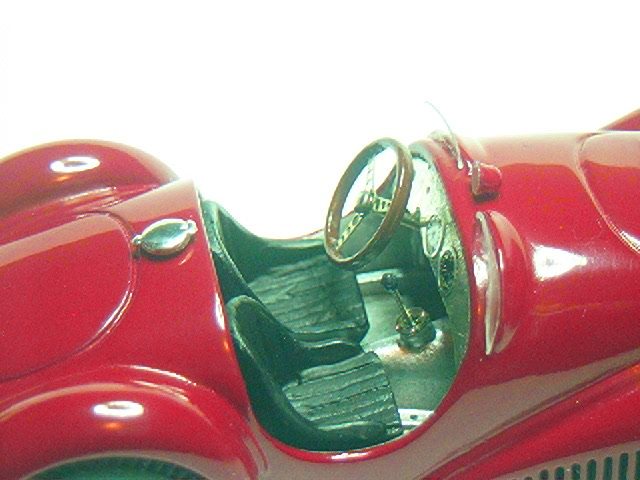
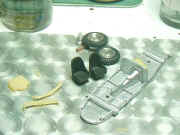
The chassis/interior was painted with Duplicolor Radiant silver rather than Gun Metal (which is very near black) as the instructions suggest. The reason being that most photos I've seen of early Maseratis show the interior to be bare aluminum. Black primer was sprayed on the seats followed by Model Master black chrome enamel. Black chrome has a slight sheen, which better resembles the appearance of leather than flat black would.
|
|
|
The instructions, again, say to paint the radiator Gun Metal. I wanted it to be more visible behind the grille so it was painted with Testor's Copper enamel. The locating pins on the resin headlight buckets were very fragile so they were removed in favor of a 1mm metal pin. After painting with the same silver as the interior, the pins were cut to length.
|

|
|
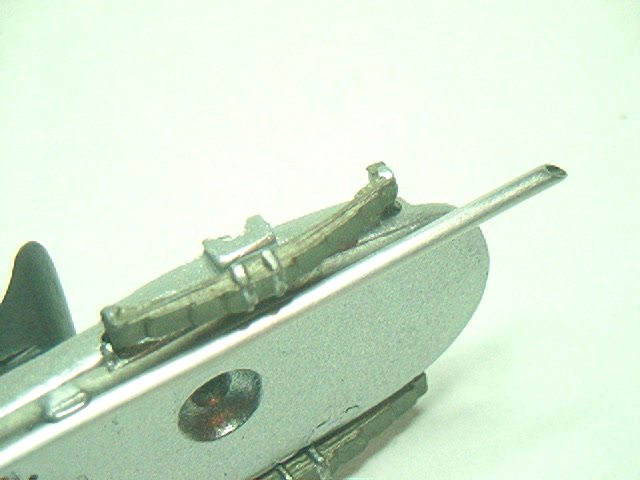
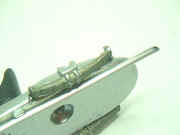
Aluminum tubing replaces the kit supplied white metal exhaust pipe. Leaf springs were painted with Model Master jet exhaust.
|
|
|
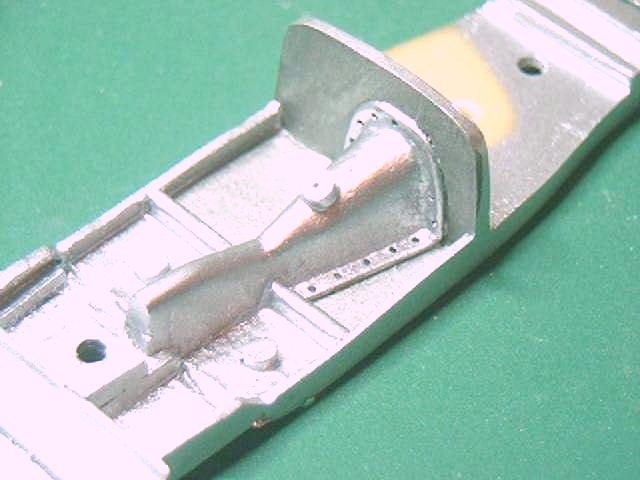
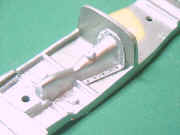
Floorboards and firewall were painted with Tamiya metallic gray to give the interior a little contrast. In the photo, the area under the seats has not had the gray applied yet to better illustrate the contrast.
|
|
|
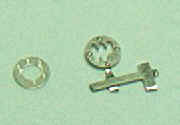
I was not very impressed with the shift gate as supplied with the kit. It was replaced with one from a set by Tameo.
|
|
|
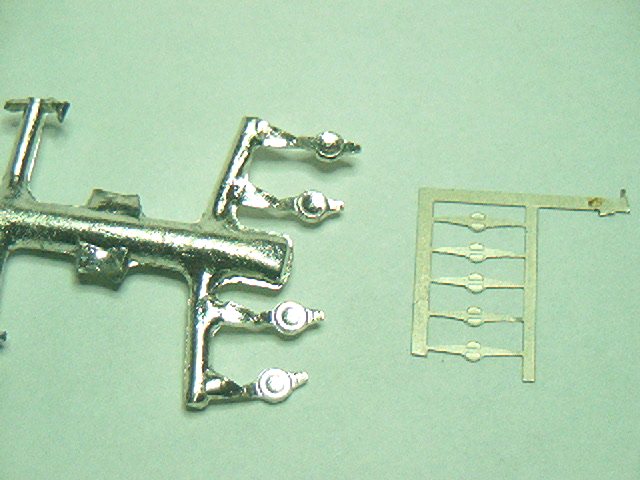
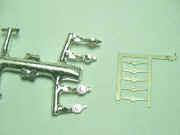
The photo etched wheel knock offs were also replaced with a chrome- plated white metal set from an old Precision Miniatures kit.
|
|
|
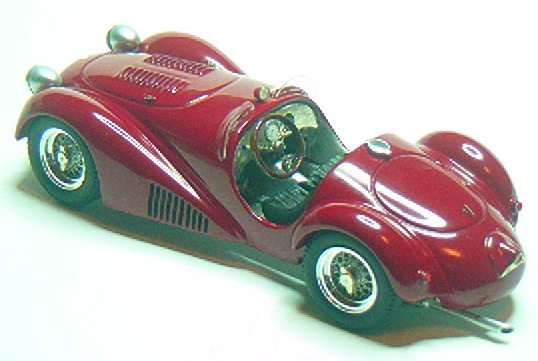
Instead of leaving it red, as in the photos supplied with the kit, the dashboard was covered with Bare Metal foil. Because both gauge decals were identical, and it would look strange to have two of the same gauge in the dash, I chose to replace one with an extra from another kit. Photo etched trim rings were added to the gauges so the decals wouldn't look "stuck on". The shifter was made by dipping a piece of small diameter wire in epoxy and when dry painting the knob Gun Metal.
|

|
Conclusion
The interior of the body was painted with the same metallic gray as the floorboards while the bulkhead behind the seats was covered with Bare Metal foil. No clear coat was used on the body but the paint was polished out with Novus #2.
The only part of building this kit that was a little difficult was cutting out the windscreens. The main reason is that by the time you get to the final sanding and fitting, there isn't much left to hold on to. Other than that, this was a very easy project, suitable for beginners in this scale.
|