|
|||||||
|
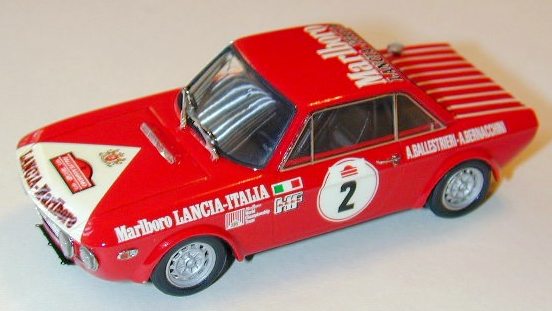
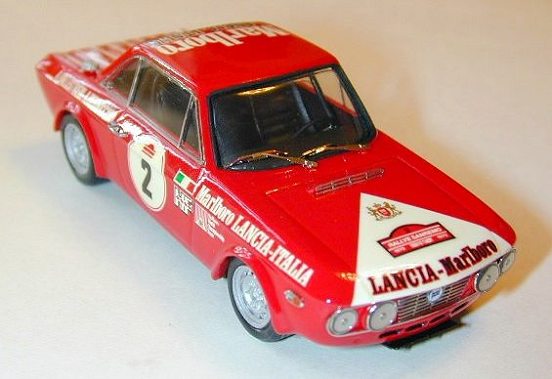
I have an affinity for small four cylinder Italian racing coupes and Racing 43's kit of the Fulvia fits the bill quite nicely. The kit is well cast in white metal and includes vacform windows, photoetch and nicely printed decals. Construction started with cleaning up the body. While nicely cast, it did have a small amount porosity on the hood and very large casting gates on the front and rear lower body. These were cleaned up with a coarse file and then finished off with mid and fine grain sanding sticks. The window openings were trimmed with a sharp scalpel blade. The body was then thoroughly washed and when dry, sprayed with three coats of Tamiya gray primer.
While the body was left to dry, I started work on the interior. The cockpit consisted of a nice dashboard, center console, two bucket style seats and a basic roll cage. Because the interior is predominately black, I assembled everything at one time. The overall fit of the interior was good and the roll cage filled up the inside of the body nicely. The interior with roll cage needed to be offered up to the body to make sure the cage had the proper height. Once assembled, the interior was primed gray and then sprayed a semi-gloss black. The instrument decals were applied with a drop of Solvaset over top to get them to suck down within the instrument pod. I opted not to add any type of racing harness simply because I was unsure whether shoulder belts were used at the time or just simple lap belts. The interior is so dark, their absence is hardly noticeable.
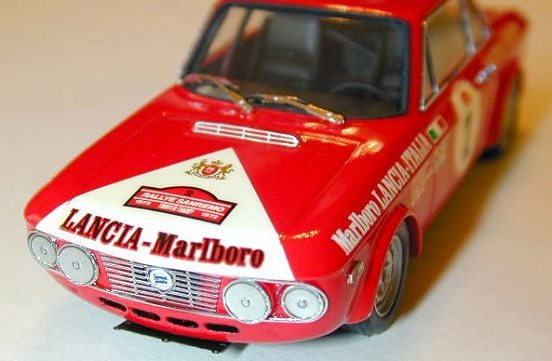
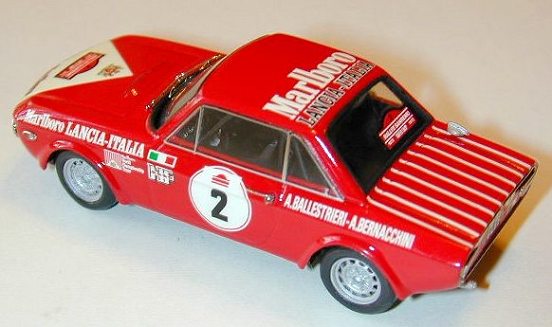
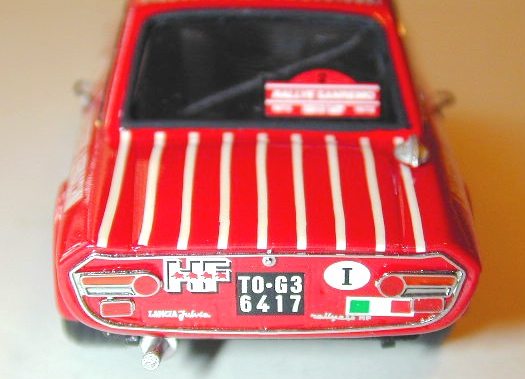
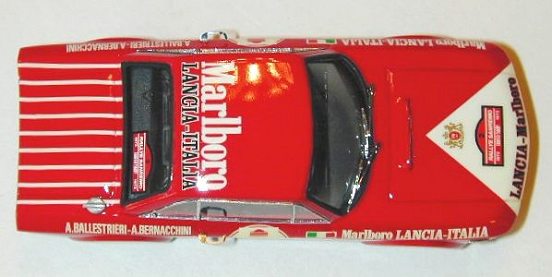
The primed body was then sanded with 800 grit paper, washed, and painted with Testors red from a spray can. Due to the slow drying nature of enamel, the body was set aside to dry for about two weeks. It dried to a nice glossy finish that was ready for the decals. The decals went on beautifully. The white chevron on the hood stayed opaque with no bleed through from the red. The white stripes on the trunk lid lined up perfectly, and with the help of some diluted Solvaset, conformed to the panel lines well. None of the decals exhibited any silvering. Once the decals dried, the body was sprayed with four coats of Gunze clear top coat. The gloss dried nicely and didn't require any sanding or polishing. The front and rear window seals were masked with Bare Metal Foil and airbrushed with Tamiya flat black. The inside of the body was sprayed flat black at the same time.
Final assembly started with the application of the photoetch taillight trim, front grill, and headlight trim detail. The front and rear windows were cut out and glued in place with white glue. The fit of the front and rear windows was very good. However, the side windows were a completely different story. Unfortunately, they just wouldn't fit satisfactorily and had to be replaced. I glued the photoetch side window frames to flat clear plastic. They were then cut out and super glued to the body. It wasn't the perfect solution, but in the end was acceptable. The wheels were replaced from a set from a Meri Fulvia. The Meri wheels were cast all the way through and gave the impression of being deeper. They were painted with Testors Metalizer Aluminum Plate and the Meri tire mounted. The side markers, door handles fuel filler and reflective headlights were then added. Finally, the side markers and taillights were painted with Tamiya clear red and orange.
Conclusion This model was a very enjoyable build. It was only let down by the poor fit of the side windows. I wish more manufacturers would go back to giving vacform front and rear windows. Not all window shapes lend themselves to photoetch/flat plastic method that is so in style these days. Besides, I'm that much more likely to mess up while gluing the photoetch to the plastic. This kit was finished about two years ago and surprisingly the tires have been weeping silicone for about a year. This is the first tome I've had this happen on any kit. I hope you enjoyed the build review.
|