|
|||||||
|
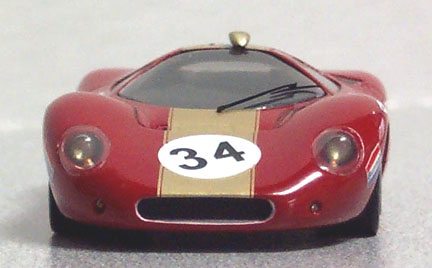
After having done a kit review which you can read here >F3L Review, I was looking forward to building the kit for this article. This would be the first time that I attempted to build a Marsh Models kit. I have always heard a lot of good things about their kits, but now I was ready to see for myself how good they really are. First look As soon as I received this kit the first thing I did was to check all the parts too make sure that everything was present and in good condition. This should always be done as soon as you get a kit, so that spare parts can be requested before the kit goes out of production. Upon inspection, I noticed that the two headlamp lenses were of different sizes. I emailed Marsh Models using the address provided on the instruction sheet and got a reply within 24 hours. No more than 3 days later I had an envelope from England in my mailbox containing the correct size parts. Talk about great support!
Building The next step was to start cleaning the parts and doing a test assembly. The resin castings were among the cleanest that I've seen, so cleanup and preparation is kept to a minimum. During this time I also starting looking for some pictures of the actual car. I find that good references are essential regardless of whether you are super detailing or just building out of the box.
Once the body was primed, the next step wasfinding paint to match the body
color. Marsh is very helpful in that they supply a paint chip with the kit that
you can match to. I use mostly water based acrylic paints, so I found that
adding a small amount of Tamiya X-3 Royal Blue to Tamiya X-7 Red provided a spot
on match. After a few coats of paint were applied and dried, the air inlet on
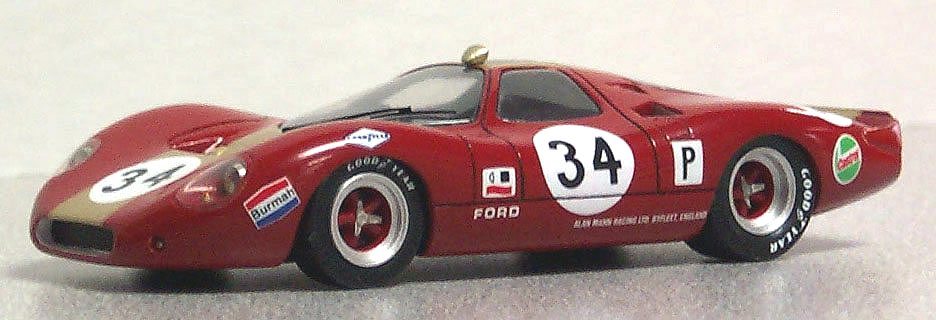
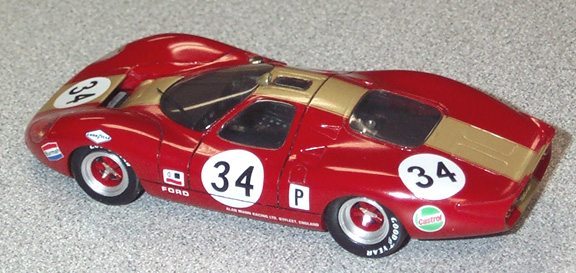
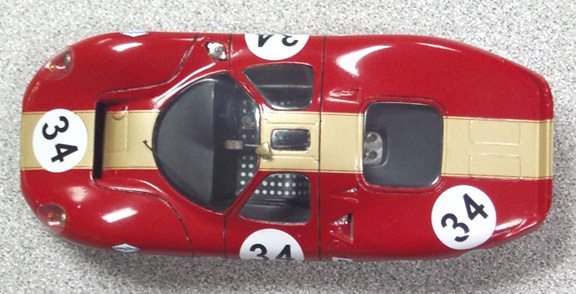
Then the gold decals could be applied. A little decal softener helped to snug them down into all the panel lines. This was followed by the application of the rest of the small sponsor decals and number roundels. A final coat of acrylic clear sealed and smoothed out everything. I like using water based clears because I believe that you get a more realistic finish. It doesn't it give that ultra-shiny look, but rather a nice smooth shine more in common with the cars of that time.
While waiting for the body to dry during the different stages of the painting process, I began the build up of the chassis and interior. This proved to be a very simple build as there are not a lot of parts. The white metal gear lever and linkage and a few small PE parts serve to detailing the interior.
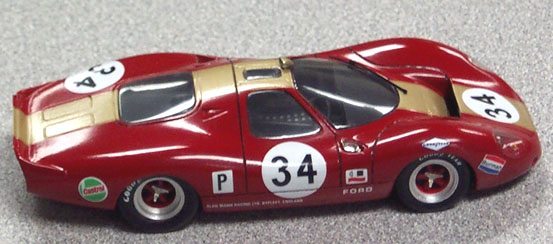
The only part of the kit that I felt the need to improve were the tire/wheel assemblies. As with most Marsh kits the tires are made from resin rather than
rubber. The wheel inserts are turned metal. Due to variables in the casting
process it is nearly impossible to make the wheel and tire fit perfectly. As it
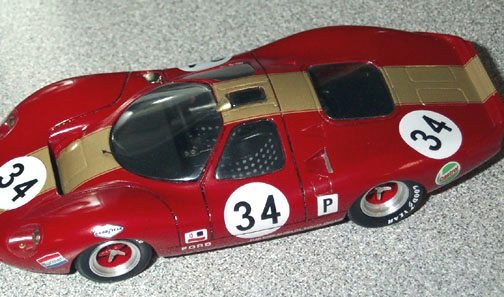
Finishing and conclusions Finally assembly consisted of attaching the wheels, setting the ride height, and
gluing the rear view mirror on the roof. To enhance the detail in the mirror, I
used a small Dremel bit to carve out the mirror area. This should be visible in
the picture from the rear of the car. The mirror also has to be painted to All in all this was a very enjoyable kit to build, and one that I would definitely recommend to someone wanting to start in the 1/43rd hobby. When you are done you'll have a beautiful model of a little known, but great looking car. Just what 1/43rd kits are all about! |