|
Manufacturer: Renaissance
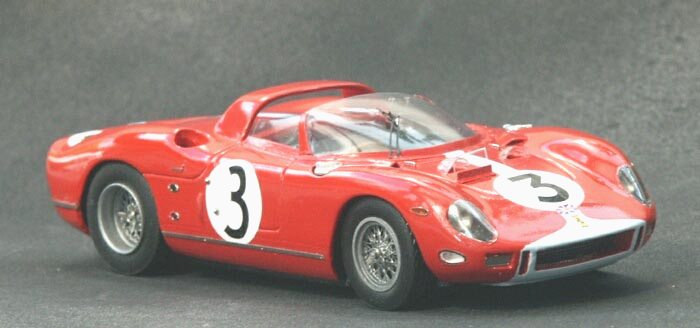
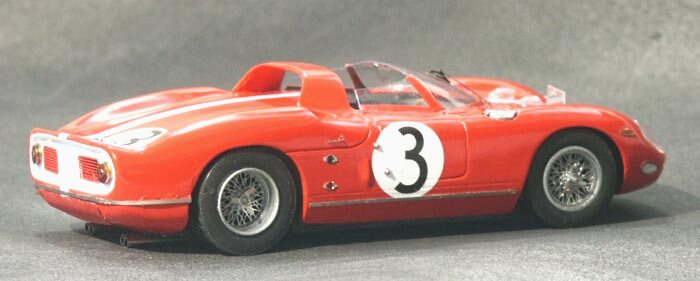
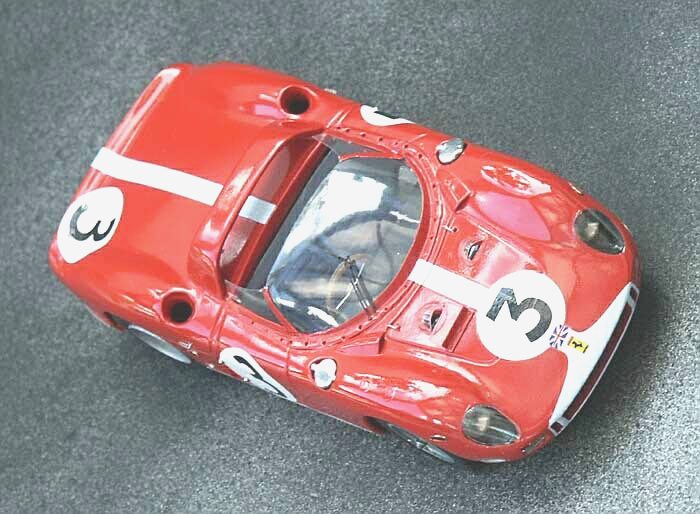
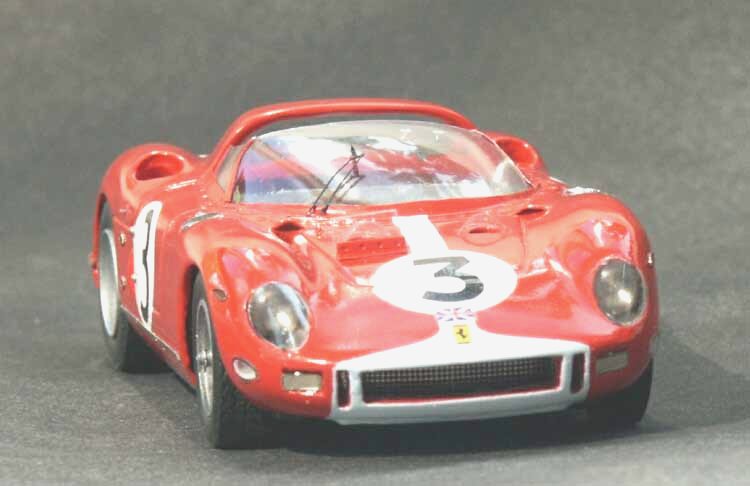
Ferrari 330P64
Kit number: 0818
Scale : 1/43
|
Renaissance have deservedly always enjoyed a good reputation for producing finely executed kits, from the quite simple but quite effective ones like their superb Oscas to the more taxing projects such as the Integral range. The 330P64 reviewed here is almost, but not quite, identical to the Ferrari 250 & 275 which I have built previously so most of the comments herein apply to all three.
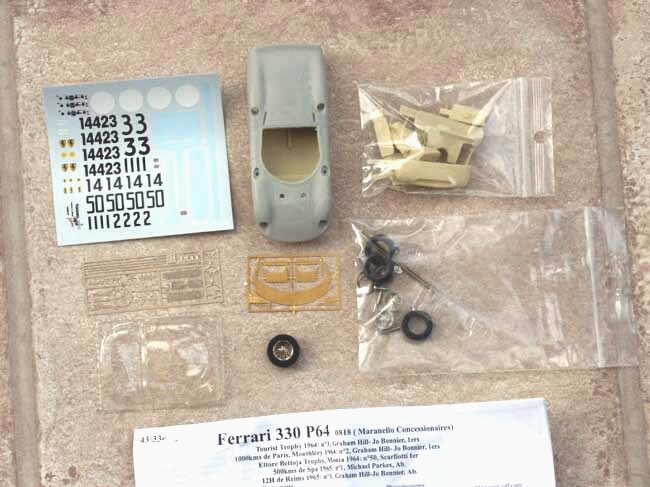
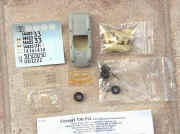
The kit
|
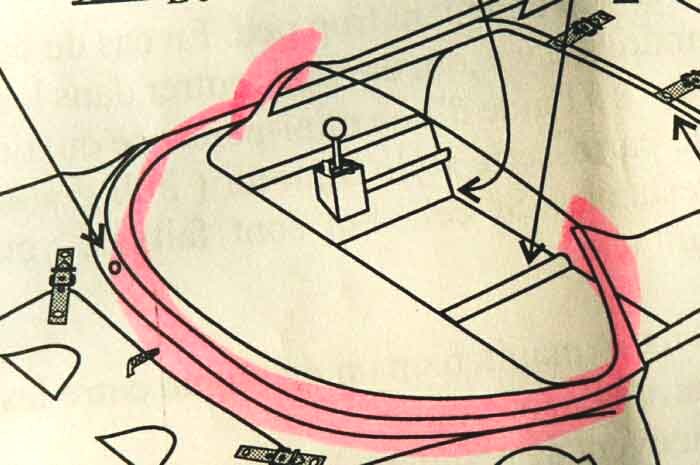
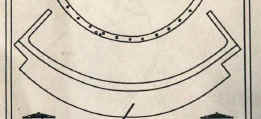
The 330P64 gives the builder a choice of five different event/driver combinations. I chose the Graham Hill/ Jo Bonnier 1964 TT winner. This kit varies from the others in one noticeable way. The windscreen surround had obviously caused problems before so now the builder has the option of using the photo etch part or merely painting the vacform edges which have the surround moulded into it.
|
|
Initial preparation is simplified in so far as the amount of flash or imperfections are minimal. It is necessary on this kit to glue the rear valance into place and to fit the etch windscreen surround if chosen, before painting commences.
|
|
|
The windscreen surround had obviously caused problems before so now the builder has the option of using the photo etch part or merely painting the vacform edges which have the surround moulded into it.
|
As is normal with resin bodies I usually start with a light dusting of Plastic Primer followed by ordinary white primer and a topcoat. Sorry to labour the point of the windscreen but it is critical that if the etched part is to be used that it is shaped and fitted carefully so that it matches up perfectly with the vacform. I used contact adhesive to fix it but this means that you cannot move it around to get it exact. When you fit it, it had better be right.
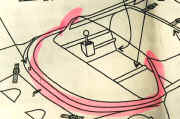
The other minus point is that I find the fitting of the two internal sills, one on either side which fit to the inside of the doors and to the floor are not a perfect fit. The builder has to scratch his head for a while deciding how to best go about it. I found it best to offer the floor to the body before the vacform is fitted and then to glue the sills to the inside of the body. You can then remove the chassis to complete the other functions.
M. Dhont has decided this time not to include the seat belts on the PE sheet. However, I decided to opt for the route, which he suggested on a previous kit. He suggested, with humor that we might like to go out and purchase a bottle of good French wine. The neck seal on a good bottle will provide a thin, soft lead-like material, which can be easily cut, painted and formed to fit as seatbelts. The by- product ain't half bad either! Beware; however, expect some strange looks from your fellow shoppers as you examine the neck not the label, to ensure that it is the right material. Now, what shall I do with the packaging of the Roquefort?
The decals are of the usual good quality and easy to fit but for the rear end of the car, can be applied a little more easily by cutting it vertically into three sections. I think that trying to apply it in one piece might be a bit of a challenge.
To describe in greater detail how to assemble and fit up the rest of the kit is rather unnecessary as it is merely a matter of simplicity. The finished product is excellent, as we have come to expect from M. Dhont. Despite the fact that I don't think that it is one of his best.
|