Microsport 1967 Cougar

Multi Media kit of resin and metal parts

by Chuck Livingston


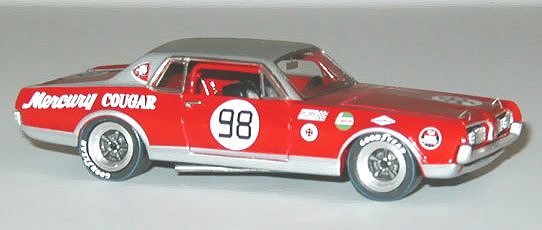
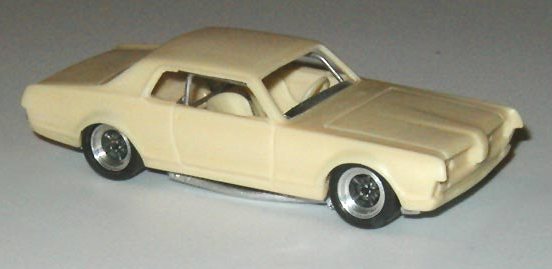
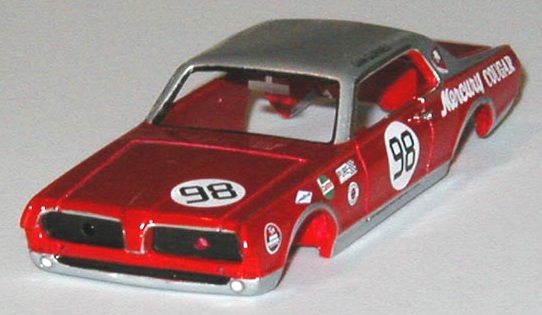
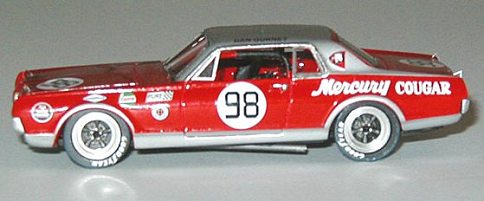
The 1967 Cougar, run by the NASCAR Bud Moore team, was involved in a year long battle against the rival Ford Mustang. The car was evolving from one race to the next as the team understood the "rules" of the Trans Am and what it took to go road racing. Dan Gurney's leaking gas cap took him out of running during the last race. Maintenance of the
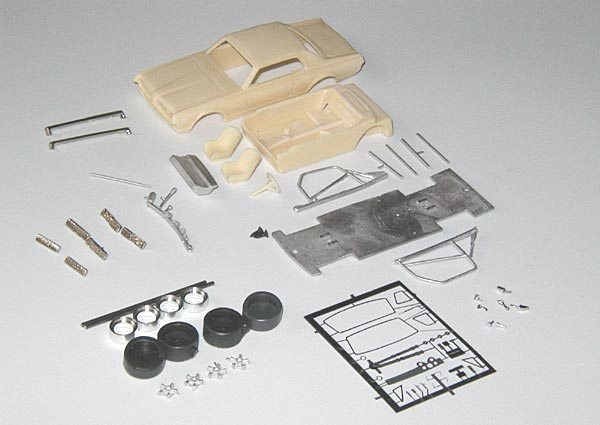
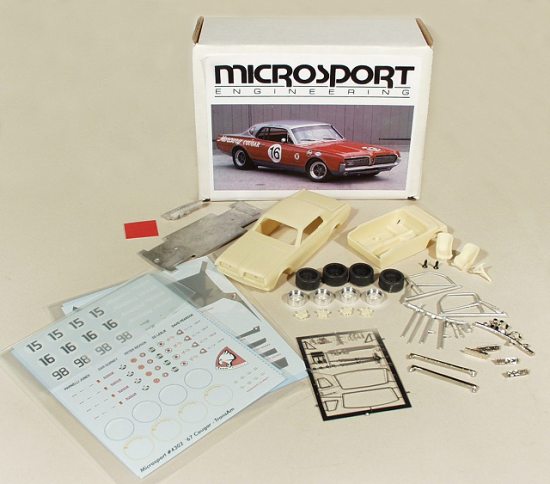
cars was lacking late in the season as the team understood they would
not be running the next year. There have been surprisingly few kits of the Trans Am cars over the years. Microsport Engineering is hoping to fill some of these gaps. This is their first model.


The kit

First impressions of this kit are very good. A color photo of the car is on the box and the box itself is sized for the decals to lay flat. The decals and parts are separated into various poly bags for safe
keeping. The parts are a mix of resin for the body and interior and steering wheel, white metal for the roll cage, chassis plate, seats and dash, and one photo-etched tree for the dash panel, window trim, and body badges and hardware.

cougar_02.jpg (37984 bytes)

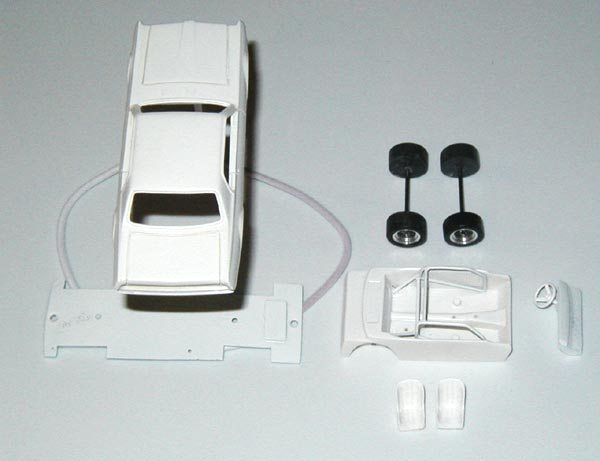
 There is also a set of chromed parts for the bumpers, front grill and tail lights. The decals are supplied on a couple of sheets. There is a silver set with duplicates for the
more difficult to apply decals and a sheet of number and sponsor decals. Two supplement sheets are provided for the instruments and Cougar logo on the thick C pillar. Six pages of written instructions and a 2 sided color sheet is included for reference.


Kit preparation

Cleaning the parts is quite easy. The castings are very nice. I did make some of the engravings for the body panels a little deeper, but that may not have been necessary.


I read through the instructions before starting, but I thought I would ease myself into the kit by building up the wheel/tire assembly. That way the model could be tested to check ride height and sit. I did dig out a little inside the wheel arches since it was a tight fit. The tires are black resin and the wheel rims are turned parts. If you have built a Marsh Models kit, this is the same thing. A metal insert needs to be painted as per the instructions.


Next was the interior. I deviated from the instructions and built the roll cage into the interior tub before painting. I didn't think it would be a problem to paint the roll bar if it was already fastened in place. I also attached the steering wheel to the dash panel since it is easier than spraying these parts separately. It didn't create any problems later when the dash was completed but it is wise to test fit the photo-etched part. So it is a fairly safe recommendation.

cougar_08.jpg (31842 bytes)

There are markings in the tub of where to attach the roll bar. So placement is easy. One thing I didn't catch on to were the chrome wedge parts in that bag. They are the traction bars that stick through the slots towards the rear wheels. I'm not sure why they are chromed since they get painted red and black. They should be attached before the seat and seat belts are in place.

cougar_09.jpg (18990 bytes)

Everything is ready to be sprayed. I used Tamiya primer and red. A color chip is included, as well as paint reference for Tamiya and Testors enamels. While going through the paint process, some of the other parts can be prepared also. I painted the photo-etched dash black and scraped the raised chrome trim areas. The tail lights were painted Tamiya clear red and the front grill was painted flat black. When that was dry, I rubbed away the grill for the vertical chrome strips.

cougar_10.jpg (29242 bytes)


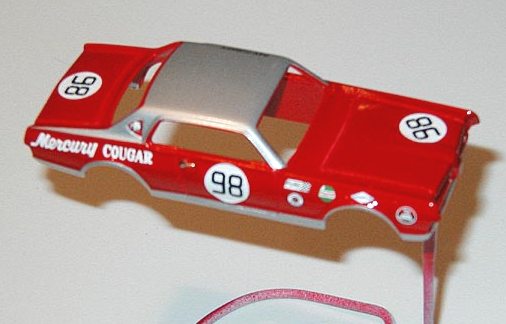
Decals

I started by applying the large roof decal to get the hardest one done with. This didn't present any problems. They do react nicely to decal softeners. Next I did the decal under the front bumper so I
wouldn't have problems matching up to the side decals. Same goes for the back decal. There isn't much room for overlap, but aluminum paint should match up well to the decals, if you do have a gap. All the number and sponsor decals go on without a problem. Just check references for the version you are building.

cougar_20.jpg (27720 bytes) cougar_22.jpg (25509 bytes) cougar_26.jpg (31349 bytes)

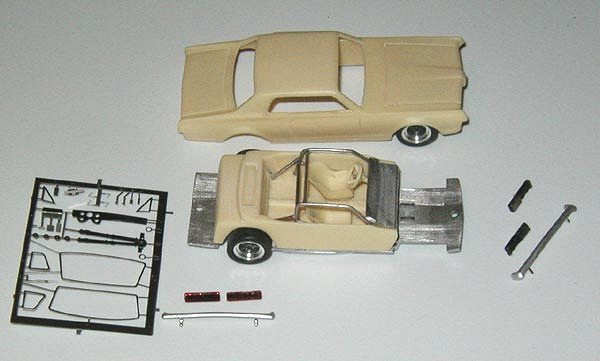
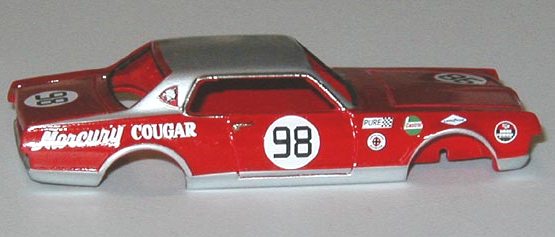
Assembly

This kit doesn't really have any surprises when everything goes together with paint on it. As long as care was taken with the roll cage before painting, this one comes together rather well. It leaves a good impression when finished.


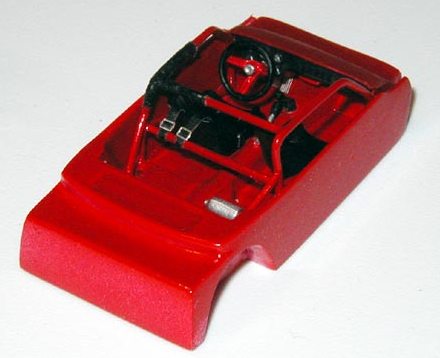
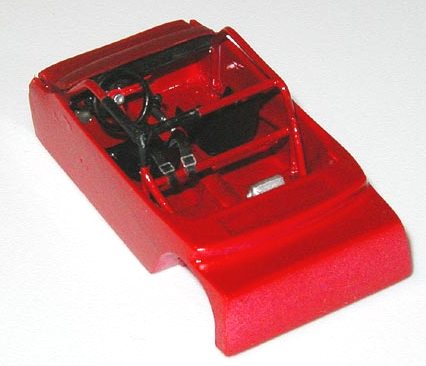
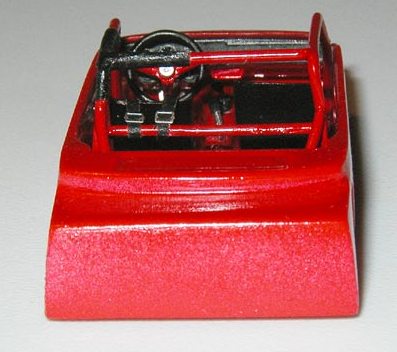
As the body was getting the decals and clear coat, I finished building the interior. I added some black tape around the roll bar and also substituted tape and photo-etched hardware for the seat belt provided. The provided belt is not correct for a 1967 racer. The dash panel got a flat red for the top surface and the photo-etched part had the clear plastic attached and instrument decal added to that.
Then that assembly was attached to the white metal dash. There are also metal parts for the brake and shifter as well as the seats. I used both seats. I'm not sure when the team stopped using the passenger seat during the season. There is also a photo-etched pedal set that hangs down under the dash. I did make a space on the metal dash part to allow for the pedals so the dash would attach flush to the interior tub on all sides.


cougar_14.jpg (22978 bytes) cougar_15.jpg (24059 bytes) cougar_19.jpg (29167 bytes)


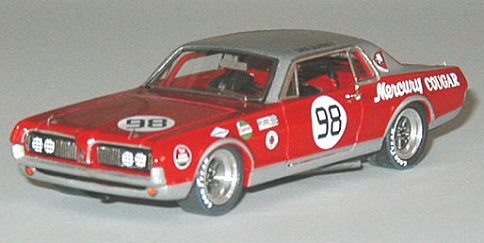
The exterior first had the grill area in front painted black. I cut a black decal to shape for the opening under the front bumper. It's less stressful and gives a clean edge. I then attached the bumpers, which I painted aluminum since I don't believe they were shiny chrome. The rear lights, assorted body badges, bare metal foil around the front grill and grill parts were then put in place. Later season cars didn't have the chrome around the grill.


Then I went for the windows. There are 2 sheets of clear plastic with paper outlines attached. The outlines can be trusted and will fit well with the photoetched parts. It's a good idea to blacken the recess they sit in for the front and back windows. I would have liked to see the front photo-etched frame be a little wider. The front pillar is a little thick. I decided to add Bare Metal Foil to the rain gutters to reduce the thickness visually.


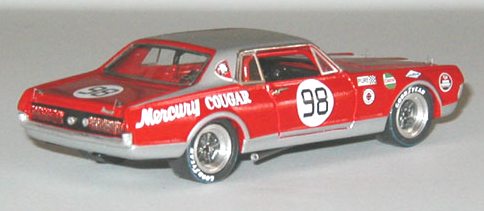
To finish, I placed the interior inside and screwed in the base plate with the black screws provided. The last parts attached were the hood pins.


Conclusion

The kit goes together rather well. The assembly process is well thought out and the parts are nicely made. Like many of the Trans Am cars of this era, this car lends itself well to being miniaturized