|
|||||||||||||||||||
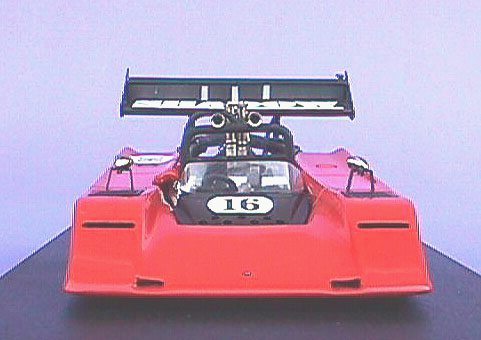
In my collection of " weirdo " cars, the AVS Shadow always had a place of honour, and I thought it was high time to build this little gem. Designed by " The Picasso of motorsport design " (as Preston Lerner puts it), Trevor Harris, the car was indeed a very unorthodox product, intended to steam-roll the opposition by mating a very small and low car (low drag) to a massive engine. Not only did the concept sound exceptional, the product looked nothing conventional to say the least ! But tiny wheels meant tiny brakes, tiny suspension parts and huge problems : Suspension failures, lack of braking power, and problems with the keepers of the rule-book meant that the car never actually did what it was intended to do : To win. But AVS, using a much more conservative if not devoid of awesome details design, eventually won the CanAm championship in 1974.
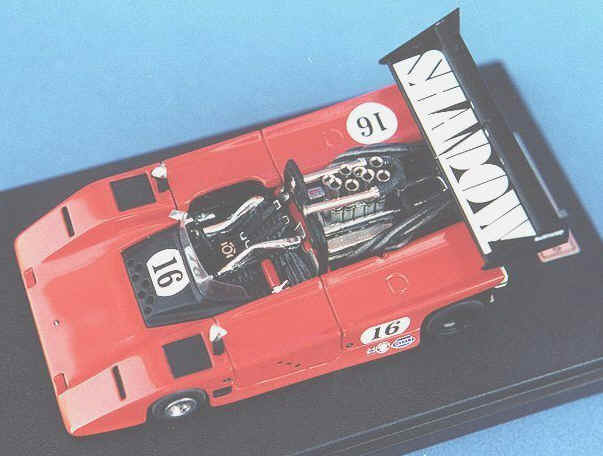
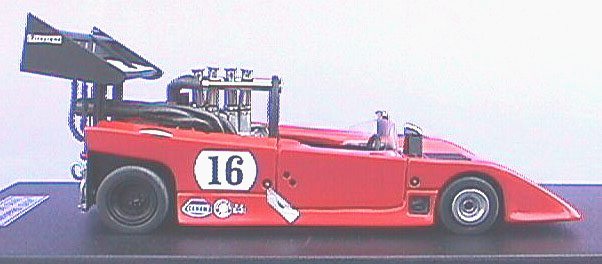
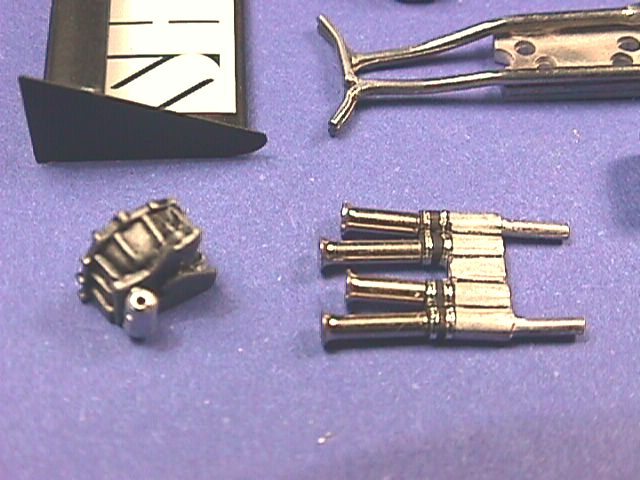
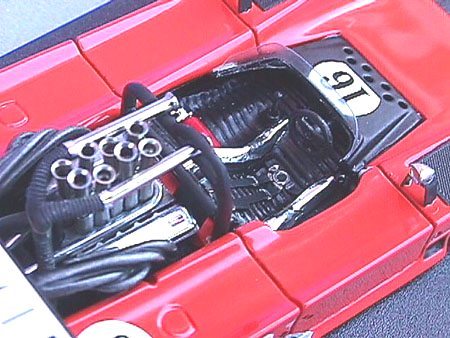
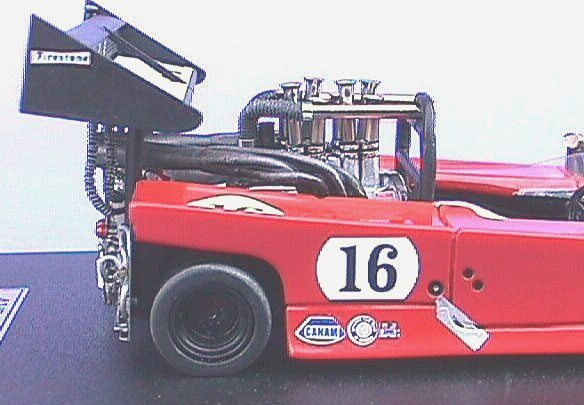
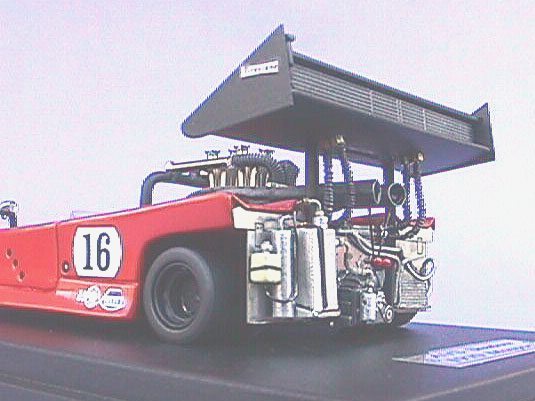
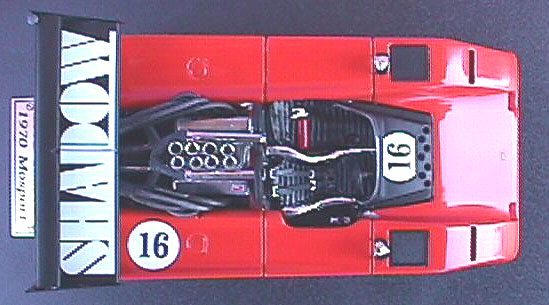
This model represents the car as it raced in the first 1970 season CanAm race at Mosport. The radiator sitting on top of the wing (it was later forced to be relocated inside the wing…), the car was not yet painted black like the later AVSs. George Follmer had qualified the car on the 5th grid position, but had to retire due to engine overheating. The kit from Marsh Marsh Models have to be praised for their decision to model this very special car, and they have done a wonderful job too. The body is well cast in resin, captures the shape and " feel " of the actual car very well. Most other ancillaries, including full curbside engine bay and rear end " gasworks " are cast metal and photo-etched ; the intake " velocity stacks " are beautifully turned and chromed pieces. Tires are black resin, and I can't stop praising Marsh for their decision to adopt this rather uncommon material for producing their tires. With Marsh Models you don't get a set of generic rubber tires, that will have to fit all types and periods of cars, and which will split with time ; no, Marsh Models give you the correct set of tires with each model they produce, and they are correctly treaded (in case of the AVS
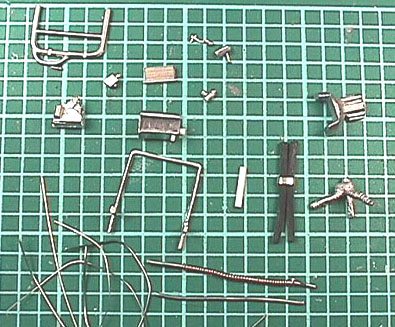
they are slicks, of course…)! Building Cleaning the parts took little time, as the quality of the castings is again very good. All parts that needed painting were primed with automotive primer. Before priming the body, I rescribed (cleaned) the panel lines (especially the doors), and deepened the holes that adorn the sides of the cockpit.
The body was painted with some light coats of " Blutorange " (RAL 2002 ), then sanded and polished. It turned out to be a difficult job after all, especially as it was quite troublesome to sand and polish ; what's more, the paint chipped on several places while I was repeatedly handling the body during final construction and detailing ; the " touch-ups " can still be seen - shame ! As there are not many decals to be applied, I decided not to apply varnish over the decals. I simply applied them with a good dose of Solvaset.
The interior was built up following the instructions, adding a drop of clear setting resin to the dial faces, and applying some bare metal chrome foil to the seat assembly. The cockpit was also a very interesting item in this car, because it was so tiny that the driver really had to squeeze in between the seat and the dash/steering wheel (care has to be taken to leave at least some space between the steering wheel and the seat) ; and then, because of the manual clutch, the driver was rather busy. Pete Lyons gratifies us with a funny caption under one of the pictures in his excellent book " CanAm ". The pictures shows George Follmer at the wheel of the AVS, looking like he had just been shoe-horned into a pedal car, and the caption reads : " OK : One hand on the clutch, one hand on the shifter, and one, er… ? Again …. ". Yep
! I think poor George was rather in trouble.
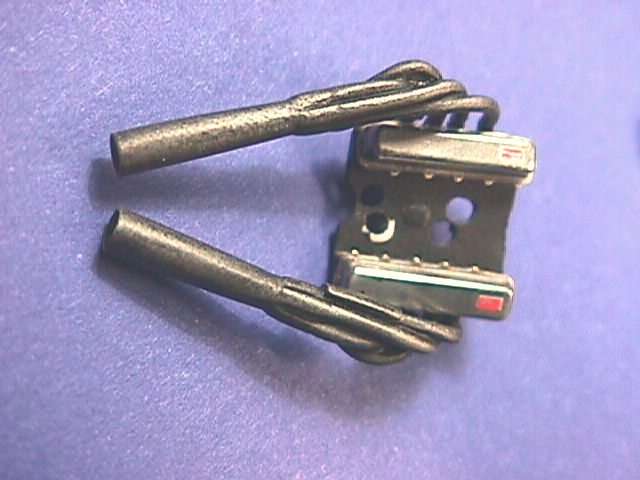
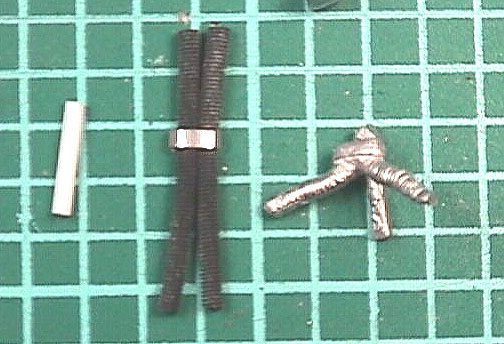
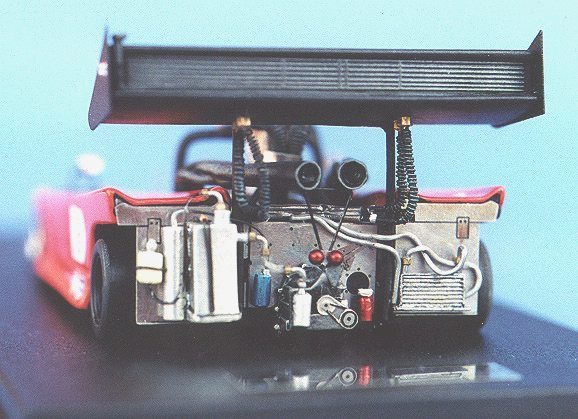
The " gasworks " at the rear of the car was further detailed, based on the picture at page 128 of Pete Lyons' book. Piping was replicated using different sizes of solder and copper wire, plus some " braided lines " by detail Master; some hexnuts (model railroader supplies) were added.
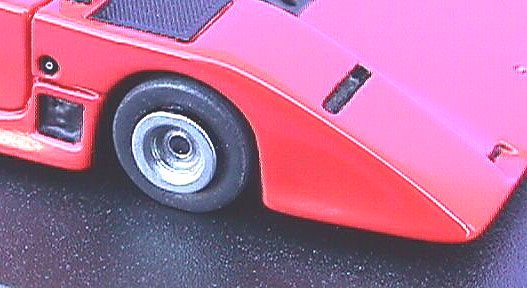
I had previously enlarged the holes in the car body through which the axle rods have to go ; this gives you some room to move the axles/wheels and adjust the riding height of the car. Once the body finished, I glued one wheel to each of the axles, inserted them through the body, and glued the opposite side wheel in place. Then I hold each axle/wheel assembly with 2 fingers, and sand a flat spot to each set of tires ; thus the car will have a nice and realistic sit ! To set and fix the proper ride height, I put two small blobs of blu-tack to the chassis, one between the front wheels, and one between the rears, then I applied 5-minute-epoxy to the front and rear axles, put the car on a glass plate (making sure the flat spots of the tires were at the bottom !). At first, it will " levitate " on the blu-tak, but then you can start to push the car down, onto it's wheels and continue doing so until the ride height looks right, and the body is parallel to the ground.
I deliberately say " looks " right, because I never measure the ride height. With closed wheel cars, the ride height is most evident in the distance from the tires to the wheel arches ; even if the body is half a millimeter too close or too far from the ground, if the wheels are properly positioned within the wheel-arches, the model will look right ! Using putty or 5-minute-epoxy means that you have enough time to correct the ride height, make all four wheels touch the ground, and assure that the car does not have any " roll ". When it looks right, let the putty harden, then lightly re-sand the flat spots on the tires. Conclusion I really enjoyed building this model ; it is fun, and turns out to have that particular, convincing look. The only nag concerns the instructions which are insufficiently clear, and leave some doubts about certain aspects of the build.
References
Special tools/materials used
|