|
 |
|
How to fit Photo etched windows
|
|
|
|
|
|
|
This is the method I adopted to place photoetched windows. It's no big deal. Just follow the steps, and you will get very good results. I did!
|
|
|
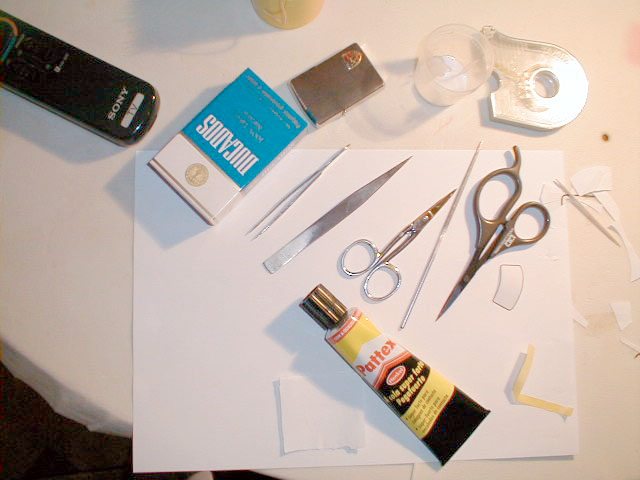
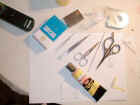
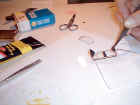
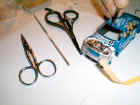
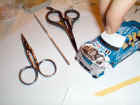
You will start by spraying the photoetched parts (some BBR models are the exception, they are already painted), unless the windows surround is chrome, only on the outside.
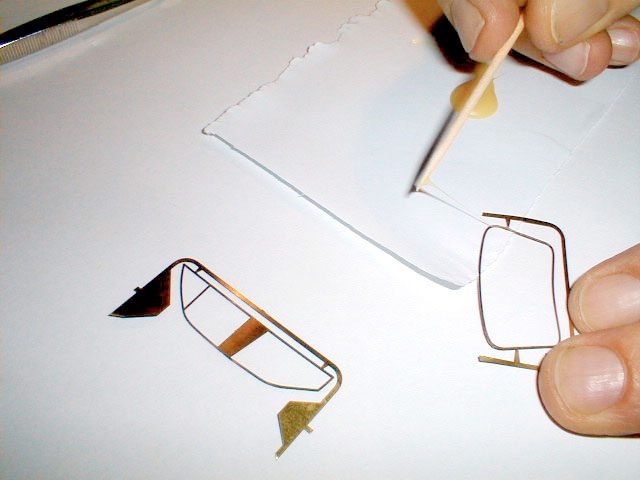
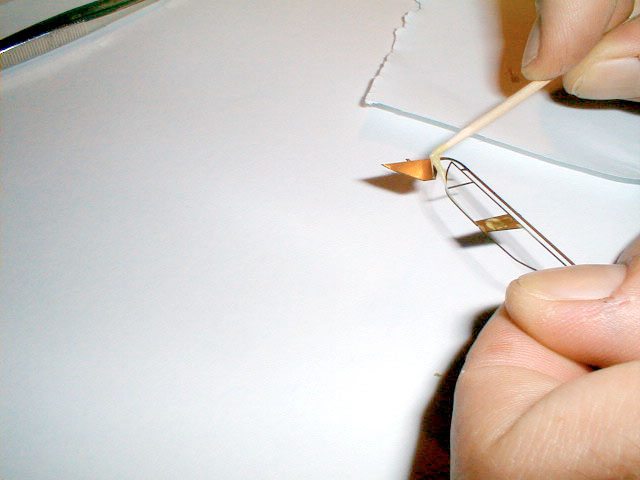
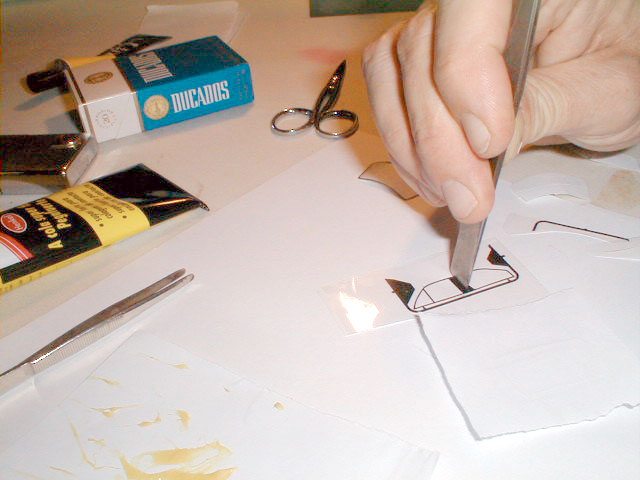
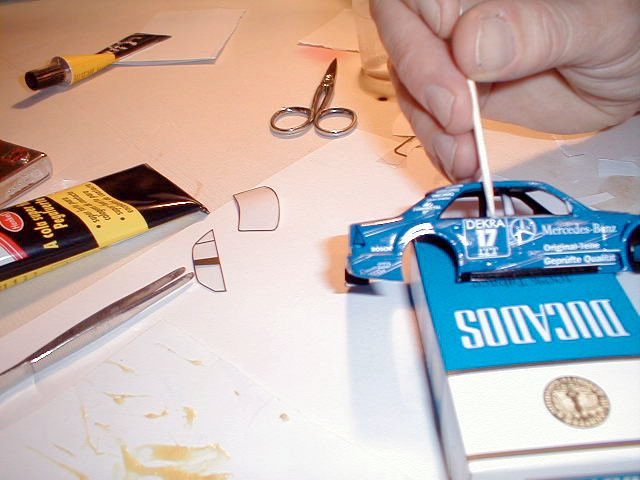
Using a fine toothpick apply the glue (contact glue, due to it's elasticity) over the photoetched's unpainted surface; this is crucial!!!! Let it dry for 15 to 20 minutes before applying it over the acetate.
|

|
|
|
|
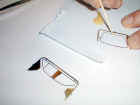
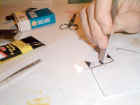
After you place it over the acetate, put a small piece of paper over the photoetched (it avoid finger prints on the acetate) part and start to compress it with your fingers to be sure that the photoetched's entire surface will be firm in place.
|
|
|
|
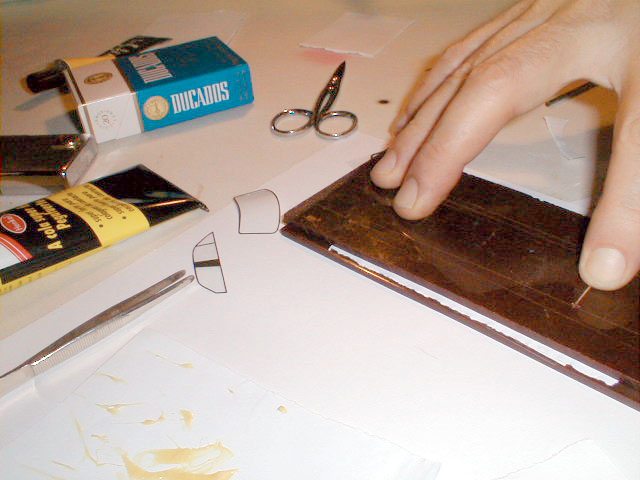
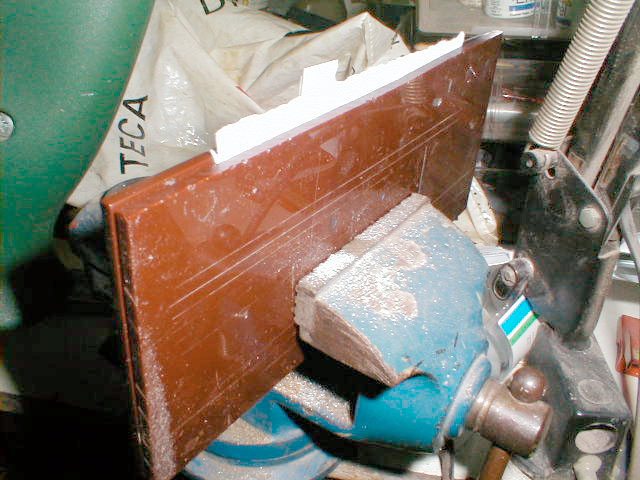
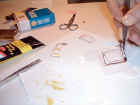
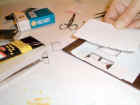
Now comes another crucial step: using two acrylic plates, put the photoetched (now fixed to the acetate) between them and, with the help of a vice, press the two plates against each other. Let it stay for at least 12 hours.
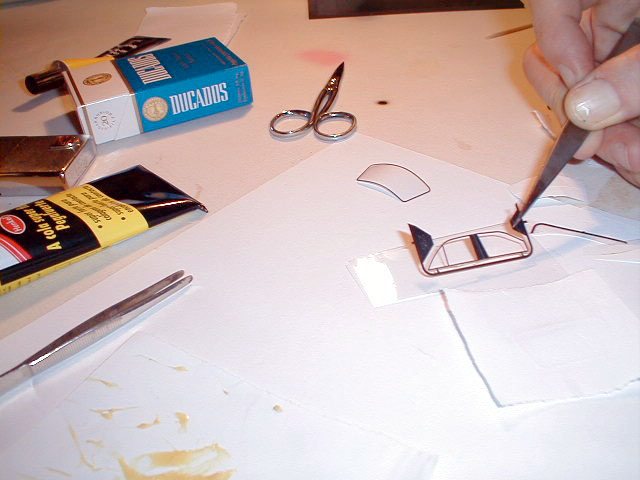
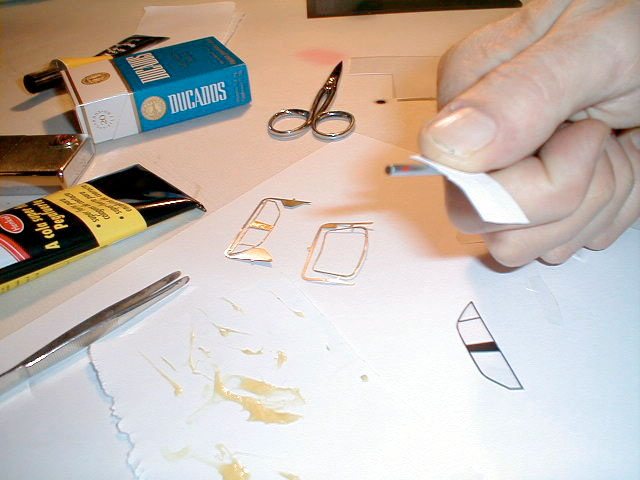
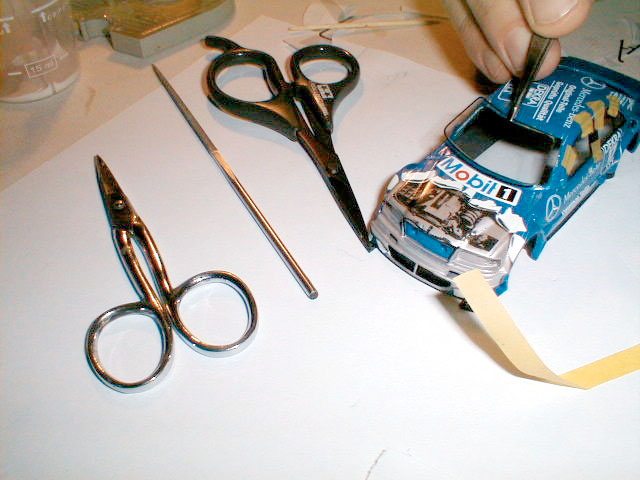
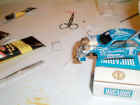
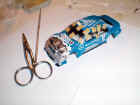
Cut the exceeding acetate around the photoetched and we have the window(s) ready to be placed on the model's body. Half of the nightmare (and many four letter words) is gone. To place them, the process is very similar, but much more delicate. Once more, using a toothpick, you will apply the glue over the intended surface, especially when we are referring to the front and back windscreen (the side windows are much easier to put in place). Let it dry for 15-20 minutes, during which you will give the right incurvation to the photoetched.
|
|
|

|
|
|
|
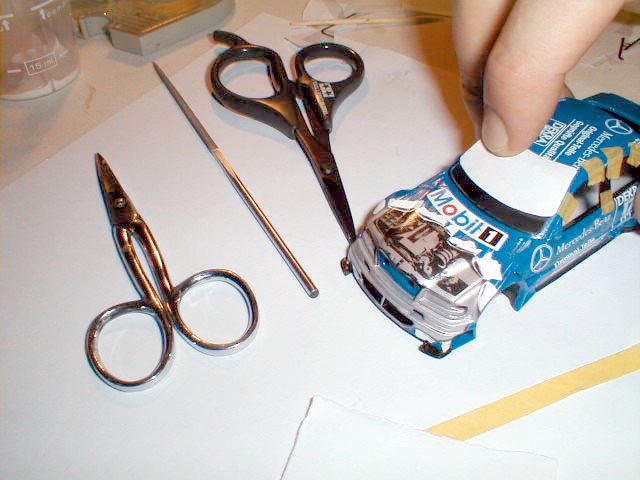
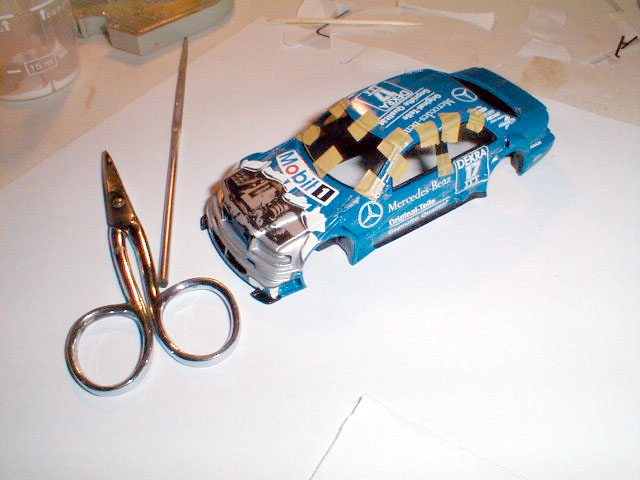
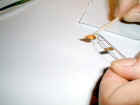
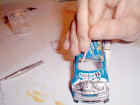
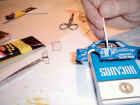
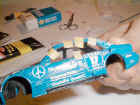
Apply the window to the body's car and with the help of Tamiya 6mm masking tape (cut several pieces-they will assure that the window stays compressed to the model's body during the drying process) be sure that al the potoetched is in contact with the body. Let it stay until the next day. Then take the masktape out and you have the windscreen on its place. Piece of cake.
|
|
|
|
|
As I mentioned before, the side windows are easier to lay because, usually, they are flat. That means it's not necessary to compress them against the body, neither to incurvate (some times, only a little bit at both ends). To set them, I advise you to use Microset White Glue. This glue becomes completely transparent when it dries and it's very easy to apply. Use also the masktape to assure complete contact between the window and the body.
And that's it. The nightmare is gone and so are the 'F' words.
I hope this may be helpful.
Good luck.
|
|
|
|
|
|
|