|
In this article on building the Profil24 Lotus Elite we will consider some of the techniques involved in building a resin kit. It is unusual for me to build anything larger than 1/43rd but I felt that perhaps it would be easier to show some parts in a larger scale but more importantly it gave me a chance to build one of my favourite cars as driven by my favourite driver.
Painting
Painting is perhaps the stage of building models that holds the most fears for the newcomer. The great advantage of resin is that it is inert so one can proceed safe in the knowledge that if it all goes wrong we can easily strip the paint and start again.
Which paint shall I use?
My first models were brush painted with tinlets of Humbrol but as my skills improved I turned to the airbrush with mixed success. I always fancied the convenience and vast colour range of automotive aerosols but the early cellulose paints often reacted with plastic. Ten years ago I discovered my first resin kits and was advised to use aerosols for my first attempts. I have never seen any reason to change, if I can not get the colour I want off the shelf I have a local supplier who will mix a can to the desired colour. Tim Dyke who makes perhaps the finest resin models uses cans and if it is good enough for him it should be good enough for me.
|
...Tim Dyke who makes perhaps the finest resin models uses cans and if it is good enough for him it should be good enough for me...
|
|
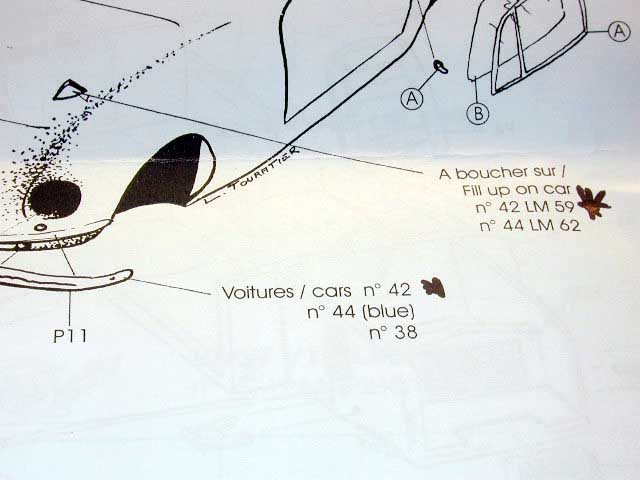
The secret to any stage of making a good model is preparation and the first stage is to read and study the instructions. This kit makes several versions and I marked the notes specific to the Clark car. Next I identify and check that all the parts are present, (I try to do this as soon as I get a new kit as the kit may not be built for several years and if I find the part is missing on a ten year old kit there is a very good chance it will be unobtainable) and then I study the way the kit goes together. Are the windows a vac form or sheet acetate, do they fit from the inside or outside. What is flash and what is a ridge for fitting a window to.
|
|
|
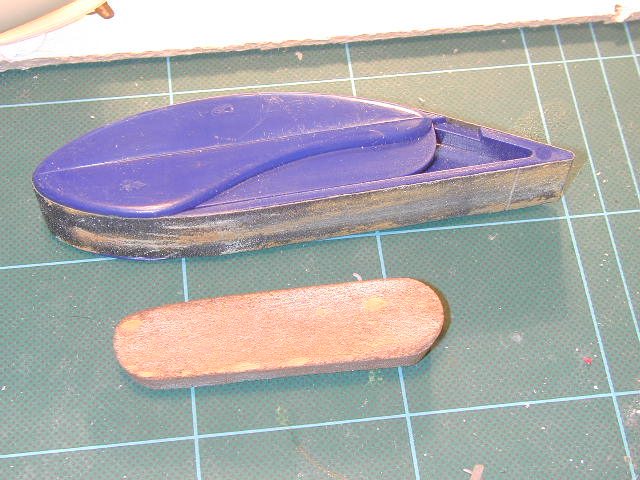
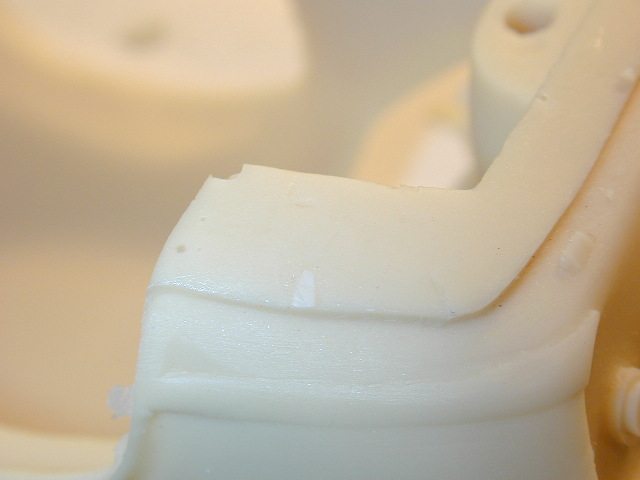
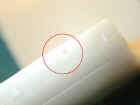
Once I am sure of how I am going to build the kit I then start to prepare my resin parts. Most have a feed tag and some flash to remove and there will often be air holes in some of the parts.
Rough sand used
|

|
|
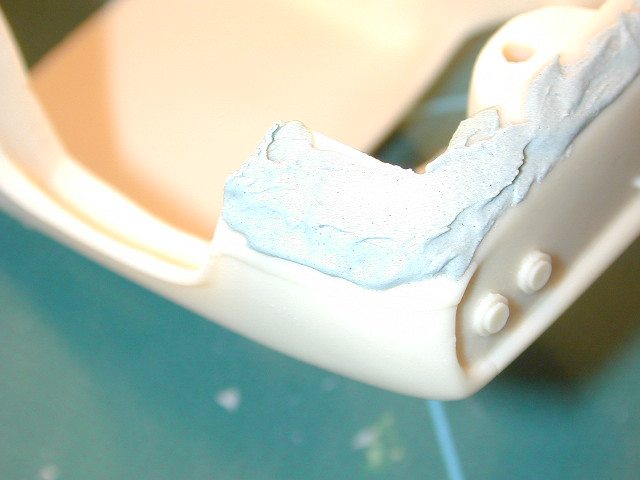
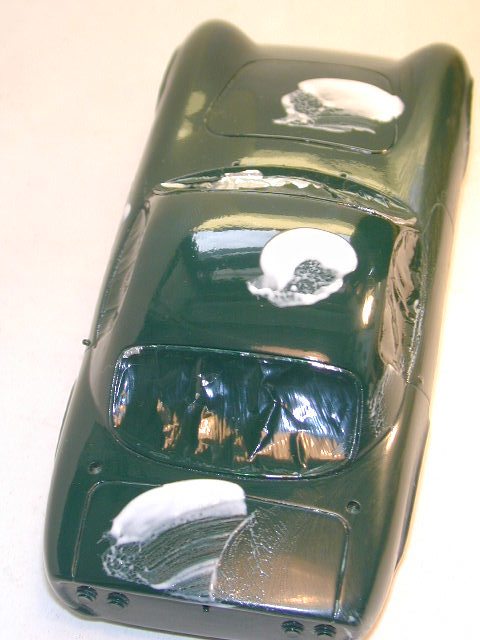
On the Body these usually occur along the base of the sills and front and rear aprons. There is also often some excess material as can be seen on the rear apron. Firstly I open up all the blow holes to make them easy to see and fill. I use an automotive filler paste, soft on resin and harder on white metal. It is important that the excess filler is sanded off before the resin or metal. Once I have filled any blow holes and the bonnet vent I sand down the filler using first a sanding block and coarse emery paper. Once the bulk shaping has been achieved I finish with a piece of wet very worn 1200 grit emery paper.
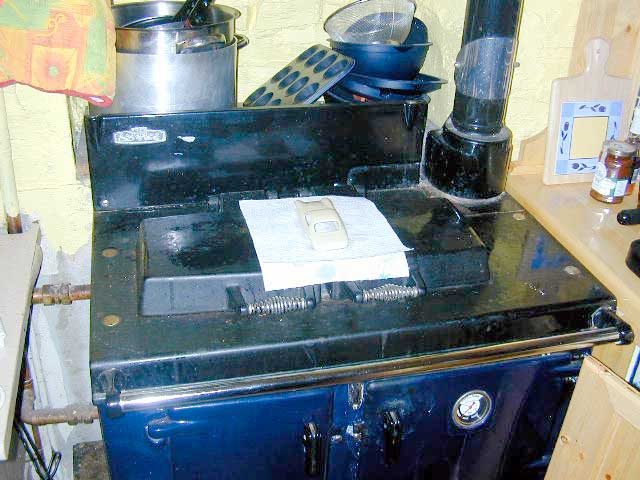
The body will now be covered in a sludge of dust and grease from fingers. I now scrub the body with a mix of washing up liquid and cream cleaner and an old toothbrush. The soap is then washed off with the toothbrush under streaming clean tap water and the model carefully set aside to dry. I dry my models on top of a piece paper towel on the kitchen Raeburn. This is warm rather than hot and when thoroughly dry we can consider painting.
|
|
|
|
|

|
Priming
On resin it is important if possible to use a "Primer for Plastic", these primers are intended for use on the plastic bumpers of modern cars. They seem to have an etch effect on resin but perhaps more importantly they are flexible and thus more able to resist any bending that may be involved in building the model. In UK I can get the primer in white, grey and red and I will use the colour most suitable for my final colour. The Lotus is a dark British Racing Green and none of the primer colours are very suitable. Paint is usually thin over the edges of panels this we often find that the primer shows as a thin area at the panel lines particularly with dark colours. I shall deal with solving this problem as we progress.
|
...Moisture and dust are perhaps the greatest enemies to a good finish...
|
|
I have built a simple extraction system for painting and other smelly jobs. I also have a baby bottle warmer to warm my cans of paint. Warm paint on warm resin is a good starting point towards a good finish. Moisture and dust are perhaps the greatest enemies to a good finish. An extraction system and a warm dry atmosphere are very important.
|

|
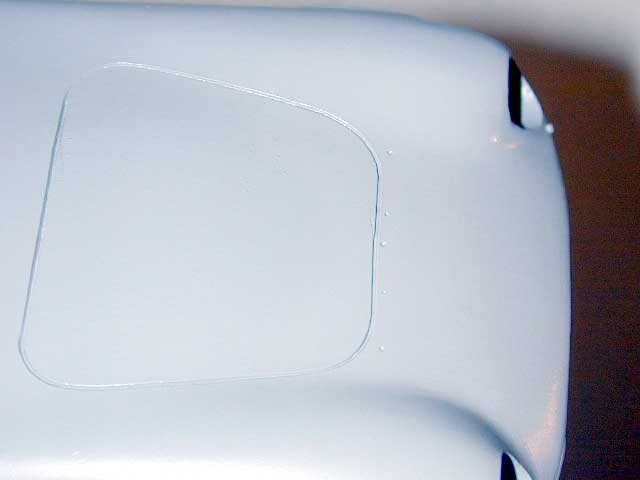
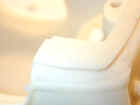
The body is mounted on a painting armature, the first coat is a mist coat. I always follow a routine, under front, under right sill, under rear, under left sill, direct front, direct right side, direct rear, direct left side, above front, above right, above rear and above left and then inspect to see if any awkward areas have been missed. The mist coat is so thin that it dries matt on contact and the colour of the resin can still be seen but it is enough to see if there are any flaws in preparation. After about one minute a
second flood coat is sprayed following the same order. This coat is thick enough to almost obscure panel lines and have an initial gloss finish.
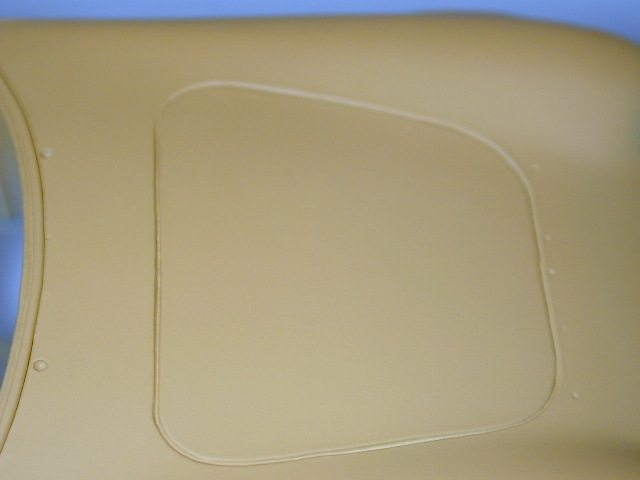
When the paint dries it will leave a good even smooth coat with clear sharp panel lines. This coat should need no preparation before a topcoat is applied. I this case there were two small scratches where the bonnet panel lines had been cleaned out. These were very shallow and a coat of yellow filler primer cured these.
The window frames: a headcache
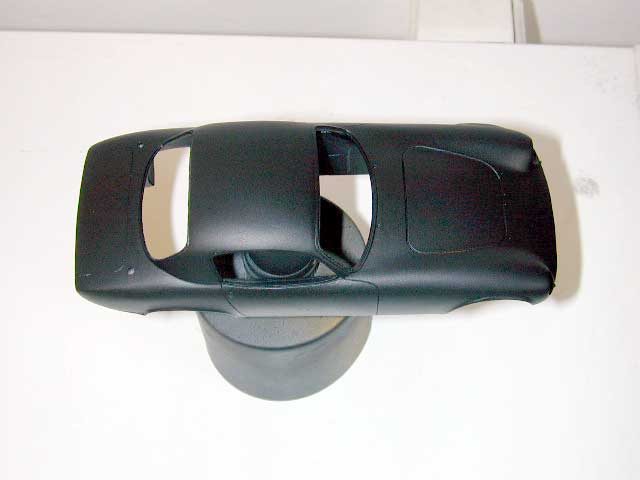
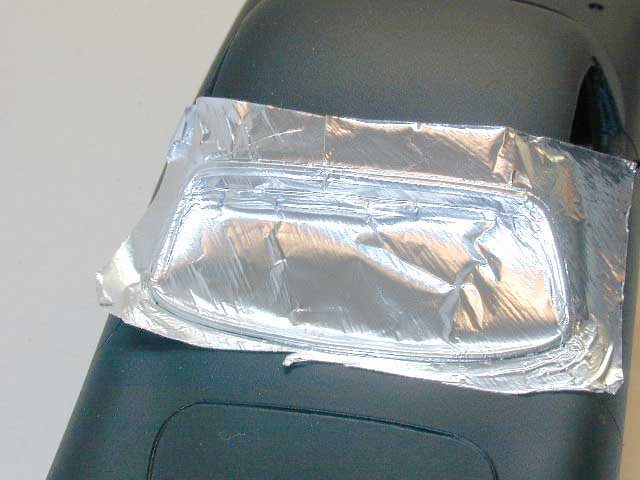
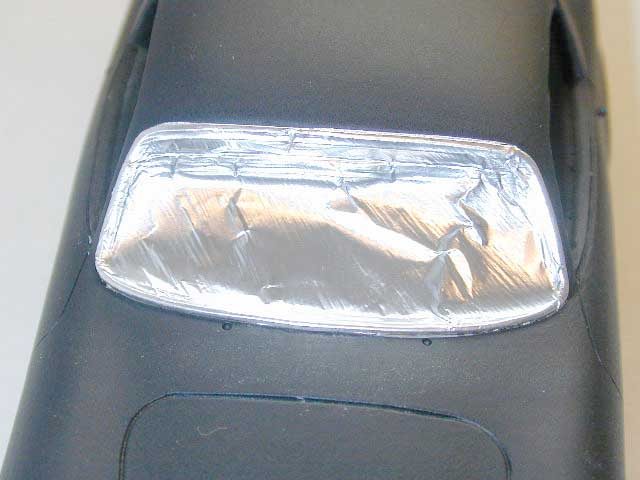
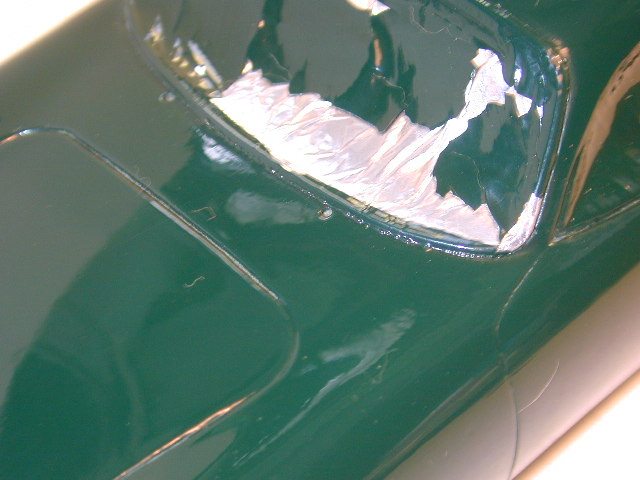
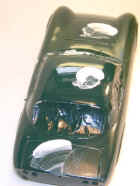
Once the primer has dried for 24 hours in a warm place we are ready to apply top coat. In this case to prevent the primer showing through on panel lines firstly a thin coat of matt black was sprayed. This coat of matt black was also sprayed onto the inside. The widow frames are matt black so these were masked using bare metal foil and the black interior was masked with micro mask liquid mask.
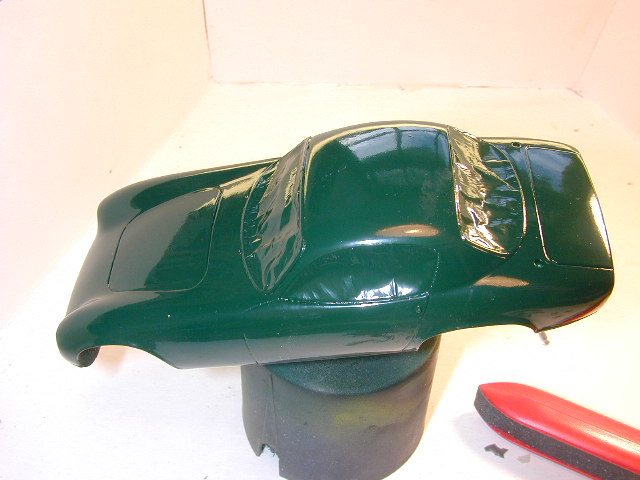
Top coat was applied in the same way as the primer, one mist coat then one thick flood coat after one minute. The model was then put away in a warm dust free area to cure.
|
Finishig
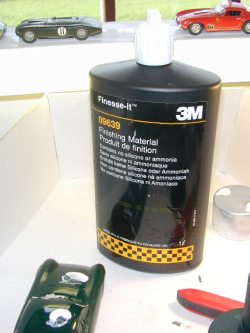
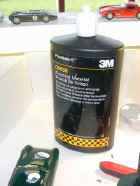
I like to leave paint for about a week before I finish the paint. I do not like clear coats but finding painting in this way gives a high shine with little further effort. The Elite was polished lightly with Finesse-it a 3M polish. After polishing the masking was removed.
|

|
|
On a 1:43rd model paint thickness can present problems, parts that fitted before painting may not fit after painting thus the fewer coats the better and also the fewer coats the less chance of contamination.
If it all goes wrong it is easier to strip the paint and start again than to try and correct problems, resin is inert so automotive paint thinner will remove paint easily without damage to the resin. The removal should be done quickly with an old toothbrush. If the resin is left to soak some may be damaged by thinners but if done quickly there is very little chance of damage.
|
|
|
Final finishing will be done when the model is nearly complete. A gentle polish with Finesse-it will remove greasy finger marks before applying decals. When the decals are firmly set a further gently polish with Finesse-it will remove water marks. I then polish with a good liquid furniture polish, most seem to contain an antistatic agent which helps keep the dust away.
|
|
|

|
Profil 24 Lotus Elite review, by Dave Allison
|