|
|||||||||||||
|
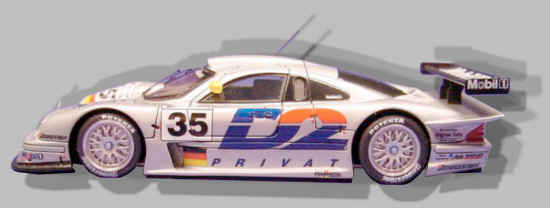
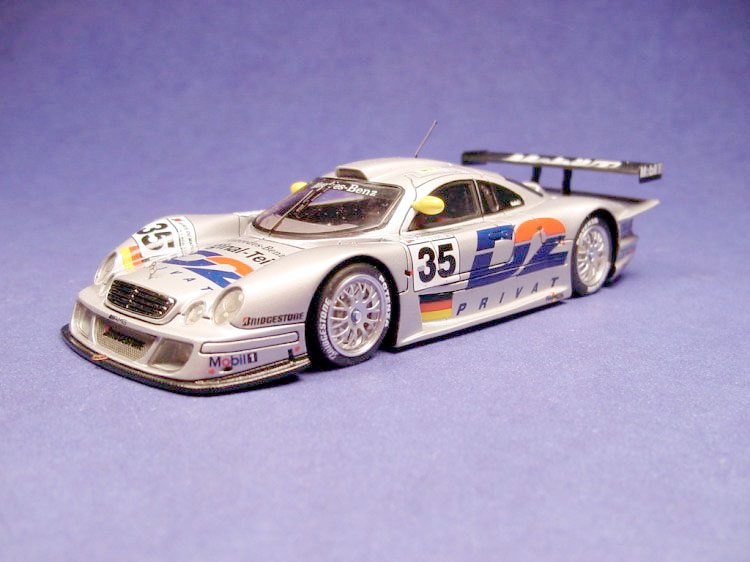
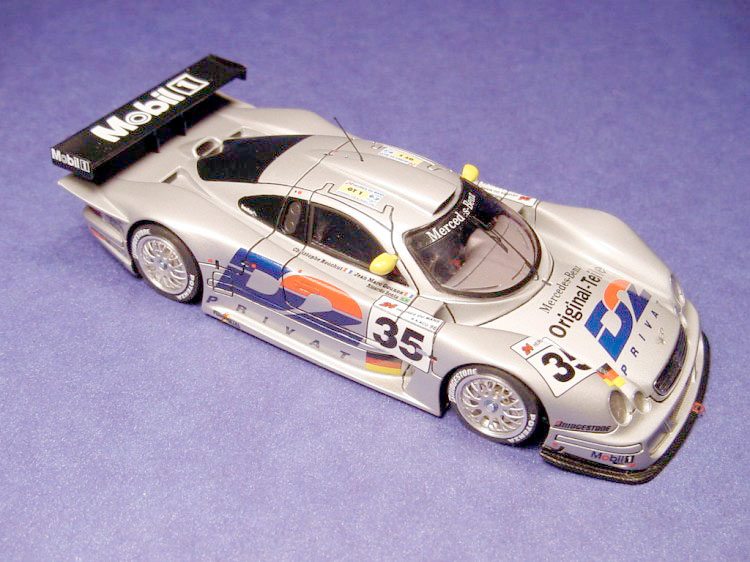
Mercedes motorsports cars are on of my favorite model building subjects, especially the CLK cars. Since they were first introduced in 1997, the CLK GTR design has been evolved into the CLK-LM in 1998, then the CLR in 1999, which proved to be rather infamous for its aerobatics instead of its road racing abilities! I have built up a 1/43 Original Teile collection, and even though this particular car does not have the exposed engine graphics, it still carries the Original Teile markings. This CLK-LM is a resin BBR kit that represents the 1998 entry in the 24 Hour of Le Mans driven by Jean Marc Gounon, Ricardo Zonta and Christophe Bouchut. First look Upon first inspection, the resin body is perfectly cast; there were no pinholes, air bubbles or any flash. The cleanup time was very quick and painless. I compared the instructions with the parts to ensure nothing was missing, which I'm sorry to say, the final inventory was not correct.
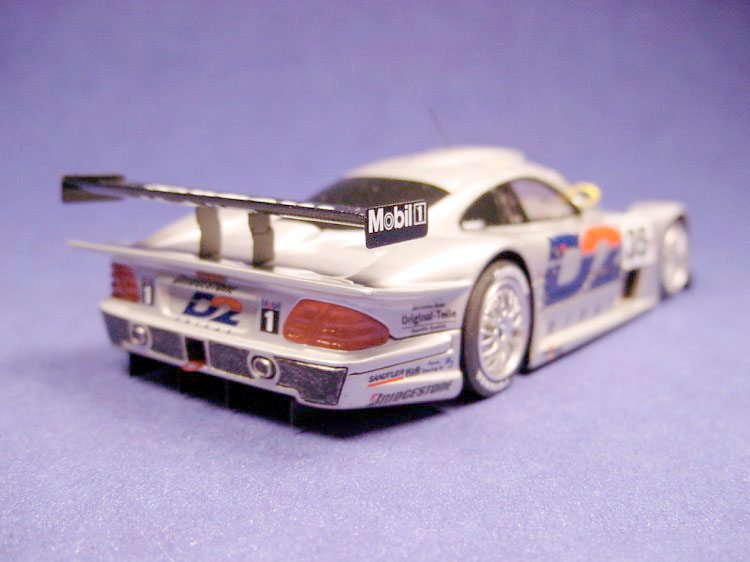
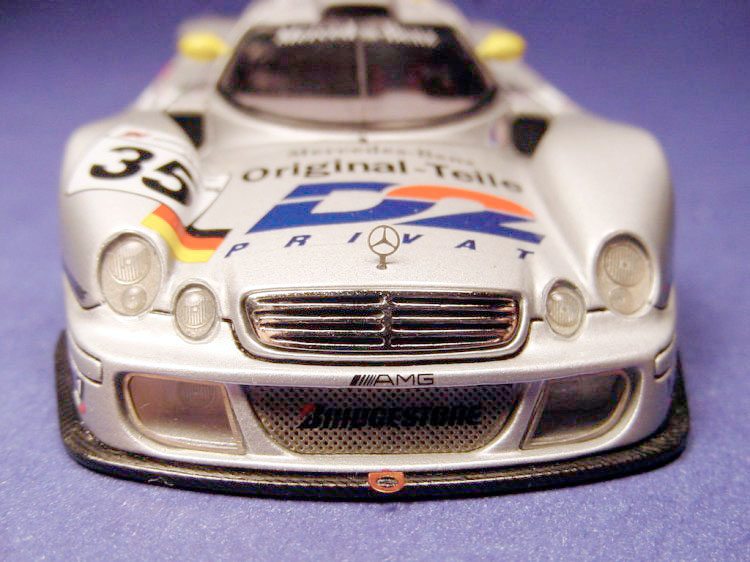
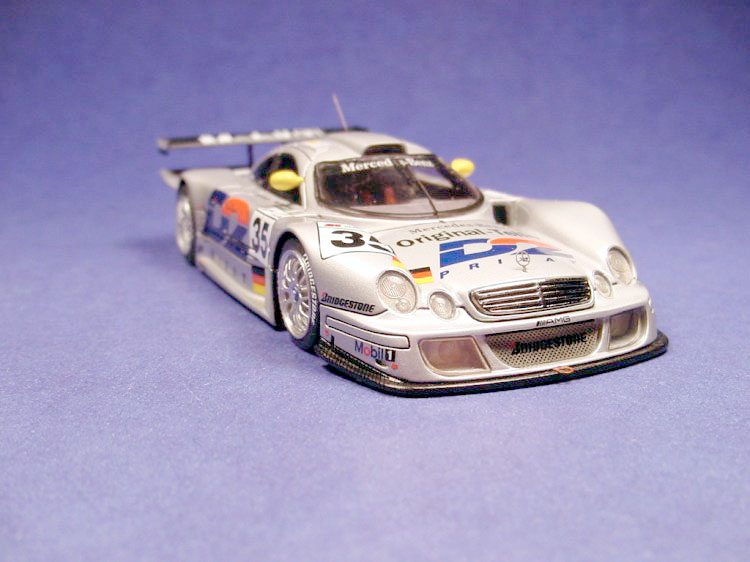
For some reason the photoetch brake calipers were not to be found anywhere. The photoetch trees are beautifully done in highly polished chrome, stainless steel and factory painted semi-gloss black. The pre-formed brass wheel inserts, that fit into turned aluminum rims were also very well done and especially impressive. The front grille is a chrome plated, solid metal part that only needed a simple blackwash to finish. The taillights are cast in a clear red resin. The front headlights and auxiliary lamps are comprised of photoetch bases with what seems to be clear epoxy applied to the faces to represent the glass lenses, which looks very trick!.There is a small sheet of 4 circular die-cut clear lenses that affix to the body to cover each individual light, but curiously, there were no covers for the lower driving lights. Also contained in the kit are cast white metal mirrors, exhaust tips, rear wing element and steering wheel. These metal parts need a bit of clean up, but nothing major.
The interior bucket, dash and driver's seat are cast in the same light gray resin as the body, complete with detailed electronics boxes and wiring. The windscreen and side windows are supplied by the means of a single sheet of thin clear plastic that has the outside blackened areas pre-printed, which leaves no guessing when it comes time to trim the glass for it's photoetch trim. The decal sheet is perfect, virtually no carrier film, very opaque and also includes templated carbon fibre to add to the overall realism. The final item in the kit is the red die-cut racing harness that is made from a very thin vinyl. As you can see, this is truly a "multimedia" kit, and BBR does it all with very high detail and accuracy.
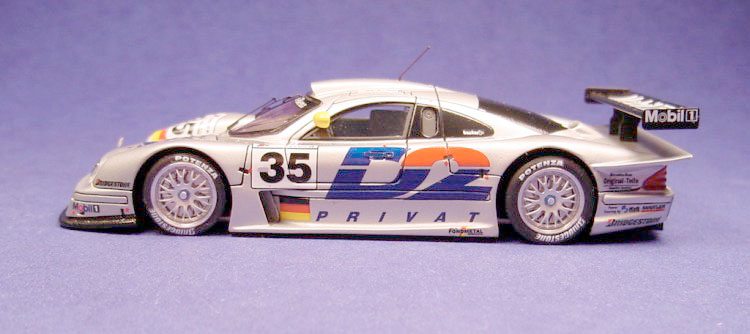
Building Paint As I mentioned earlier, the one-piece body is precisely cast and took only about 20 minutes of clean up to prepare for a coat of primer. The body looks proportionally correct except I do think that the A pillars are too thick compared to my photo reference. My only other complaint was the molded in screening on the rear end; it was cast too shallow to apply a thorough blackwash to give depth to this area.
Prior to painting though, I pre-fitted any exterior parts, such as the front grille, rear wing uprights, window trim, etc. so as to avoid any unnecessary bodywork after the body was painted. It was at this time I revealed the problem with the windscreen trim, but more on that later.
I normally use Floquil Bright Silver for my "Silver Arrow" projects, as the pigment is extremely fine which results in a scale appearing silver metallic, but since I was out of this paint, I tried a little experiment. I put a small amount of SNJ aluminum powder in a bottle and filled it with lacquer thinner. I was amazed that this formula worked, resulting in an exceptionally fine silver metallic that could be easily airbrushed. Immediately after the silver, the first coat of clear was applied to seal the vulnerable silver.
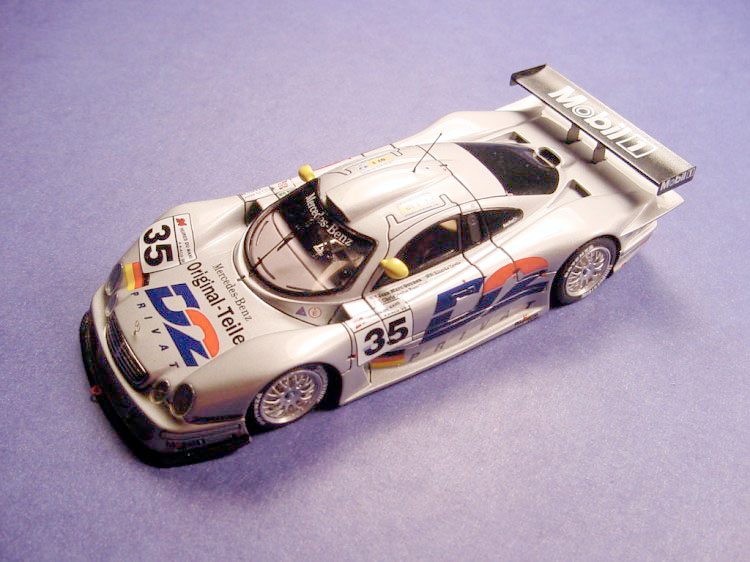
The clear was built up over the next couple of days and then finally polished out with a Detail Master polishing kit. Before the final coat of clear though, I flowed black India ink into the panel and door lines. The reason for sealing the India ink is because it is water soluble, and if decals were applied directly over the ink, it would smear and trap the ink under the decals. (Trust me on this one!!!) Decaling The decals were then applied after sufficient time for the paint to completely cure and then polished with Novus 1 & 2. I used Microset and Microsol to ensure that the decals snuggled down into every panel line and body contour. The most complex decals to apply were the rear "window" blackout decal and the white car number backgrounds on the right front fender/hood and on each side, as all of these decals had various concave and convex contours to follow. Use plenty of decal solvent for these particular decals! Cockpit The interior cockpit is straightforward and when properly detail painted looks very good. The carbon fibre decal on the rear bulkhead and driver's seat sides are a nice touch, but barely visible once the interior is within the body. The turned aluminum gear selectors and racing harness add the final touches to the interior. The instruments and markings on the dash are represented by decals. The whole cockpit assembly fits into the body perfectly, with no large gaps or irregularity.
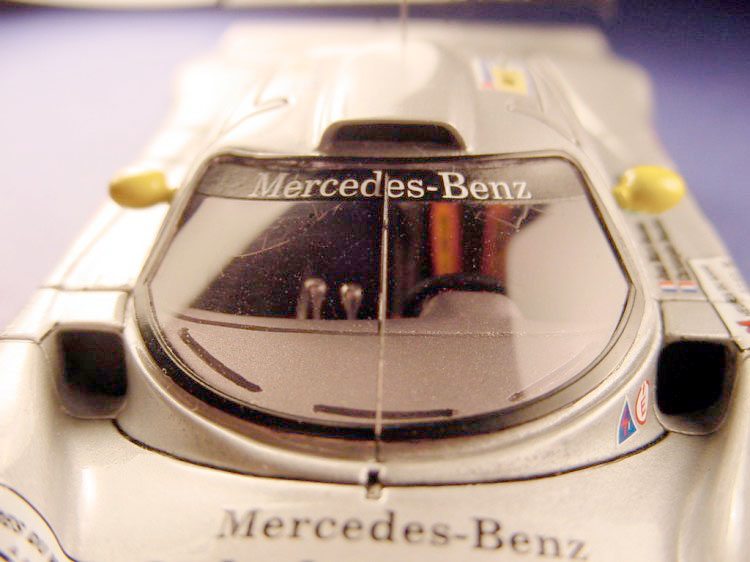
The side window assembly fits very well into the recesses in the body. So far, not such a problem. The front windscreen for the CLK-LM is completely dissimilar from the CLK GTR, which is the problem.
As well, the front window exterior trim does not quite fit the opening of the body, hence the fit is not quite as good as I would have liked. I ended up using a slightly tinted camera gelatin filter for the windscreen, as it was very thin and flexible. I used thinly cut strips of clear double-sided tape to adhere the trim to the windscreen, and then trimmed it to size. The tape was giving good adhesion, so I left it on permanently to keep the both together.
The whole windscreen assembly was then rolled around a large "sharpie" marker until the windscreen matched the same curvature of the window opening on the body. This took repeated attempts, but eventually it worked out to my liking. I had difficulty gluing the assembly to the body, so by the end of this evolution, I used the clear two-sided tape, CA and two-part epoxy to attach the windscreen. I was pretty fed up with this section after several days of trying to get it right, but the end result was probably worth the patience. A rear photoetch window surround was also included which confirmed my suspicions that the wrong parts were put into this model.
The last clear parts to be added were those covering the headlights. I used clear enamel paint to adhere these lenses to their appropriate position. Wheels The wheel and tires when completed make for very realistic representations for the CLK-LM, although some of my photo reference showed this car with spoked (turbine like) rims similar to the road going version of the CLK. The brake discs were given a blackwash to bring out the detail, but like I said earlier, the instructions call out for photoetch calipers, but were non-existent in this particular model. I left the turned aluminum rims unpainted, and airbrushed the brass wheel centers buffing aluminum metalizer. The Bridgestone decals for the tires were no problem to apply and no film was visible after they were cured. These are the standard BBR tires that they use in most kits, but I think they are slightly undersized for the size of the wheel openings on this car. Conclusion
The one addition I did do to this model was the addition of Scale Motorsports carbon fibre decal to the front splitter as opposed to painting it black.
|