First off I would like to apologize for not knowing much about this particular car. All I do know is that it was specially built for driver Fritz Coster in 1953. It was the only A6GCS with this body style.
The kit
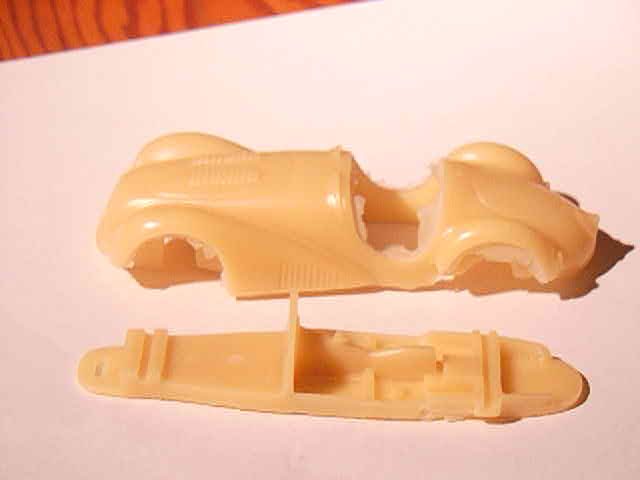
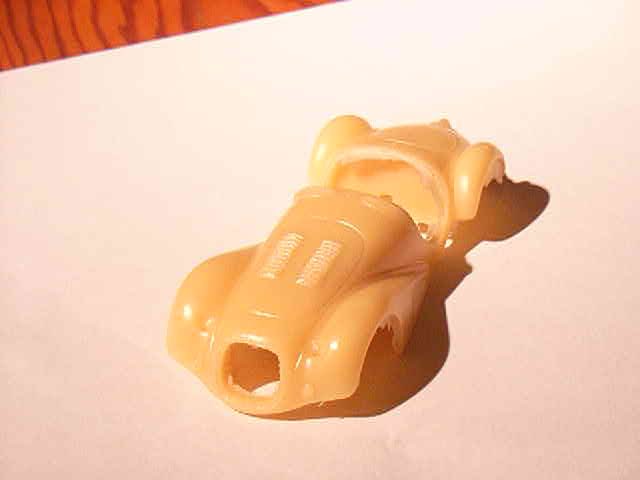
The kit consists of a cleanly cast resin body and chassis with just the usual thin flash around the wheel wells and cockpit opening . Only one small void was found in the lower edge of the body, which will be easily filled.
|
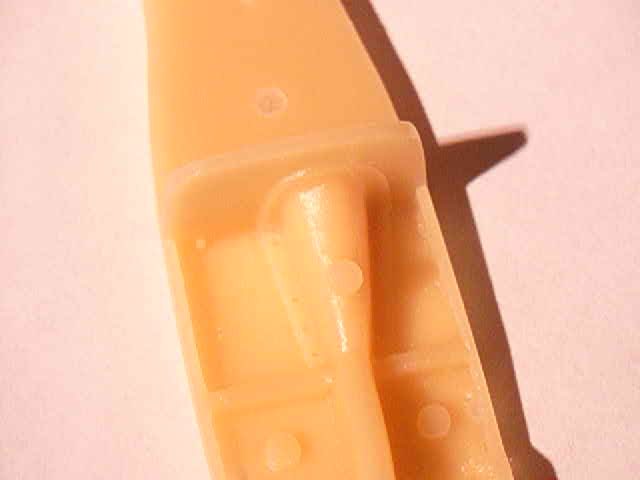
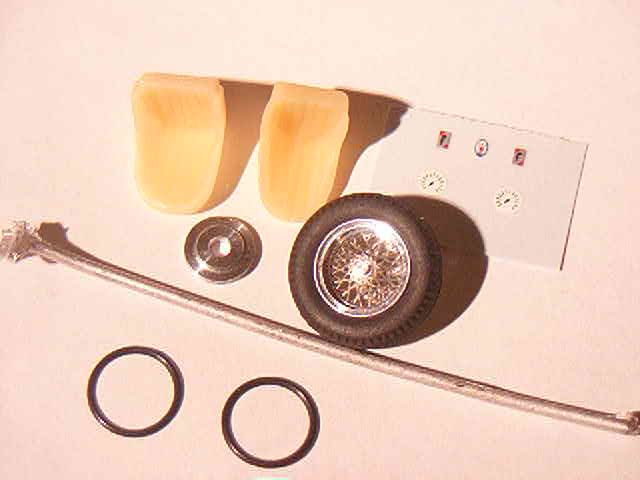
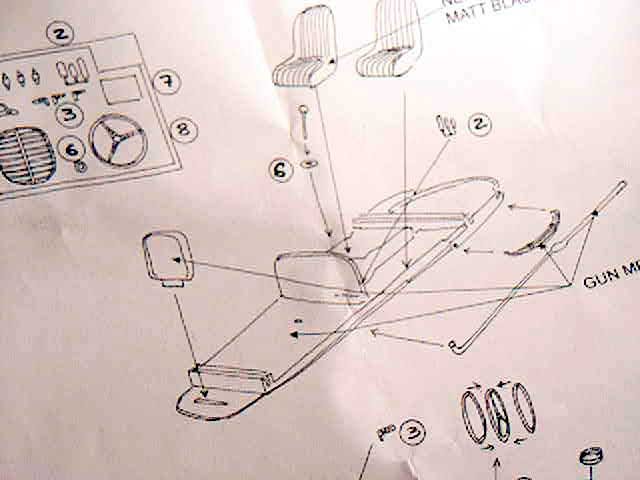
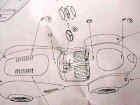
The transmission tunnel is cast onto the chassis and has nice rivet detail on either side. The seats are separate pieces, which ease painting quite a bit.
|

|
|
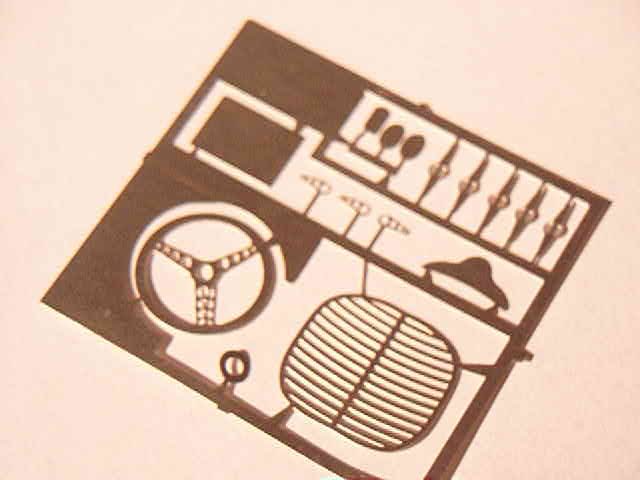
There is a very nice grille, steering wheel, pedals and hood latches on the photo-etched fret. I don't care for the wheel knock-offs though. It would be nice to have a more positive way of locating them to the center pin on the wheels. I will probably also replace the round shifter gate
|

|
|
Separate rear leaf springs, a radiator, rear view mirror and headlights are resin pieces. I would have preferred these parts have been made from white metal, but once painted should look O.K.
|

|
|
The driver's seat is wider than the passenger seat because the transmission tunnel is offset to the right, as was the engine on this car. The white metal exhaust has a lot of flash on one end, but should clean up fine. It could always be replaced with a piece of aluminum tubing if so desired. Pre-assembled photo-etched wire wheels are provided along with turned brake drums. The rubber tires have very good tread detail. Separate rim halves for the steering wheel are plastic. The very small decal sheet only provides two gauges for the dashboard. I will probably add a couple more from my spares
|
|
|
After cleaning up the flash on the body and test fitting the parts, I discovered it would be easier to install the seats after the body is mated to the chassis instead of before as the instructions suggest. If you install the seats first, you will run the risk of scraping the paint off the sides of the seats when sliding the body over them.
|

|
Extra glasses
It appears that more and more manufacturers are including extra vacform parts with their kits these days and SHMR is no exception. The instructions are fairly simplified but better than many of the other manufacturers I've seen.
|
|
|
|
A photo of the finished model is also included so you can know if you did it right or not. Hopefully, mine will resemble the photo when complete.
|

|
Conclusion
After the first test fitting of the parts, only one minor problem was encountered. The lower left side of the passenger seat needed to be sanded so it would fit snug against the transmission tunnel. Other than that very minor problem, it appears this kit will be an easy project.
|