|
|||||||||||||||||||||
|
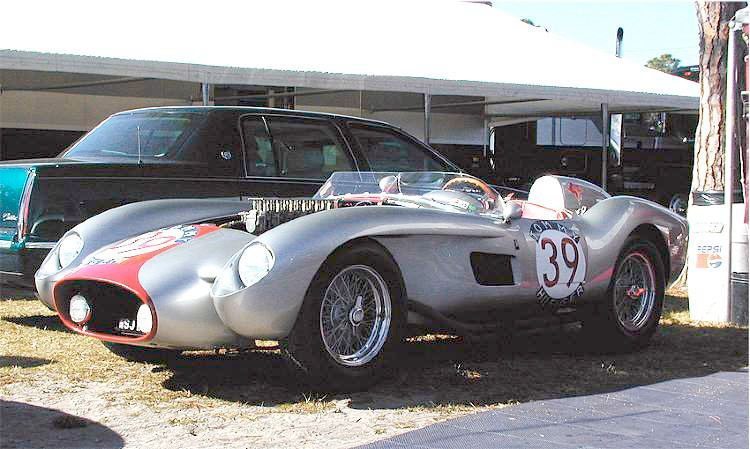
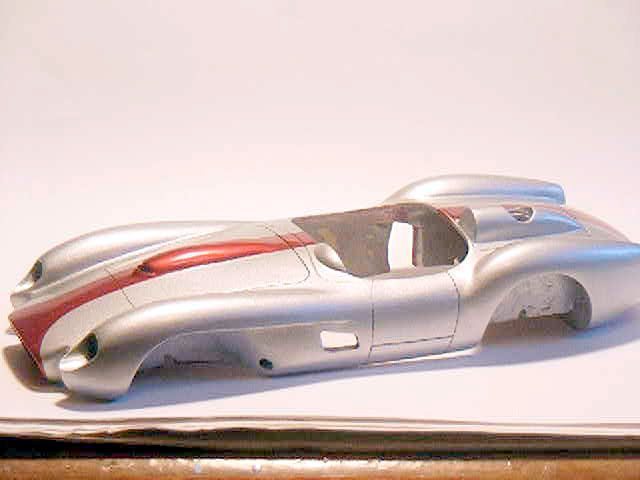
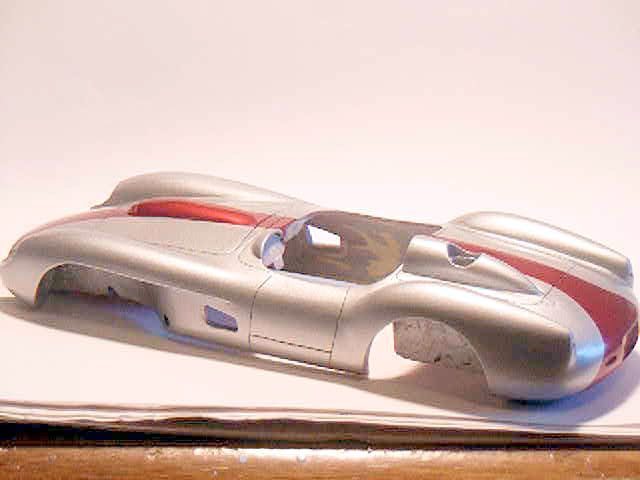
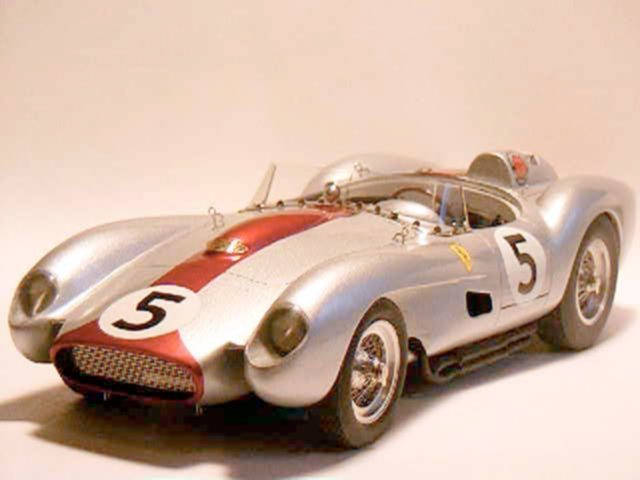
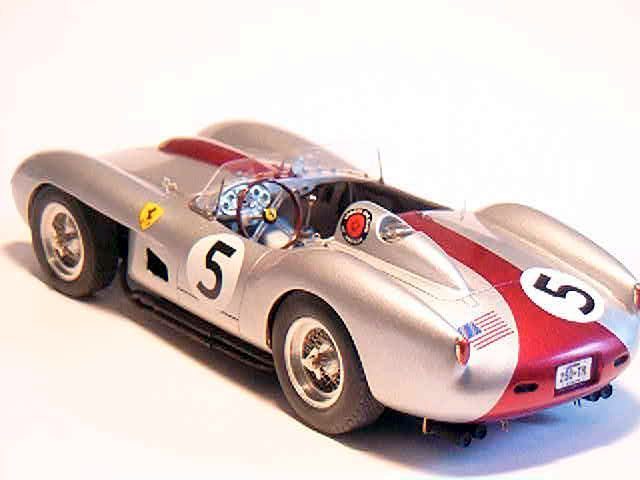
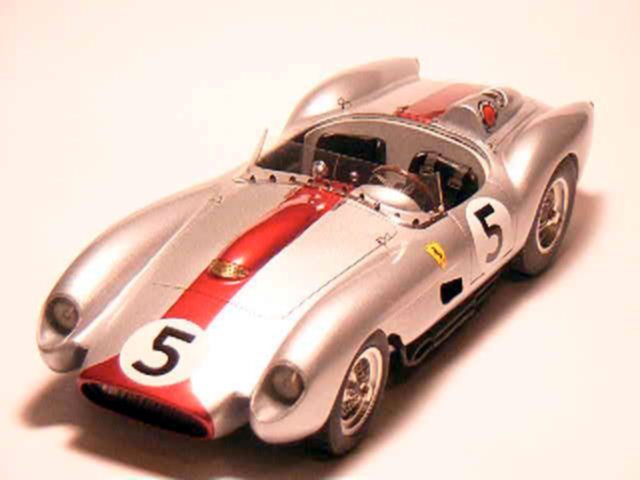
Inspiration for this model came from a photo found on the Internet. I did not want to paint it the same old red or yellow as so many of these cars are.
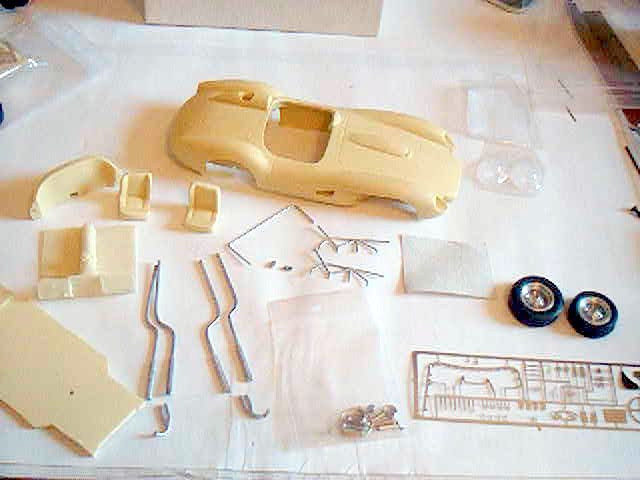
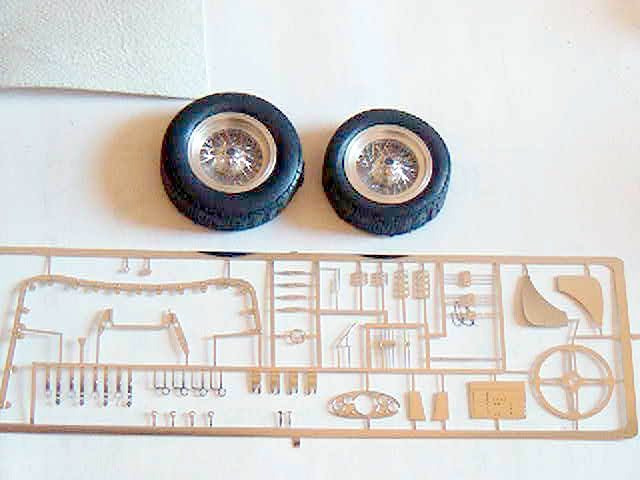
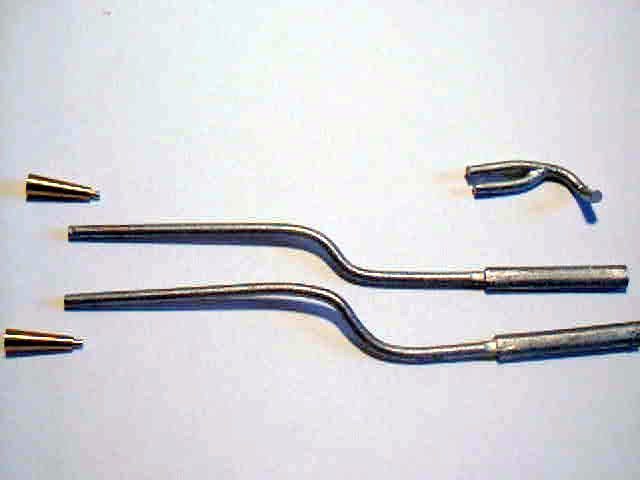
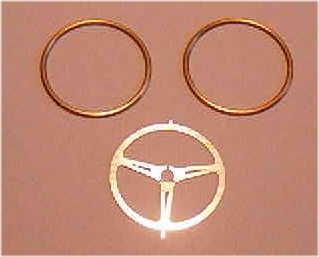
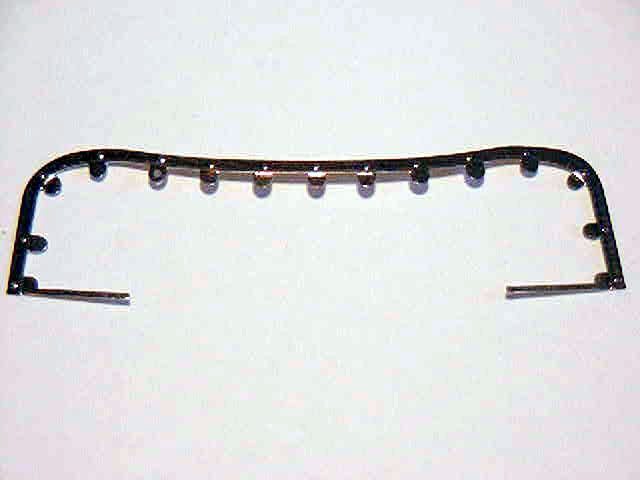
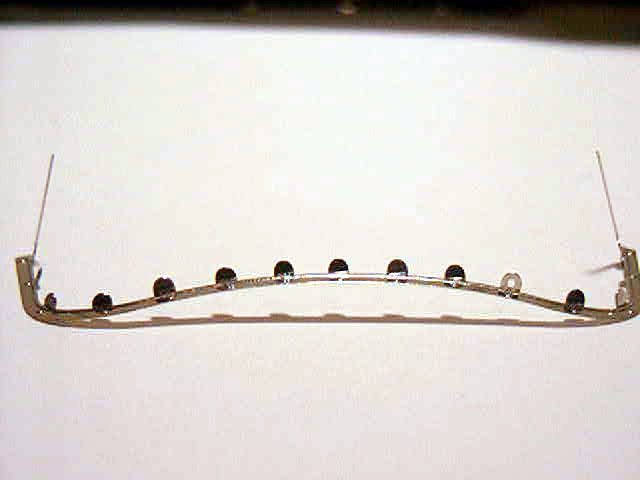
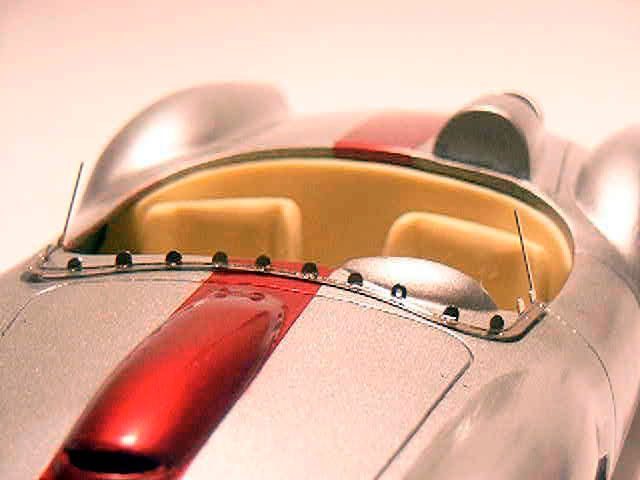
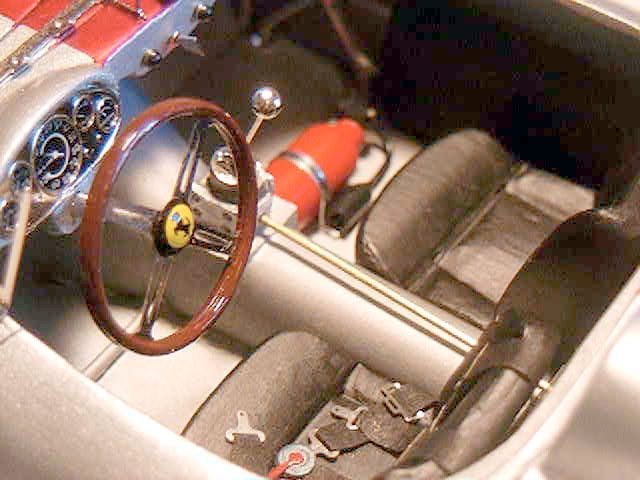
The kit... This kit is meant to build the white with blue stripes #22 car that ran at Le Mans in 1958. Body, chassis, seats and interior are resin while the exhaust and interior framework are white metal. Photo-etched parts include the windshield frame, steering wheel, shift gate, bonnet straps, grille, etc. A beautiful set of wire wheels are supplied, but no brakes! Being that these cars still had drum brakes, I used some wheel backing plates from my spares box. The steering wheel has separate brass rim halves.
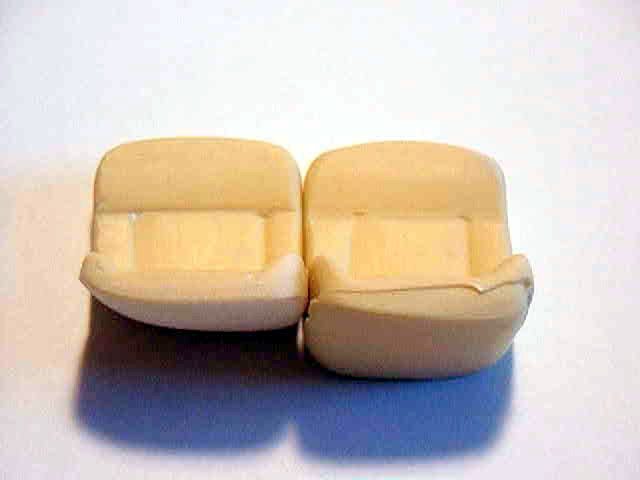
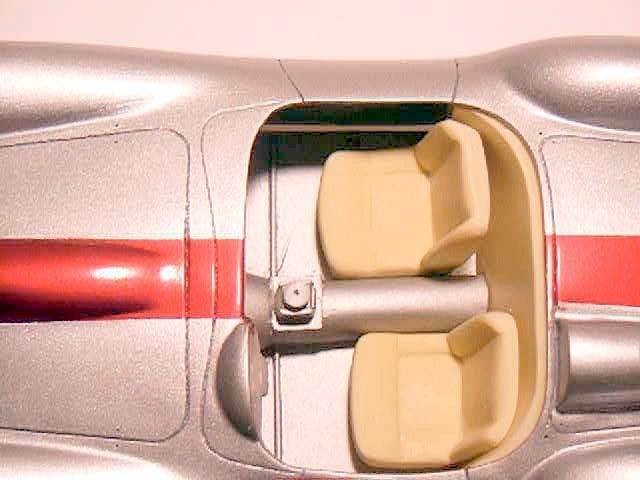
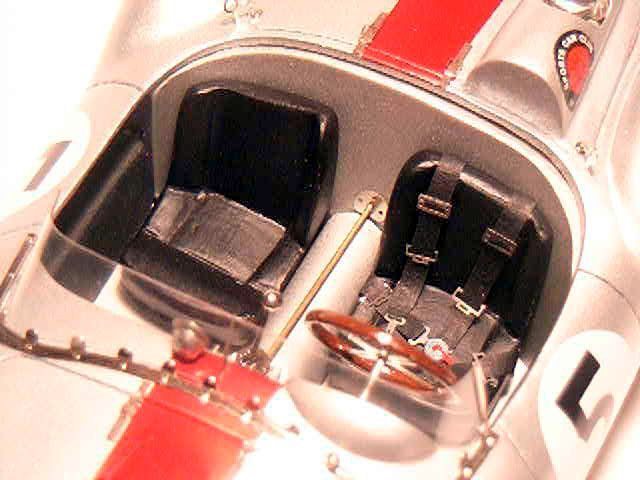
Vinyl striping tape was used to mask off the stripe. The interior was painted with high heat aluminum paint. It contains powdered aluminum and gives an authentic look. The main downfall of this kit is the seats. The seat backs are much too thick and do not conform to the rear bulkhead. Much sanding was needed to get them to fit. They are also too short when compared to photos of the actual cars. I wasn't sure exactly how to fix this problem, so I decided to ignore it.
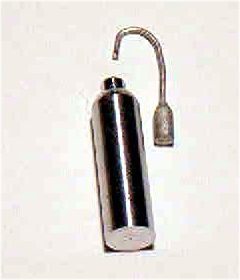
I found the hose in a detail set for a model railroad. The strap is made from aluminum duct tape. It's much thicker than Bare Metal foil. Conclusion This kit required a tremendous amount of sanding, test fitting, sanding some more….. But the final results were acceptable. Clear lacquer was used to blend the two colors together, but none was used over the decals, which came from my spares box. The license plate was made with dry transfers from Shabo.
|