|
|
Building a first resin kit,ESDO Chaparral 2A and 2G
|
|
|
|
|
Resin and white metal seem to hold many fears for some kit builders even those who have built plastic kits for years. These fears are groundless as resin and white metal are far more forgiving materials than plastic.
You can strip the paint with cellulose thinners and start again. Don't leave it soaking too long.
You bond not weld with the adhesive so most parts will separate without damage if you use the right adhesives. In most cases you can undo your mistakes.
|
|
Tools
Very few tools are needed, the following are useful; needle files, a sharp scalpel or modeling knife, 1:1200 wet and dry paper, a pair of small sharp scissors, a pair of tweezers, some cocktail sticks and a selection of small paint brushes.
Precautions
It is important that care and common-sense are used when handling resin, white metal, paint and adhesives. Care should be taken to avoid inhaling the dust particles from resin, white metal and paint. Always work in a clean dust free area and clean up after dusty tasks. Where possible sand resin and white metal wet and wash hands afterwards. AVOID SMOKING when resin dust is in the air. In ideal circumstance an extraction system should be used for all "dusty" processes.
Paint and Glue
I use car touch up spray cans (Rattle Cans) for my models, I like the HALFORDS range, it is important to use the Primer for plastic (designed as primer for modern cars plastic bumpers etc) on resin kits (this is a UK nationwide supplier of Automotive spares). A selection of cans of model paint for small parts, Humbrol or similar.
For glue I use; 5minute epoxy, Dunlop Thixofix, clear PVA (WOODWORK GLUE) and super glue. Super glue must be used with extreme care as it can damage paintwork and fingers.
The ESDO Chaparrals
These kits are simple an ideal kit for a first timer to resin, white metal and 1:43rd scale.
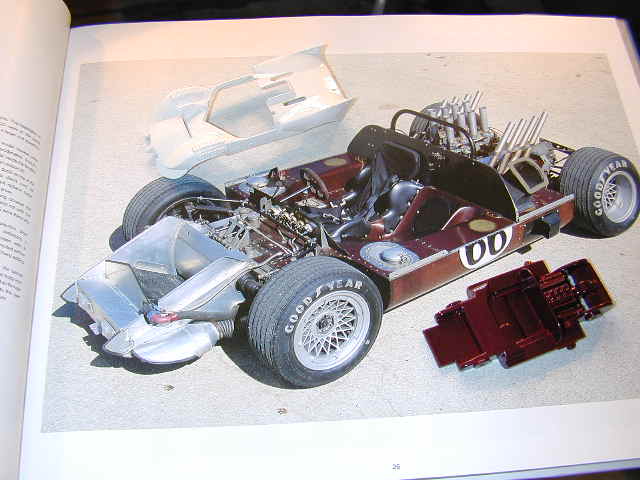
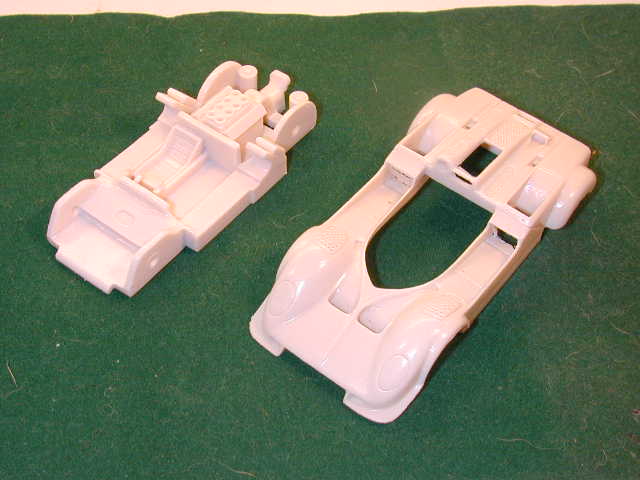
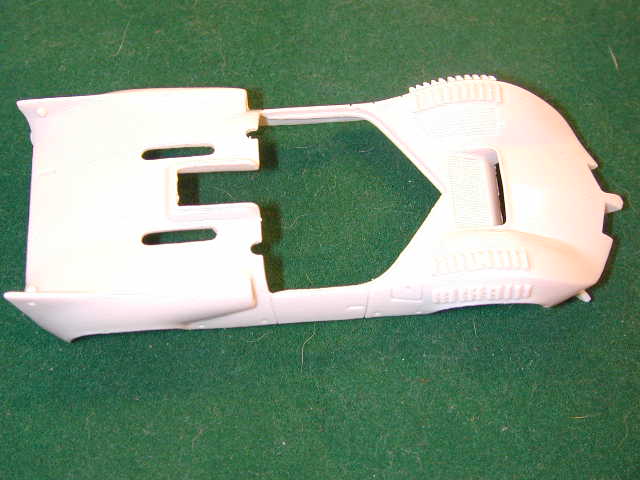
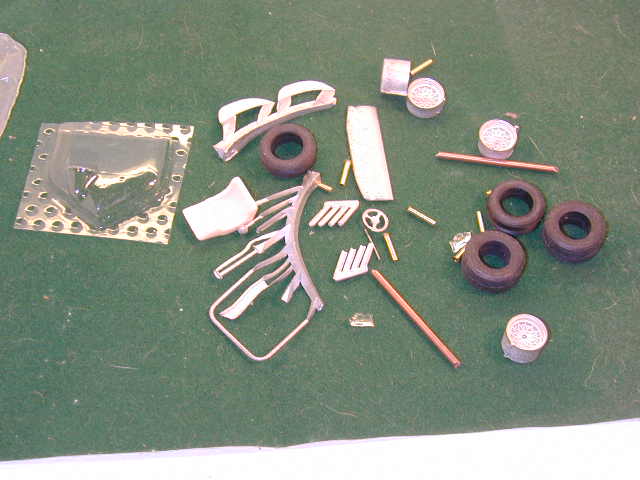
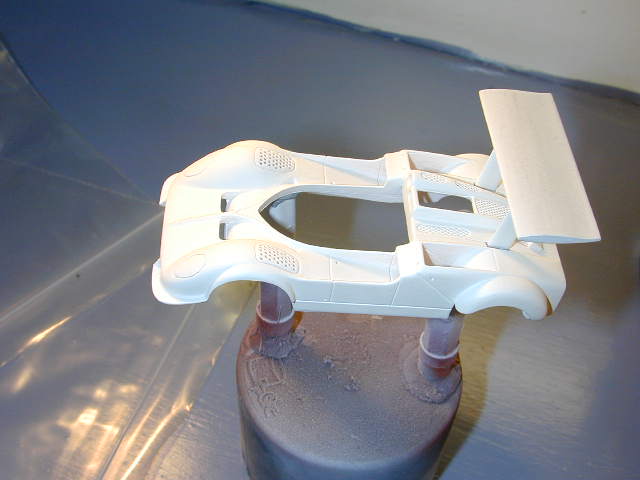
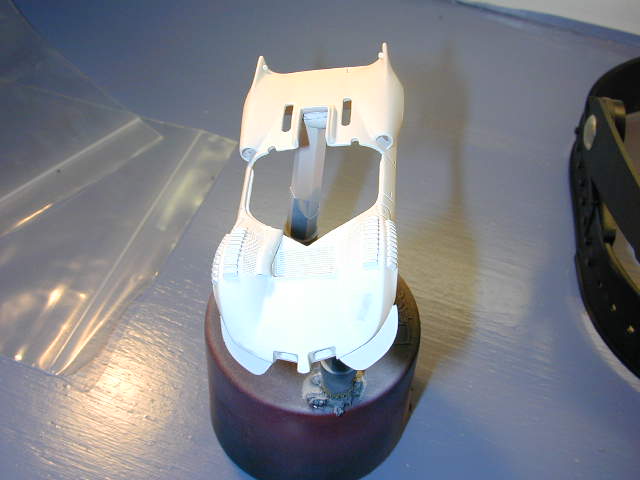
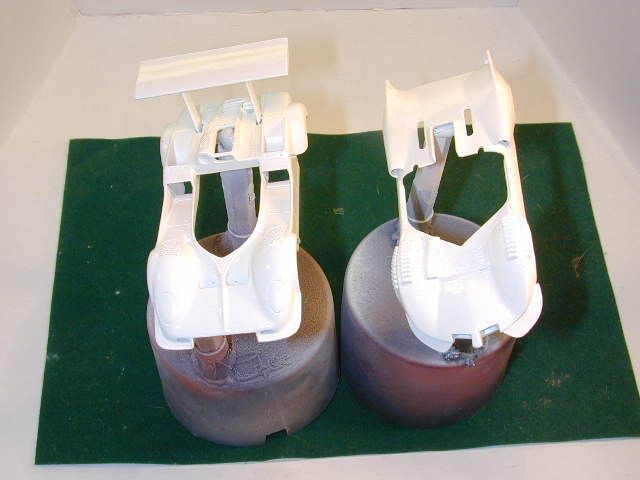
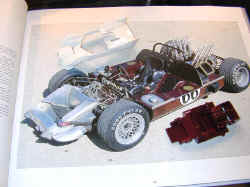
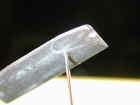
Pictures show a selection of parts from the 2A and 2G. Note the glossy surface of the uncleaned resin.
|
|
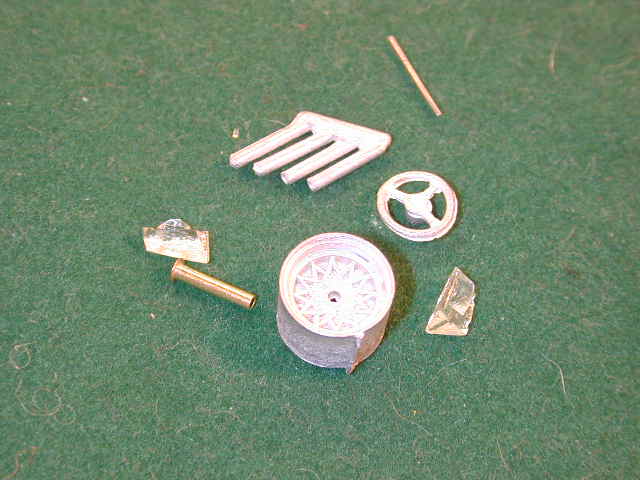
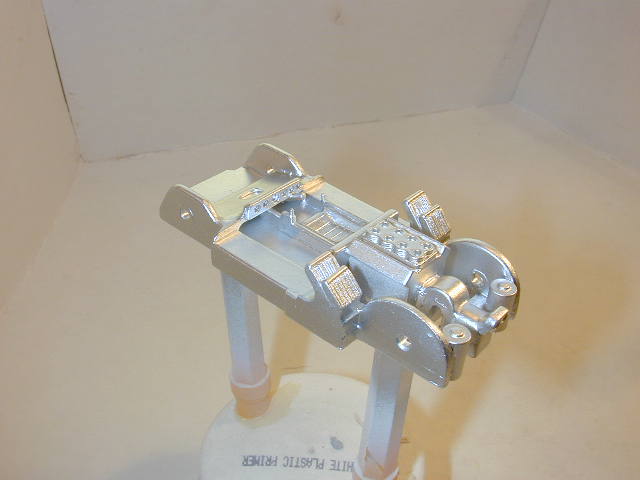
There are two main types of resin in use today, ESDO use an Epoxy resin similar to the glass fibre resin you may use on a boat or similar article. The other resin is a polyester resin and is used by Provence Moulage and many others. The only problem with the epoxy resin is that it can have a sticky surface which marks and gathers dust and dirt in preparation. The castings are all very clean with very little flash, which can be removed with needle files, and very fine wet and dry paper. I also use a rubber-polishing wheel for final polishing. White metal clogs needle files so use new files on resin and save an older set for white metal only. Once any flash is removed I check for any rough areas or holes. There was one small defect on the rear of the 2A, which I filled with car body filler and sanded smooth.
Spraying
It is important to have some form of mount for the parts. I have made up several mounts using old spray can tops and the covers from dental needles. As an ex dentist I used to keep them, as I was sure they would have a use one-day! I put a hole in the end of the needle cap and parts can be screwed or stuck to them with bluetack. Now that the preparation is done I dip all the resin parts briefly in Car paint thinners. This takes away the sticky surface and leaves a clean etched surface ideal for taking paint. Beware do not leave in thinners too long as some thinners are very aggressive. This is only needed for epoxy resin, for polyester resins I use an old toothbrush and a mixture of washing up liquid and cream cleaner to wash off any grease and dust.
White metal I polish and clean with very fine wire wool.
|
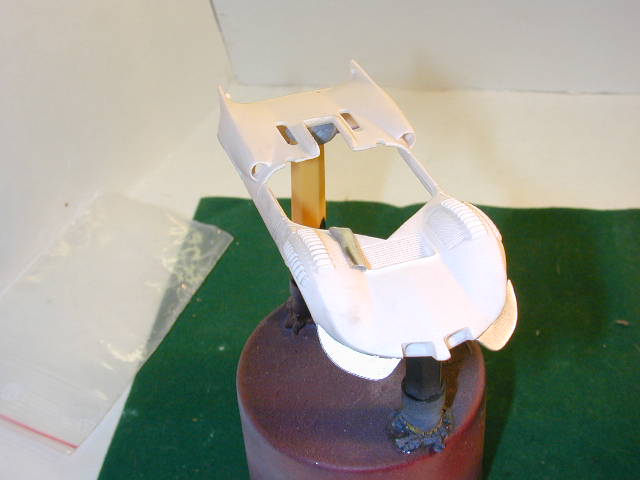
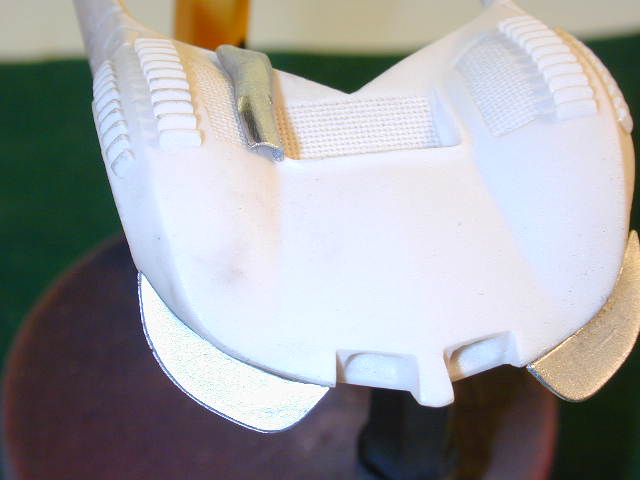
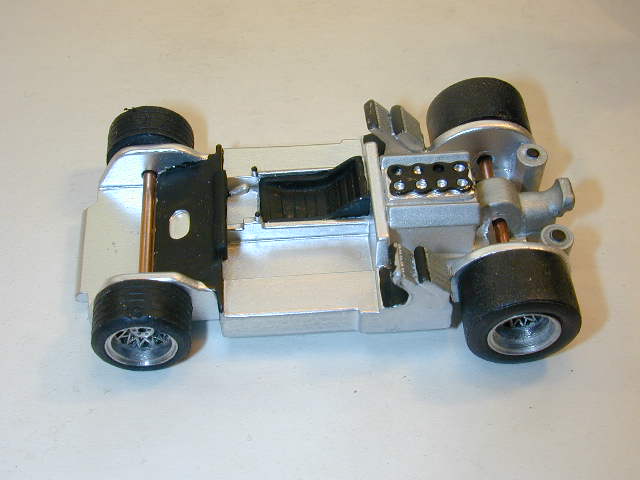
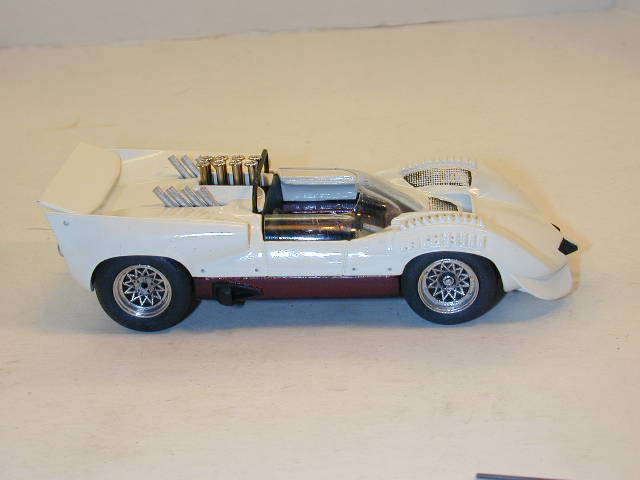
Chaparral 2A
|
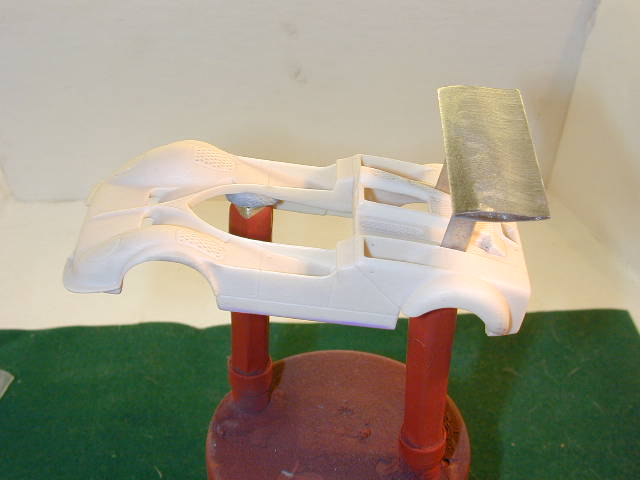
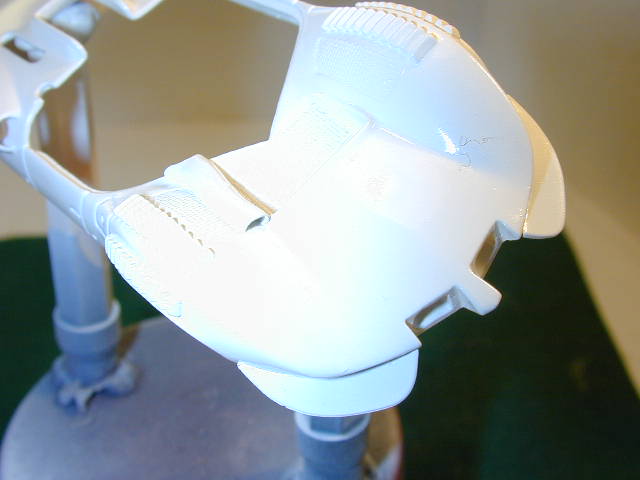
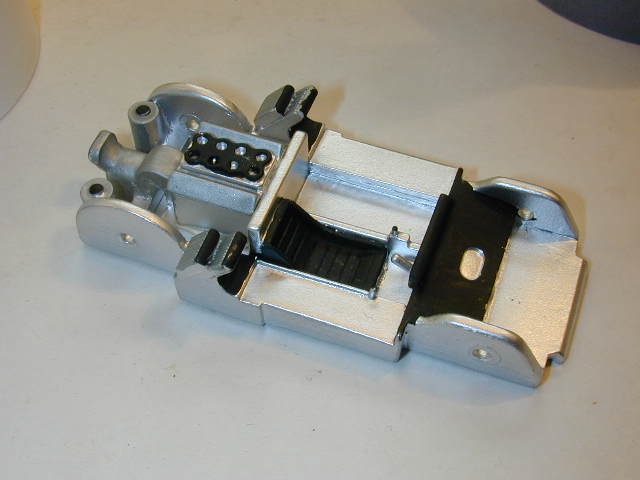
After cleaning the resin I glued to the body the front chin spoilers and duct. These white metal parts are very soft and easy to adapt to fit. Try not to handle your clean resin body too much. The rear wing I glued to a pinhead to hold it for painting, there is a hole in the wing for the flipper activating lever and I used this hole.
|
|
|

|
|
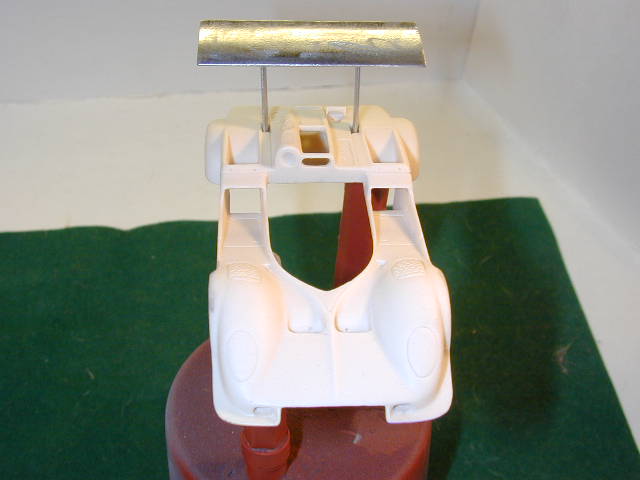
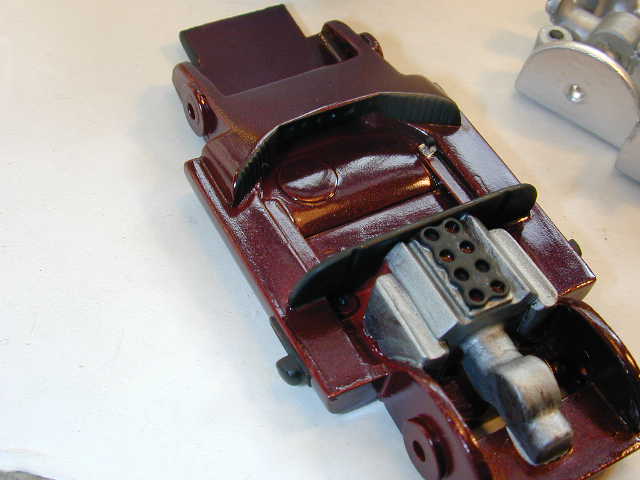
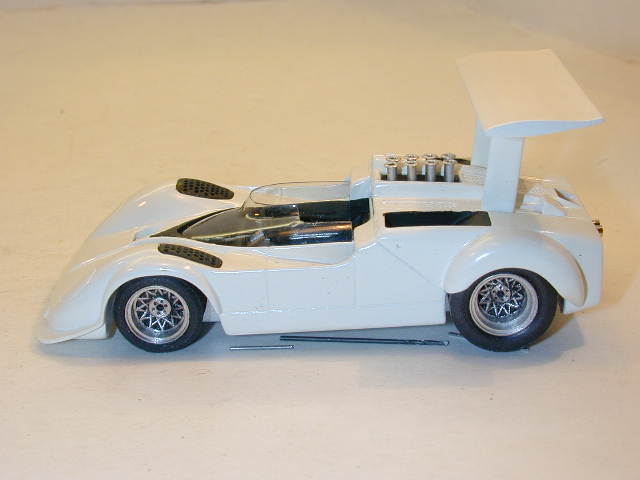
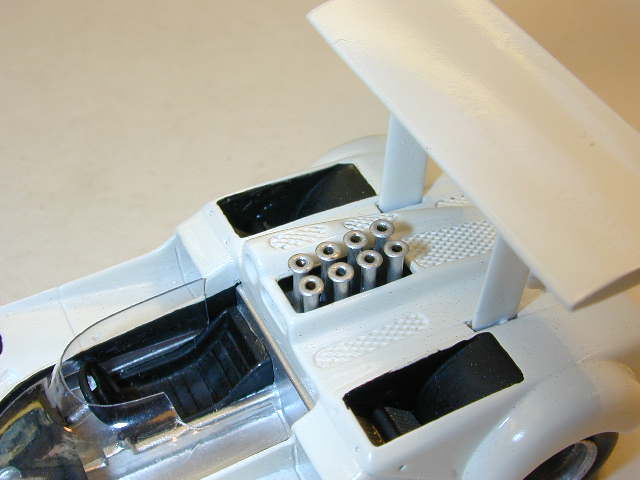
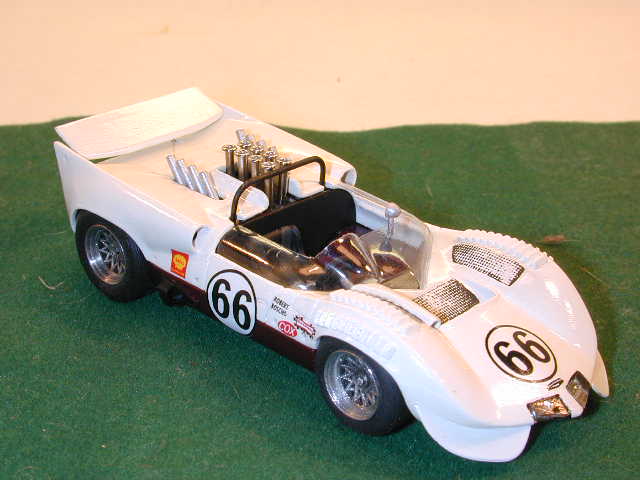
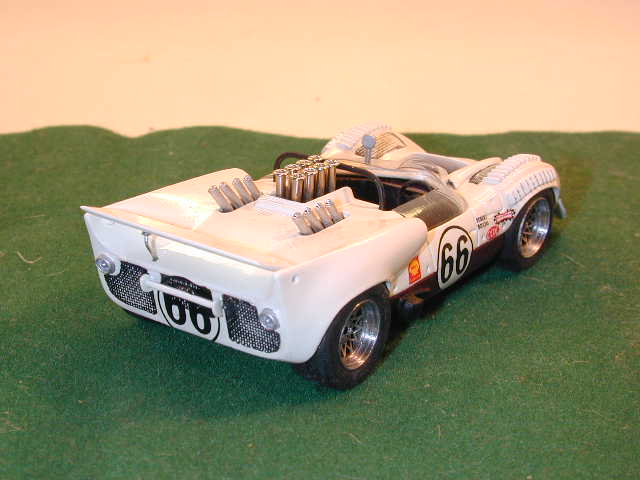
Chaparral 2G
|
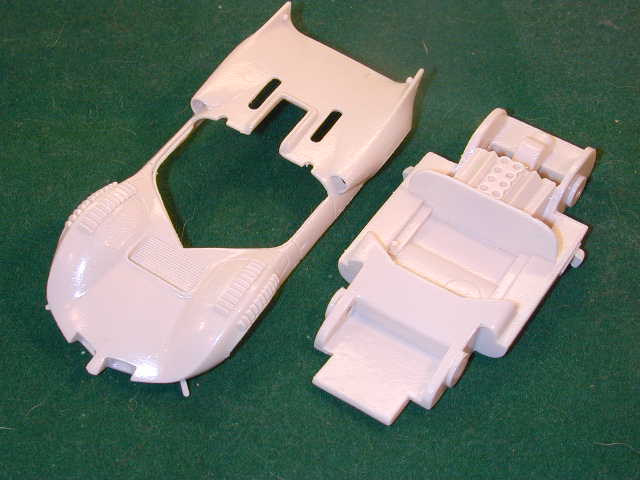
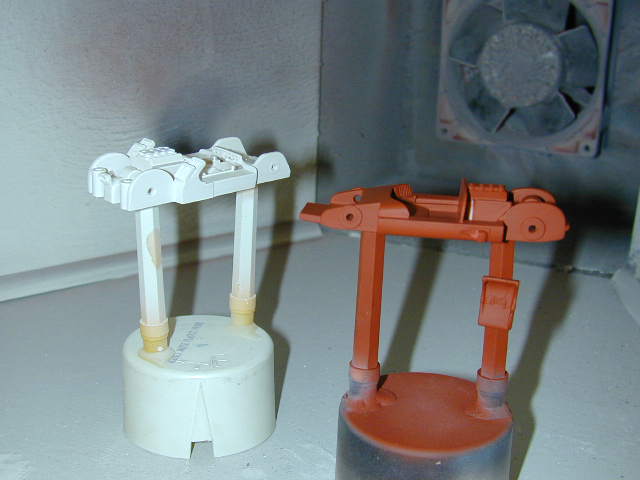
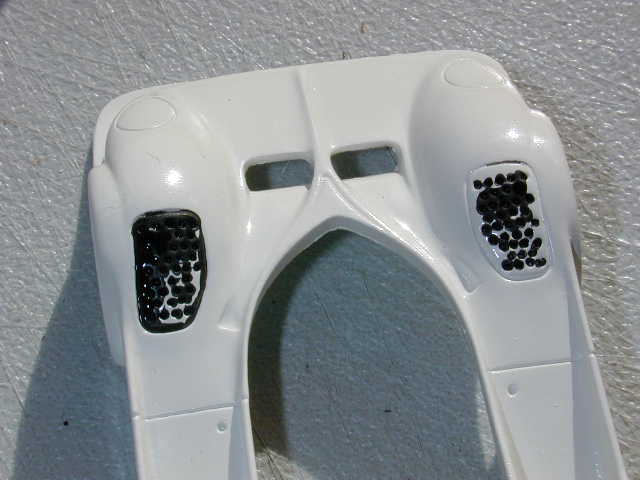
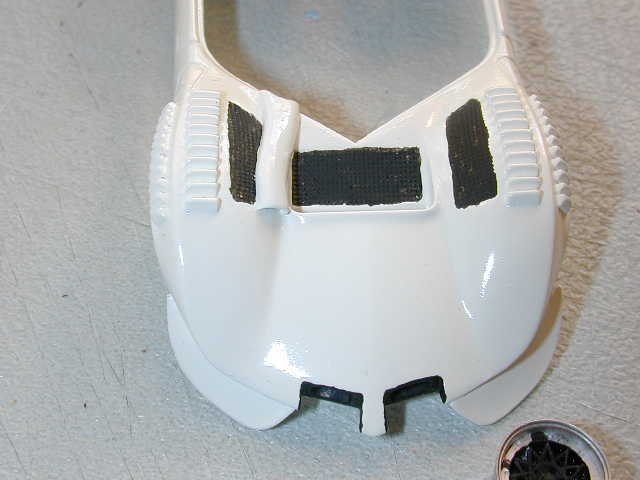
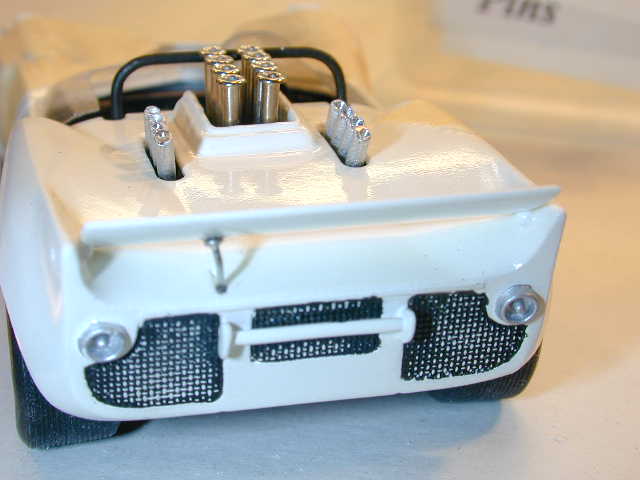
With this kit I assembled the rear wing assembly before painting, I like to build as much as possible before painting as it reduces the risk of glue damage to paintwork. The wing is high enough not to mask the body. In the case of the 2C I felt the wing would make painting the body more difficult. Note matt finish of resin parts
|
|
|

|
I start by spraying a very thin mist coat of primer, this will show any imperfections and if I am happy I follow with a flood coat of primer about 40 seconds later. This is then set aside somewhere warm covered by a large box for 24 hrs.
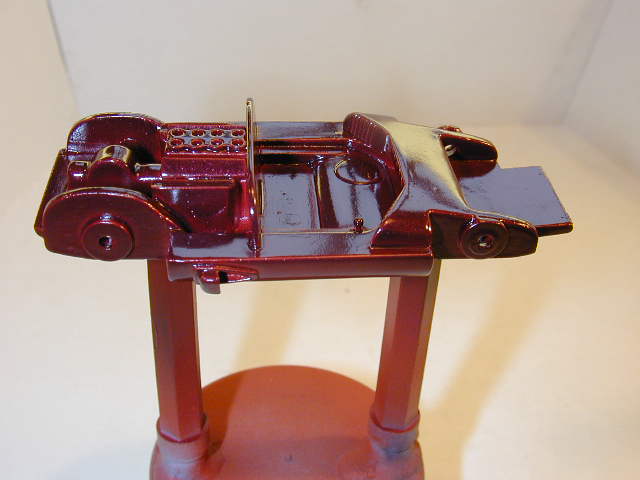
If any dust shows it is wet sanded before topcoat is applied. Again I follow the same procedure, mist coat followed by flood coat. The 2A chassis was primed red, the rest were primed white. The topcoat was again set aside in the warm to dry. I like to leave body parts at least 7 days before further work.
Assembly
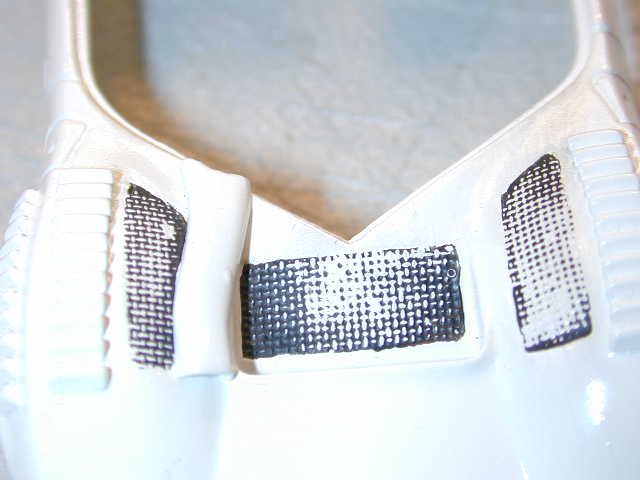
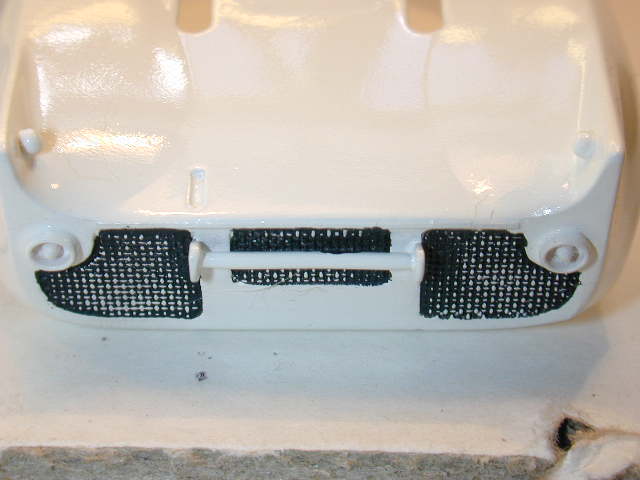
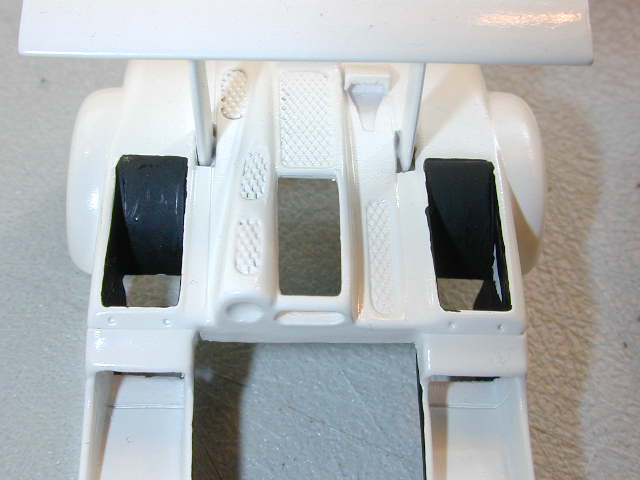
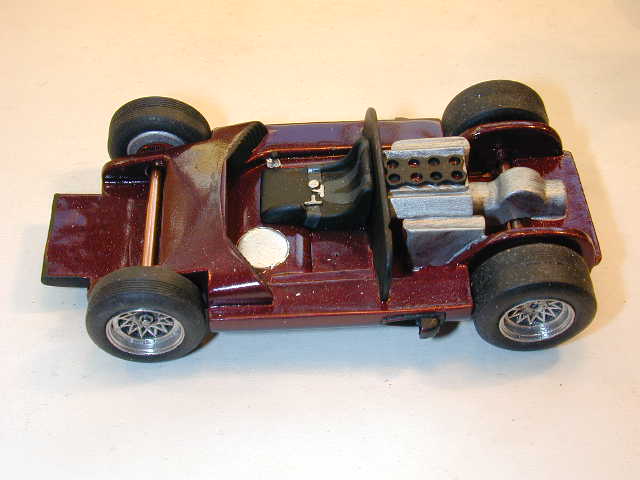
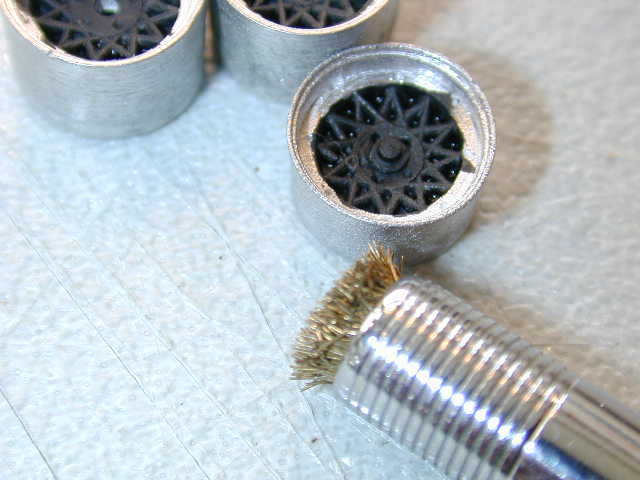
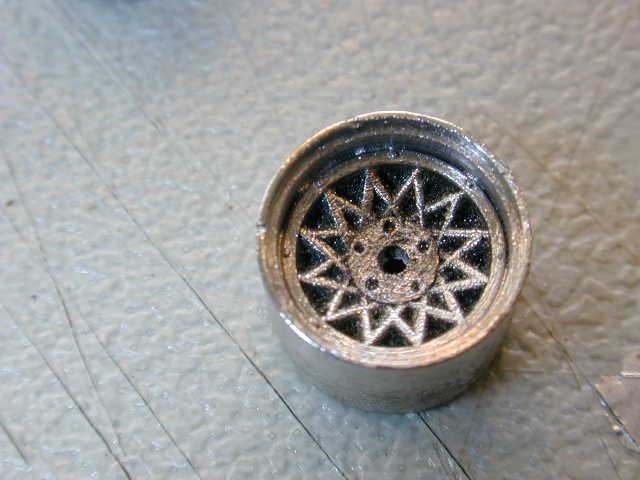
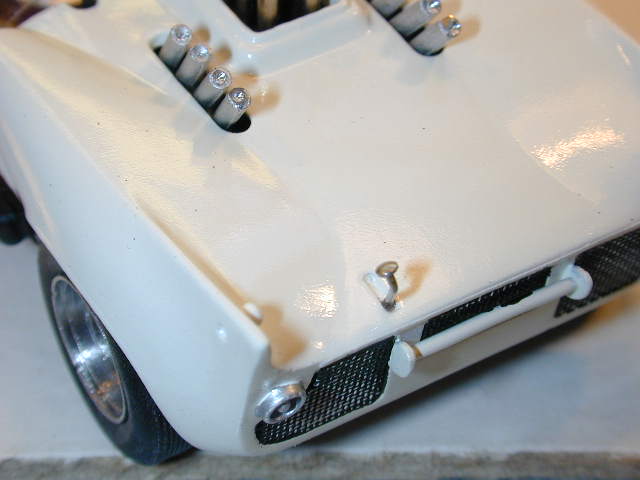
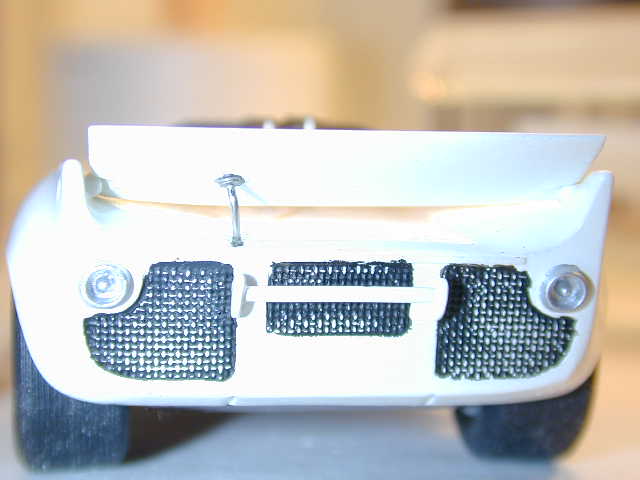
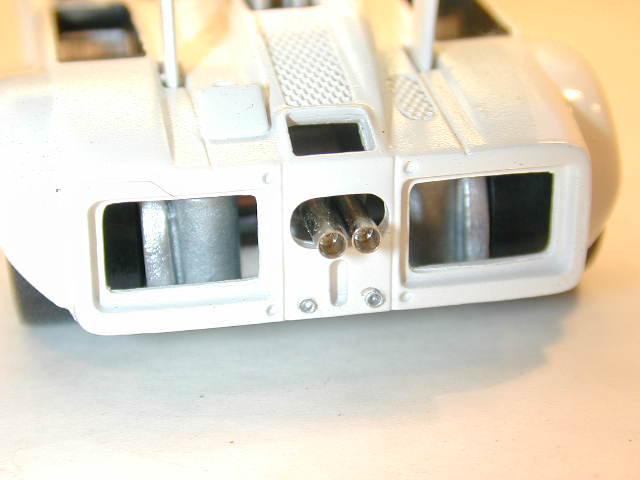
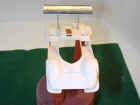
Once the painted body parts have dried for about one week one can start final assembly. The remaining images show detail painting with brush and Humbrol enamels and assembly. The mesh on the 2A was not very distinct, I painted the area then when dry polished the area. The wheels were painted with matt black and again when dry cleaned with a small wire brush. Bare metal foil can be used to good effect. I use Zap O for most glueing and careful use of tape can assist in holding the body to the chassis tub of the 2A. I used the head of a pin to create the "flipper" mechanism on the 2A.
Decals
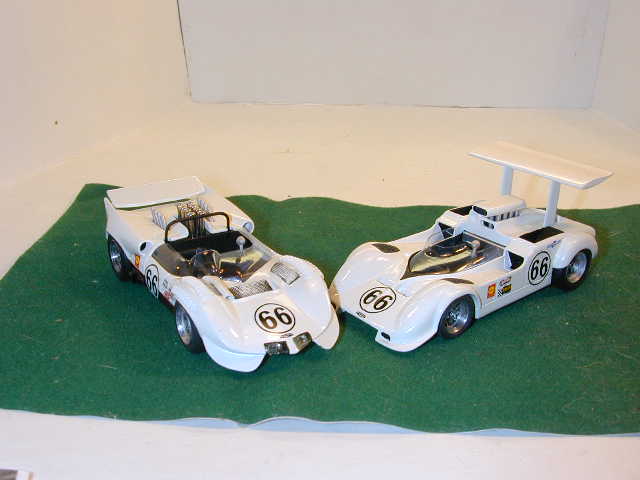
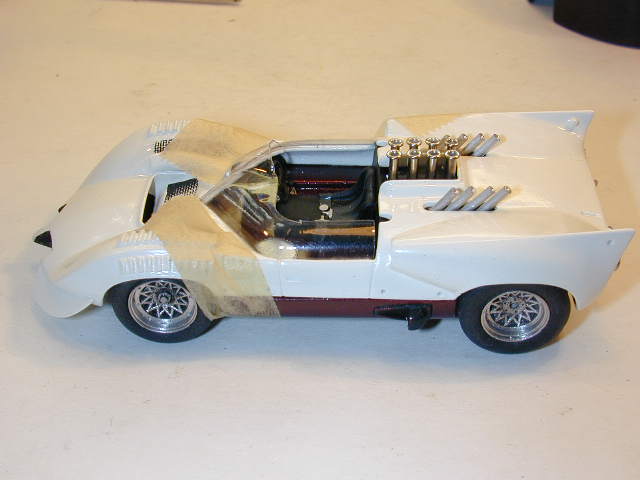
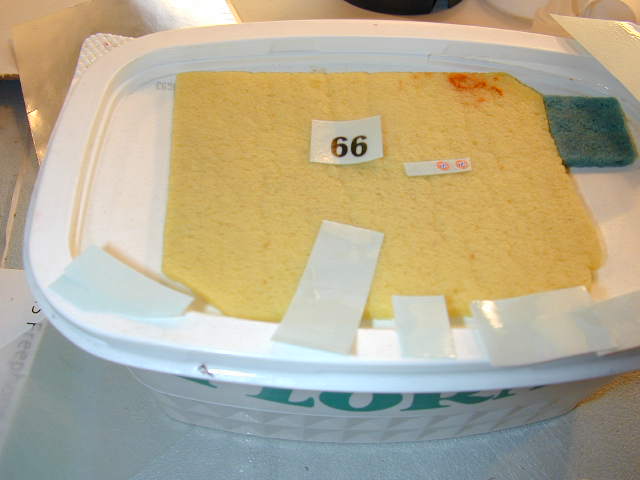
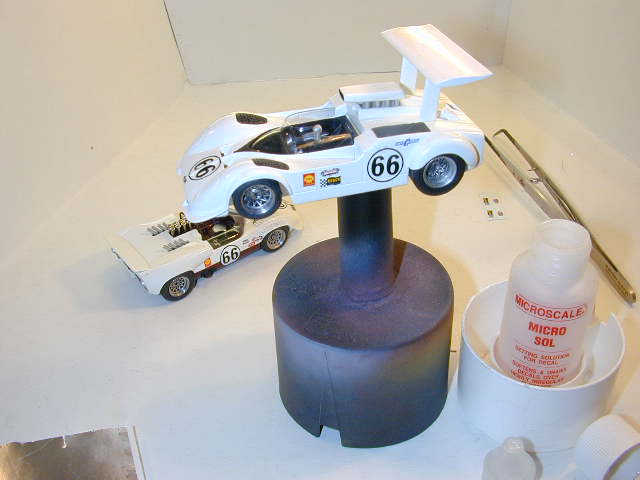
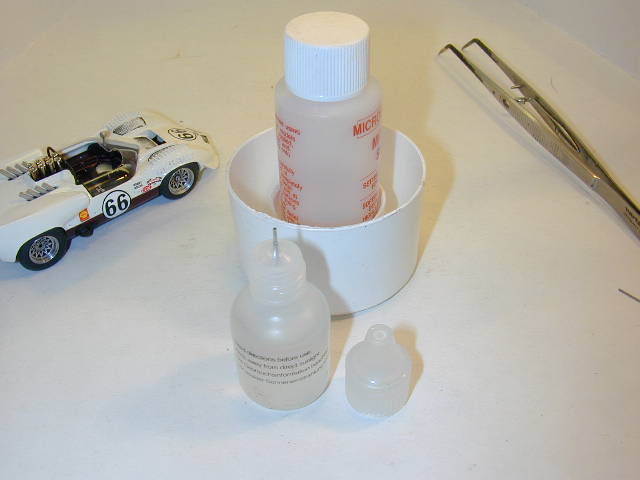
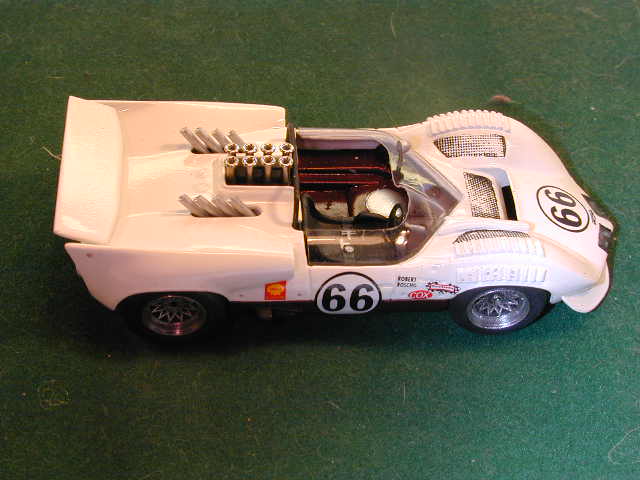
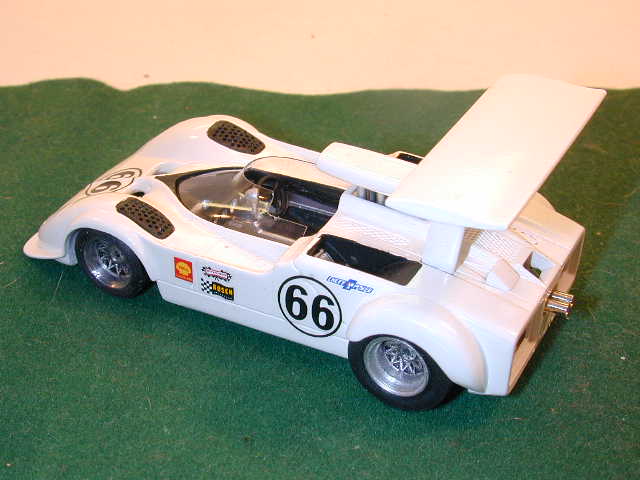
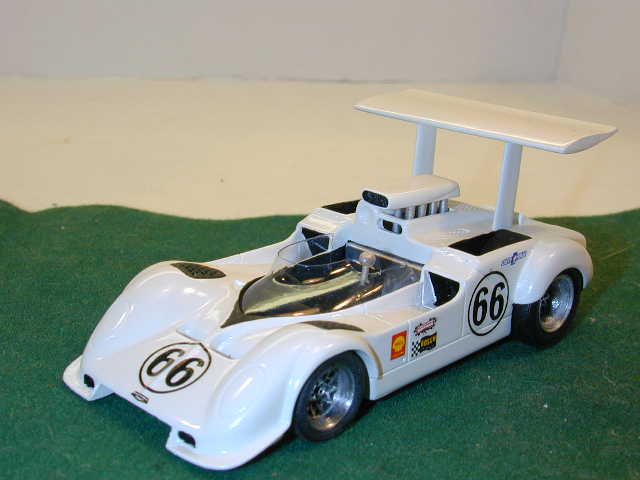
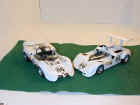
I cut my decals into small sections and soak them on a wet sponge. I use Microsol with all my decals, the bottle is secured in a spray can lid as I used to knock it over too often, I also have some Microsol in a dropper bottle. The last pictures show the almost completed models. All that remained was to paint red the taillights on the 2A and the ends of the rear wing on the 2G.
|