|
|
Building Mini Racing's Chevrolet Camaro
Le Mans 1982
and other tips from an amateur modeler
|
|
|
|
|
As a Le Mans modeler I am always interested in unusual and interesting subjects to model to compliment my collection of winners, and the Americans invariably provide me with this subject matter, with my personnel favorites being the Panozes and the 1950 Cadillac 'Le Monstre'.
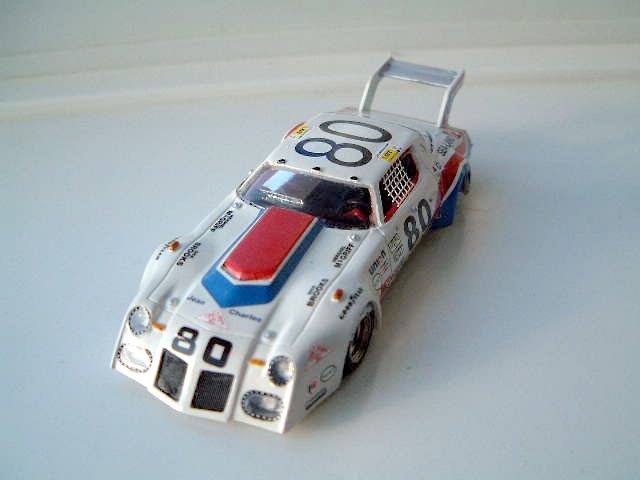
I review the Camaro here as I think it to be the most grotesque car ever to race at Le Mans. I have included some photographs showing the tools I used at each stage of production but please bear in mind that I am no expert in 1:43 scale modeling. Even so the results seem good enough to me.
|

|
|
Package presentation
This particular kit is from Mini Racing's 'Turbo' range which is slightly more detailed and expensive (£28.00 UK Retail) than their standard range of resin kits. The kit is presented in the usual size cardboard box with foam packaging. I personally think that Mini's kits look a little old fashioned in presentation but this is of no matter to the end result.
|
|
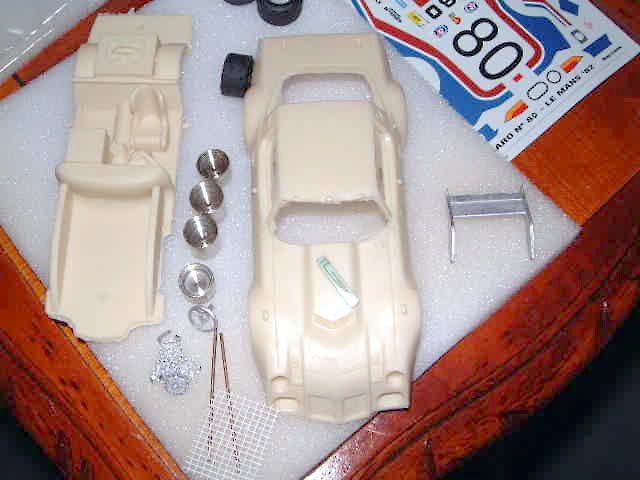
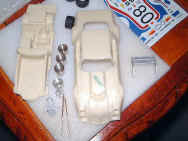
The photo shows most of the component parts and the flash can be seen around the windscreen aperture. The flash was slightly more than one would find on other manufacturers kits and required a little more effort in its removal.
The instructions were very limited being in the form of a small sheet showing only two aspects of the finished model with no text whatsoever.
|
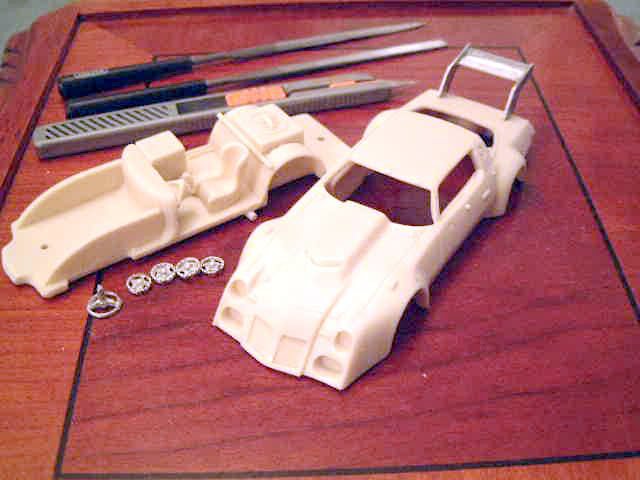
Kit preparation
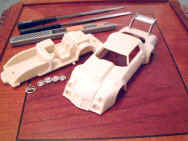
The next photograph shows the resin parts after the removal of the resin flash. I had to use a modeling knife on some of the flash as it was in some areas very tough, as well as the needle files I would normally use. (I would say that this type of file was essential throughout the production of any resin kit).
|
|
Also in view are the filed white metal parts such as the wheel inserts and steering wheel. The rear spoiler has also been attached as this is going to be white along with the body, I have attached the spoiler with super glue which I use wherever I can. Some people find super glue a little 'brittle' but I think that it is very convenient as it is quick to set and the paint applied after gluing usually shores up the strength to the desired level.
|
Body Painting
When I first started modeling I used to dread the paint spraying process because of the mistakes I used to make, even if the rectification of these faults was easy, but I think I am well on the way to the knack now.
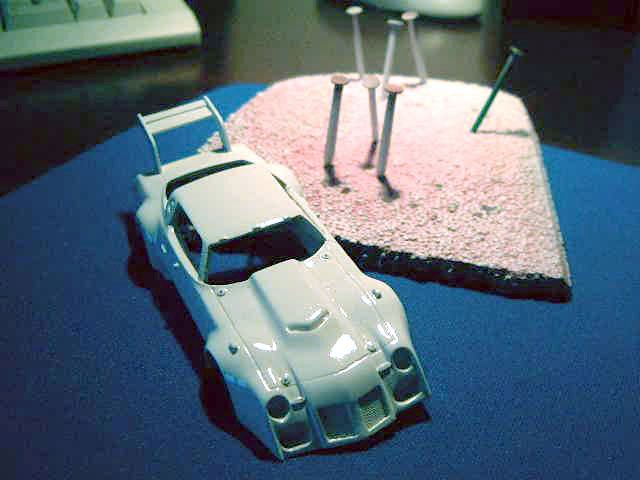
The photo shows my paint stand which is polystyrene with nails placed in it to take the inside of the model and raise it from the ground.
|
|
I will say I have now updated my stand method to allow paint access to inside the body at the same time. I painted the Camaro kit with a spray can of Halfords Ford Diamond White. I kept the body in a warm area prior to paint and warmed the spray can by standing it in a bath of warm water to soften the paint. After spraying the model was then stood in a warm room again under a low shelf so no dust could get into the paint prior to setting.
On this particular model I used a clear lacquer spray to 'gloss up' the white a little but I would advise against this on earlier models as the paints of yesteryear were sometimes far from glossy.
You won't be able to see from this photograph but there was a fault in the paint on the rear wheel arch but fortunately was to be covered by a large decal so stripping in this case was avoided.
|
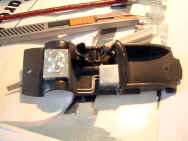
Chassis detailing
The next photo shows some of the detail painting of the chassis and some chrome work were I have used 'bare metal foil' which is an adhesive backed foil which is cut to size and smoothed down to create a chrome effect.
This foil can even be used on chrome stripes on bodywork with a little practice and gives a much better result than paint ever could.
|
|
It is simply cut to size, positioned and smoothed or 'peened' down to fit and then can be finally trimmed with a very sharp knife.
Detail painting
Before I start the detailed painting I study the model photographs supplied or from reference books I have and then I list each colour and the detailing required for that colour so as to avoid repeatedly having to open the same pot of paint several times. I use very fine brushes to apply the Humbrol or Revel paints. I also use clear red and clear orange Tamiya paint on top of silver to give the indicators and brake lights a realistic look. You can see the painting list in the photograph. The Camaro kit was fairly easy to detail paint with nothing to tricky or difficult to access.
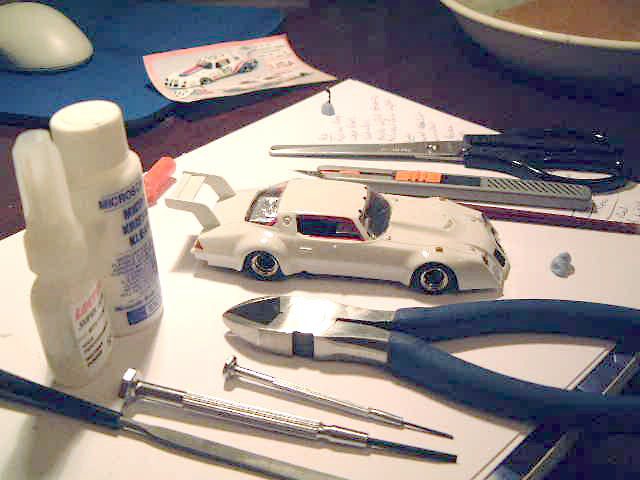
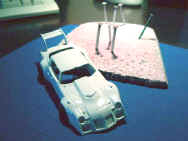
Final assembly
This photograph shows the finished model prior to the application of the decals, with the wheels and axles fitted, the chassis screwed on and the 'glass work' in place. The glass work is not my favorite part of any model as it can be somewhat difficult at times. The Camaro kit was however one of the easier kits to fit the glass and light lenses to. I used as always Microsol Kristal Klear which dries clear. In the background of the photo can be seen the 'instruction sheet' and also some Blutac which I use to hold small parts while I detail paint them.
Decal fit.
Finally the model is ready to fit the decals. To do this I have used a sponge in a dish of warm water so the decals do not float around prior to their use but do still absorb the water through the sponge. I cut all of the larger decals from the sheet but leave the smaller ones which I pick up on the end of a paint brush and position.
The Camaro decals were trickier than usual mainly due to the rear wheel arch decals, which could have been separated to make things easier and I did use an awful lot of decal softener to get the desired effect.
Summary
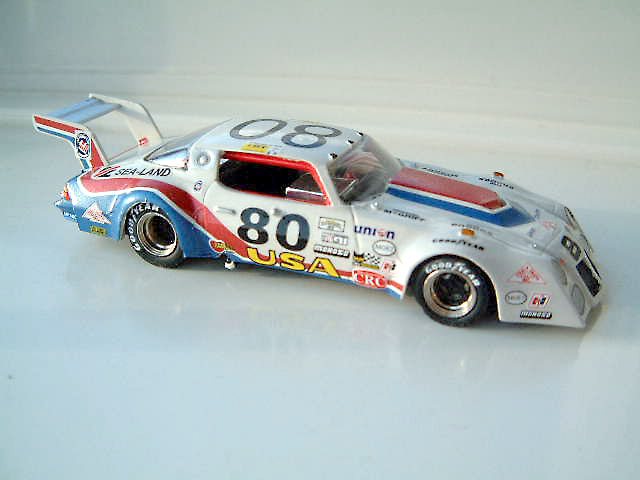
The final result was good and now sits with my other models in one of my display cabinets. I felt that the model was good value for money and posed no major problems in its production. The only criticisms would be that there was too much flash on the body, the rear wheel arch decals difficult to apply and the instructions needed to show much more detail or further views.
|