|
1/43rd Kit made by P. Moulage
|
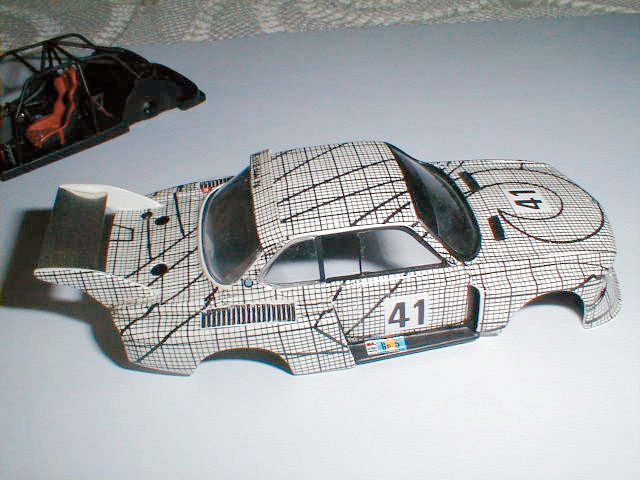
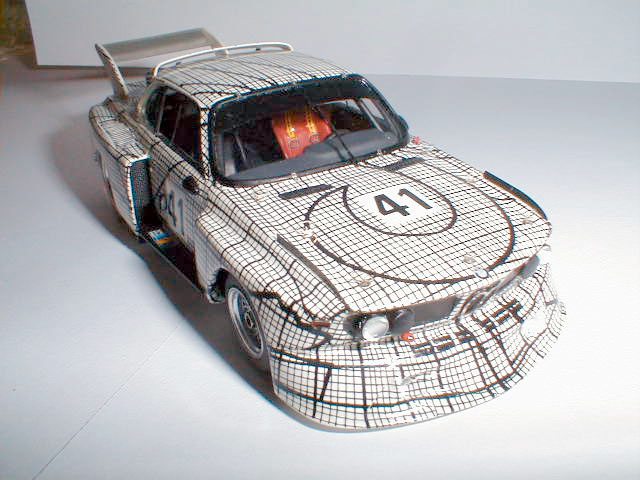
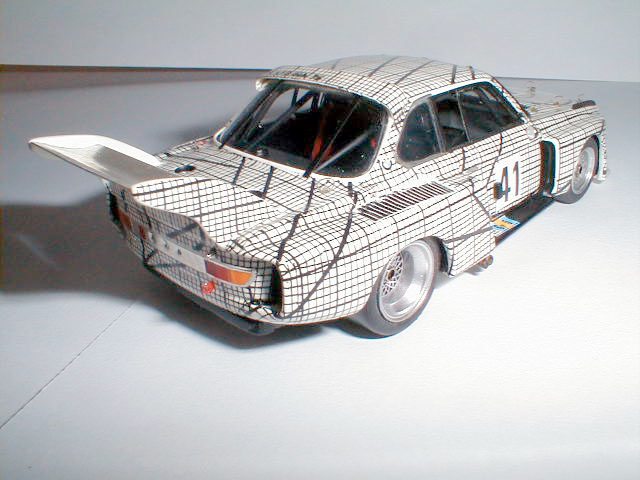
This is one of the art cars that raced at the Le Mans 24 hours.
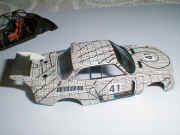
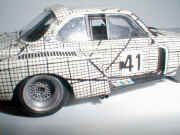
This bizarre but very pretty decoration, was created by American artist Frank Stella, on a BMW 3.5 CSL TURBO, not a 3.0 CSL as it shows on the kit's instruction sheet.
Entered by BMW Motorsport, in the 1976 event, It was driven by American Peter Greg and Englishman Brian Redman. It was BMW's attempt to fight back against the already dominant Martini Porsche 935. It retired on the 4th hour due to an oil leak.
|
Building the "Milimetric"
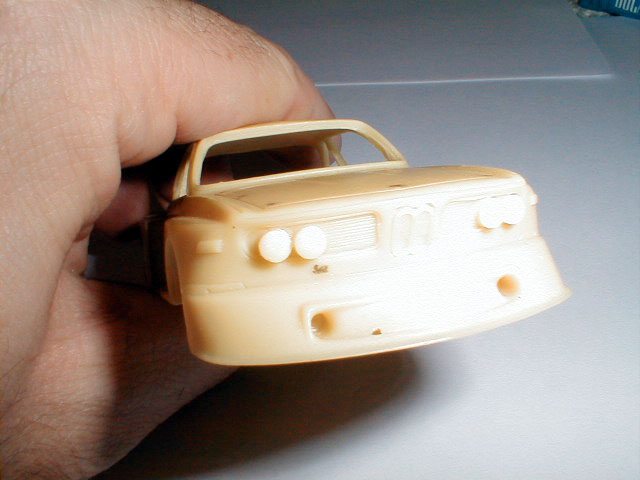
This kit is an excellent reproduction of that famous car, although it needs some minor (but important) changes and a few corrections.
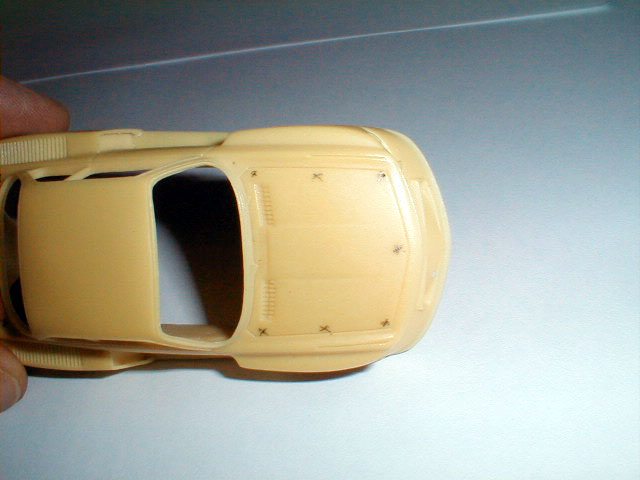
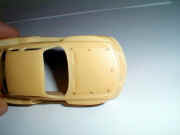
Before painting the body, as it shows on the instructions, 6 holes (0.5mm) have to be made on the front bonnet, to fit the bonnet clips. You have to drill a 7th hole, just behind the BMW badge
The kit's bonnet clips are not the finest. I used those from Rennaissance's BMW 320i GR5 Lichenstein le mans 1977. Regarding the boot lid, just follow the instructions.
|
|
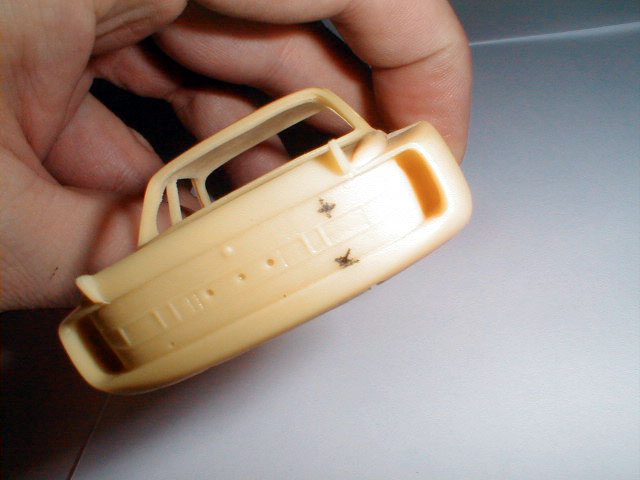
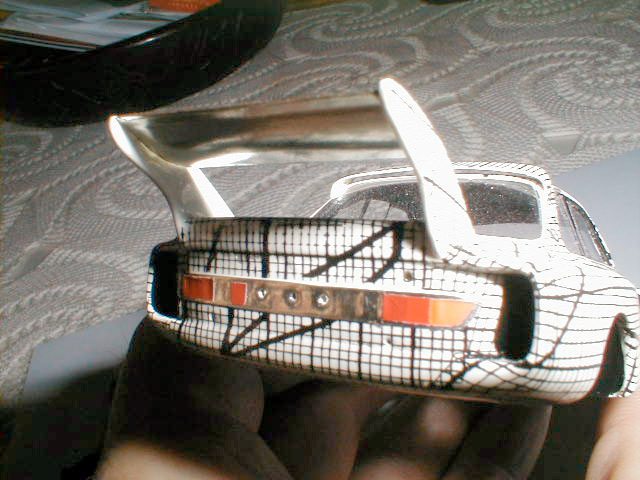
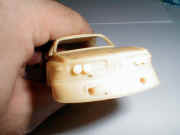
Talk of the devil (the boot lid), there's an oil filler cap missing. A third hole (2.5mm) must be drilled.
Due to the decal's big surface, I advise everyone to take out the rear view mirrors, otherwise, when it comes to place the decals on the doors, it will be a nightmare. A 1.0mm hole, so you know the right place to put it, will do the job.
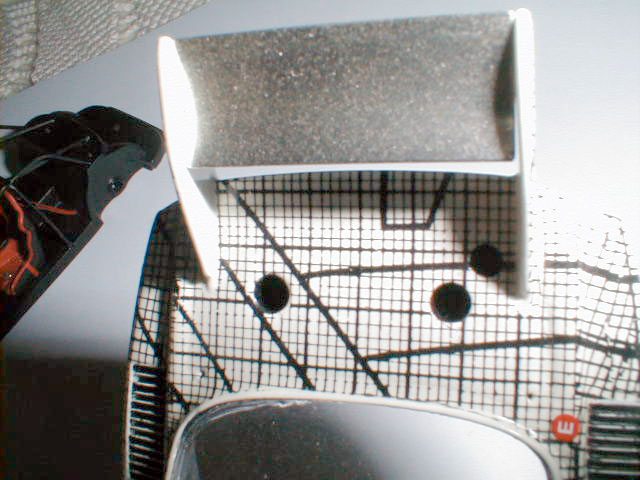
In my kit, I also made a new roof deflector, on metal. That deflector must be painted separately.
|

|

|
|
6 holes (0.5mm) have to be made on the front bonnet
|
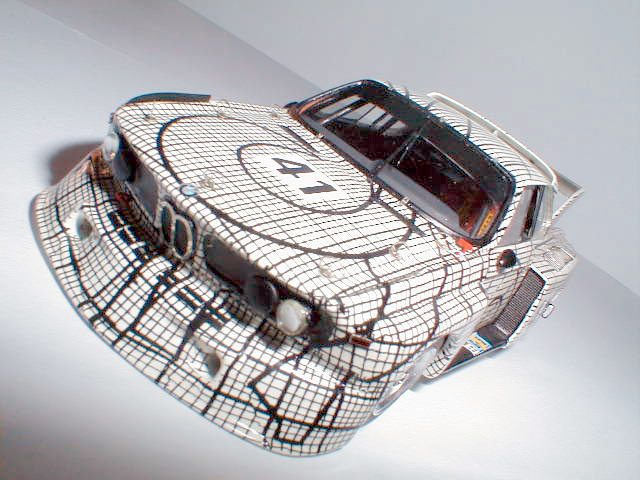
Holes makes in the rear
|
A third hole (2.5mm) must be drilled
|
|
|
|
|
|
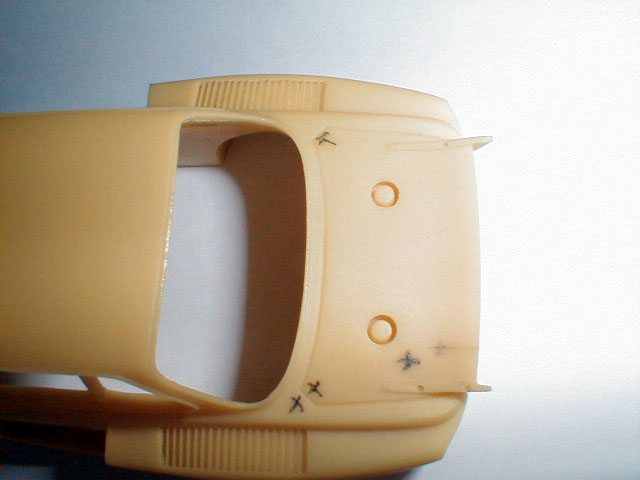
Hole make in the nose
|
|
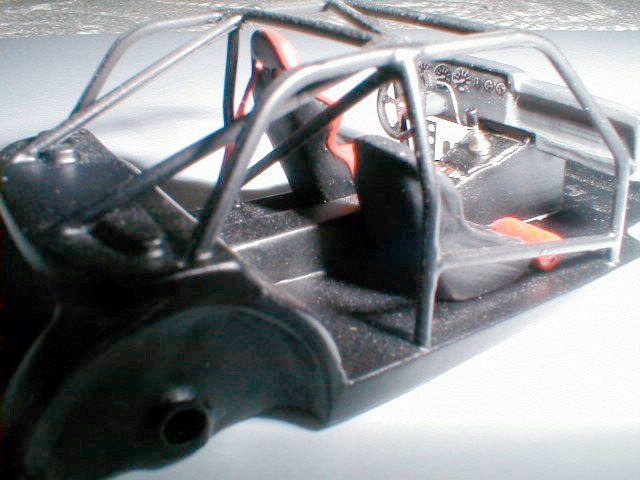
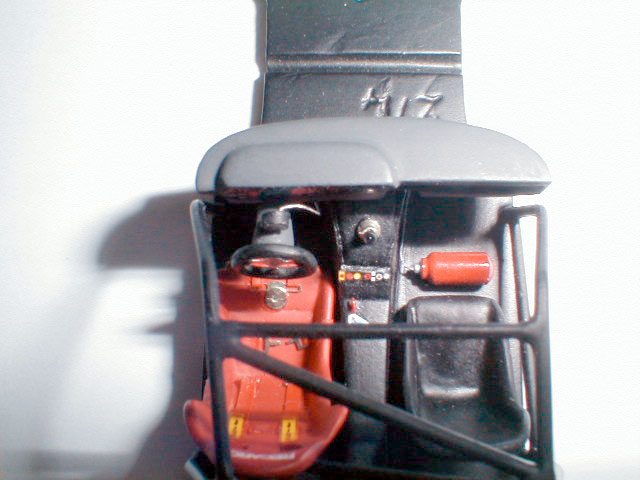
Lets move on to the inside cockpit...
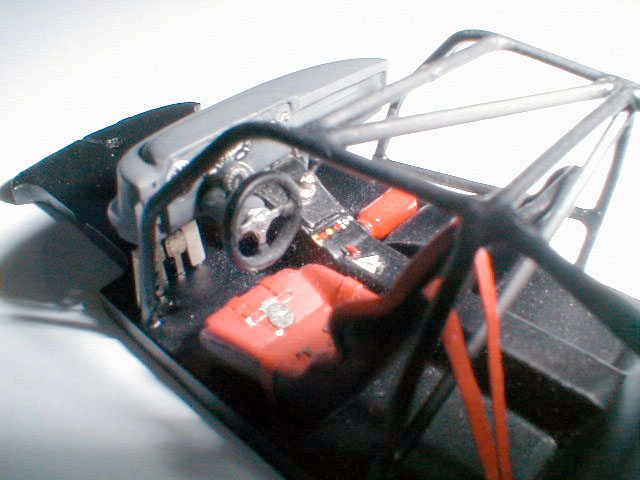
The rollcage, as the entire cockpit is painted in matt black. I took both seats out and replace them with resin copies, made by myself (any legal problems with copyrights ????). It allows you to put safety belts instead of painting those that are molded to the original driving seat. Safety belts are red. The seat is red only at the front. The rest of it is matt black. The "passenger's" seat is also black.
The model has a very poor fire extinguisher molded on the floor. It's very big. Replace it, and paint it in gloss red.
The dashboard and the steering column are both dark Grey. Over the steering column, there's a big rev counter.
The steering wheel must also be replaced. A nice gearshift is in order, too.
The rollcage must be made from square one, but it's not that hard. Actually, it took me less than 30 minutes to built it all. Use the plastic parts included in the model.
After painting...
After painting the body (gloss white), we must check some important details:
 The windscreen rubber seal is matt black only. The windscreen rubber seal is matt black only.
The doors windows rubber seal are also matt black
The rear windows surround behind the doors is chrome (apply bare metal foil)
The back window rubber seal is gloss white
|
Decaling, did you say?
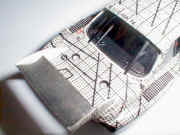
The most demanding stage is yet to come: to lay the millimetric decals
You have to follow a certain sequence, otherwise you will get yourself in trouble. And let's not forget the decal softener. Without it ......... A lot of 4 letter words will cross your mind (not in front of ladies), but believe me, it is worth the effort and the 4 .........
|
|
The best sequence is (in my modest opinion):
The front spoiler followed by the bonnet. Then you will cover up the roof to finish this first stage in the boot lid.
Let pass a day or so between stages, to allow the decals to be well settled.
The second stage starts with booth doors, moving down to the front wings. Be careful with the air bubbles that might occur during the process. End of stage two.
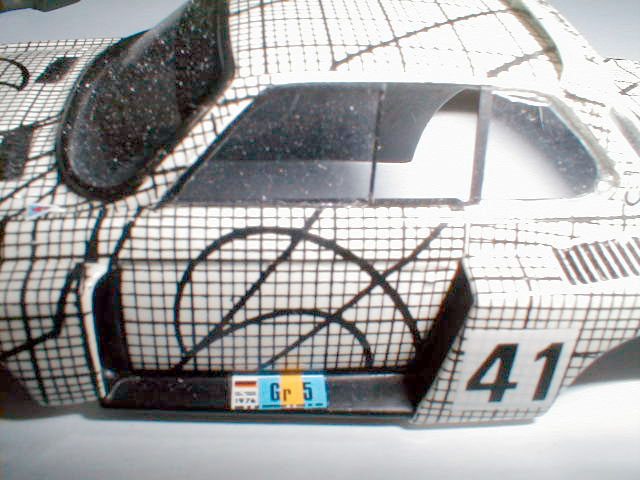
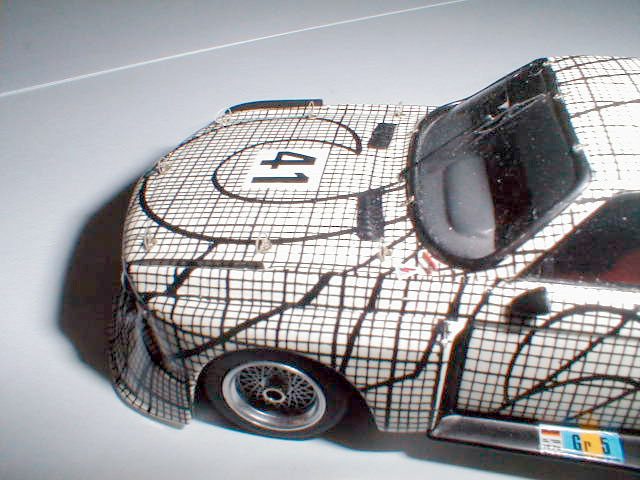
The third stage will move up to both rear wings. Play some attention to the millimetric liaisons when you're moving to different sections. This stage is also finish.
Next 'millimetric' stage will embrace the car's tail and the rear wing supporters. Now we have the body covered. End of stage 4 (no, I did not forget the roof's deflector).
|
There are two ways to reach the 'finish line': the easy way and the perilous way; the former, will be just to 'follow on' the instructions; the latter consists to avoid the 'follow on' (the cricket connoisseurs will understand this one) by taking a small venture: spraying the body with Clear cote (Tamiya TS13 or Motip 4008). Well, I did avoid the 'follow on'......two weeks after finish stage 4.The reason why I did it is simple: when you use the decal softener (believe me, you can't avoid it), on those decals made by Virages, they loose some of their brightness. It also allows you to handle the model without causing any damage to the 'millimetric' decals.
|
|
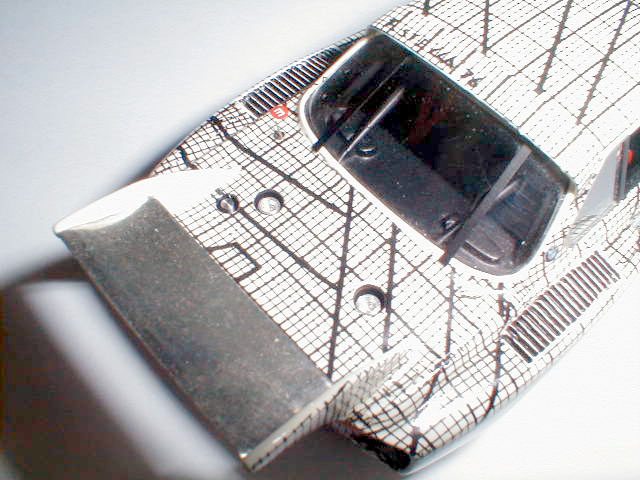
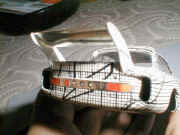
The roof's deflector
Now, the roof's deflector: I glued it before laying its decal. That's the easiest way to assure a correct placing of the millimetric decal.
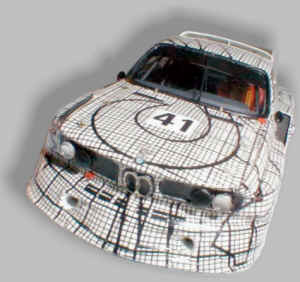
The rest of the decals don't have too much history. Use photographs from the real car to place them correctly.
|
|
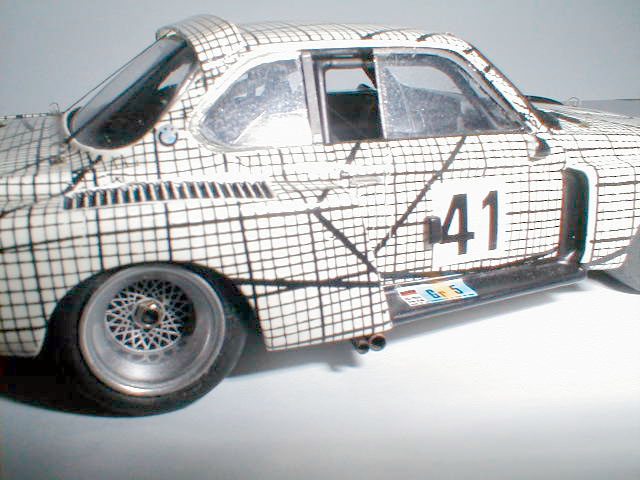
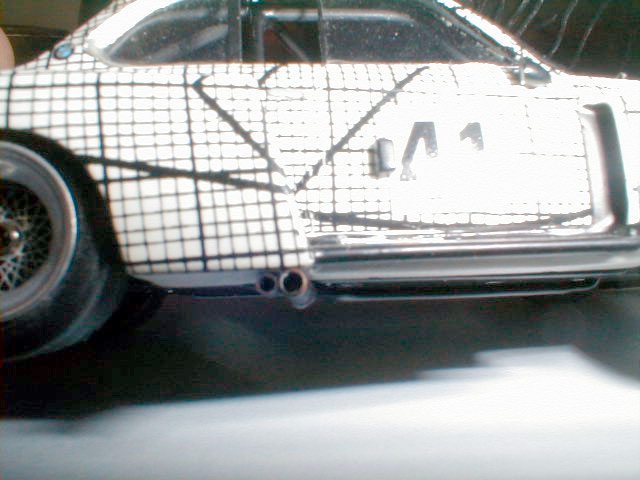
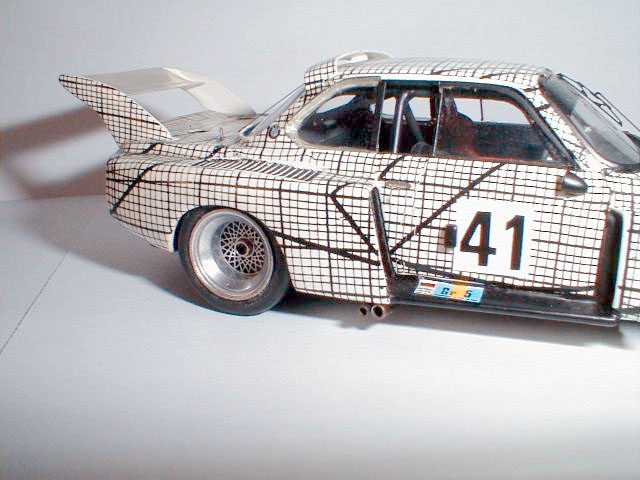
And we are approaching the checkered flag. The rear wheels must be replaced by BBS 19'', just like those used in the same year by the #40 Martini Porsche 935. (I managed to find a couple, from a Starter 935 Porsche, on my 'junkyard'). Use the kit's wheel insert, after spraying it with Tamiya TS-17. The inserts, in the real car, where painted, not polished.
Using Starter's wheel nuts will complete the job.
Conclusion
The exhaust pipes are placed under the right rear wing, just behind the sills. They have different diameters; one is the exhaust tube, the smaller is the turbo 'wastegate'. Lets not forget the rear view mirrors (placed symmetrically) and also the number's light (painted in matt black).
The photoeached part F is not used on this car. Place A, C and D parts and just cross the finish line.
Another model will come soon.
|