|
|||||||||
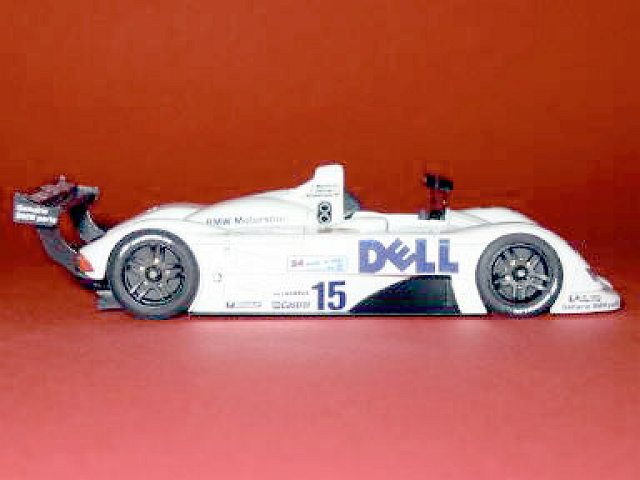
The 1999 winner of Le Mans was the BMW V12 LMR. This car was capable of 580 bhp at 6500 rpm and averaged a speed of 207 km/h during the race. The engine was a 5990 cc DOHC 48 Valve V-12 with aluminum heads and block. Front brakes were 12.5-inch vented cross-drilled discs with 11.8-inch discs in the rear. I think that pretty much summarizes the technical aspects of the car, so let's get to the really important stuff, the model!
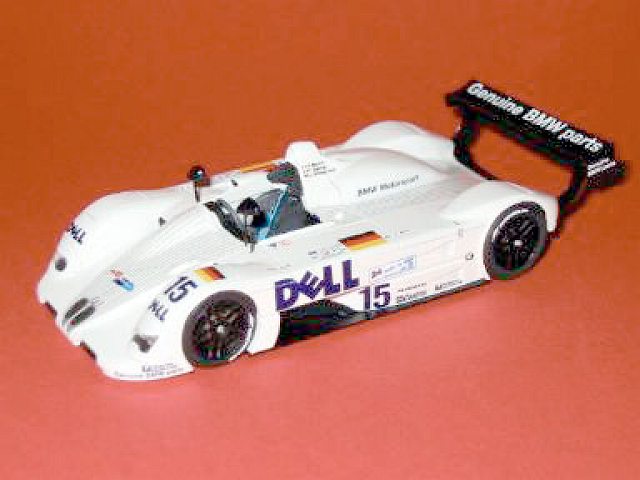
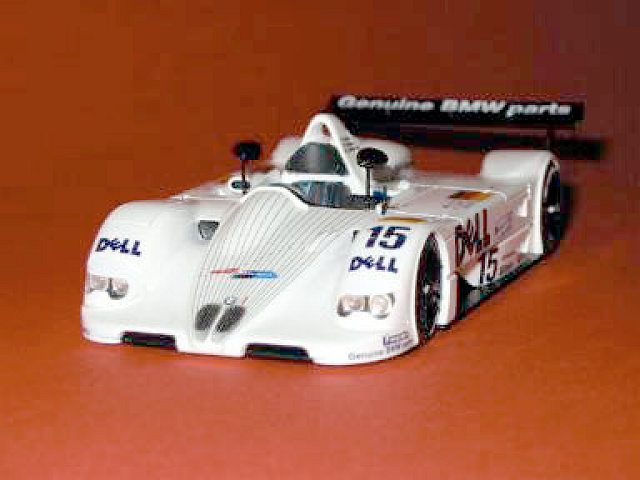
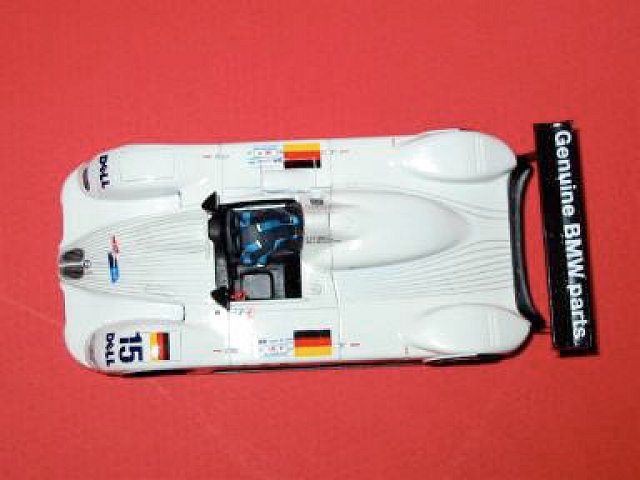
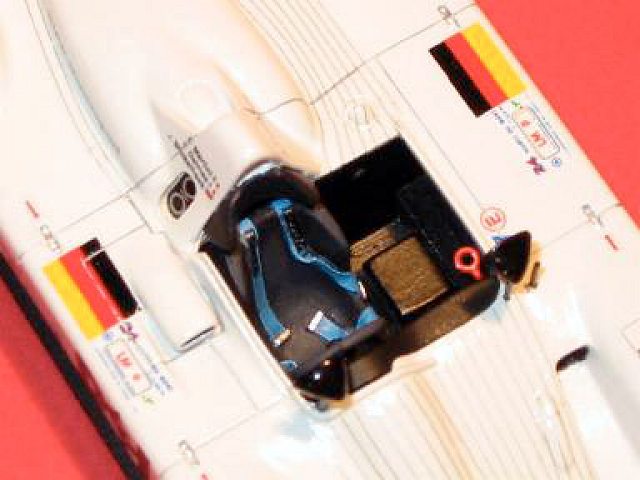
I used putty called Squadron Green Stuff that I had lying around the workbench. It's normally used with polystyrene model kits but I thought I would give it a shot. It worked well with a lot of puttying, sanding, and priming, not necessarily in that order. I do not recommend this procedure if you are new to modeling. This boring process may take away some of your interest in the model and you may not finish it. It's better to replace the damaged part. If you are experienced, the proper preparation will be worth the endeavor and make all the difference in your application of the final paint finish. I also drilled out the area in the body roll bar above the drivers seat. Building The kit went together very easily. The rear wing is a combination of photo-etch and resin parts. The chassis and cockpit are molded as one piece. I found the experience to be more of a painting exercise than anything else. Painting can be very trying for those who are not patient. Since I was building this kit box stock, I wanted to try to bring out the life in the cockpit through painting. I did this by painting the base colors with enamels, applying varying degrees of black to give all the components in the cockpit some contrast. Washes and dry brushing were used to give the area some depth. The wash was applied after I sealed the base colors, followed by dry brushing.
The body was painted with enamels. I know… they take too long to dry, etc. They worked fine for me, were easy to use, and went on with the airbrush with no problem. The decals were simple to apply because there were not that many of them. You might have some difficulty in applying the stripes decal that goes over the front body of the car if you do not use a setting solution or solvent. There are at least two complex curves the decals need to negotiate. Remember to cut through decals that cover panel lines. I coated the model with clear lacquer (made for enamels) after the decals were dry and the residue cleaned off. I do this because lots of fingers, large or small, seem to always find their way to the model! Conclusion I found the model enjoyable to build except for the molding flaw I repaired. Now that I have been through that experience, I will return all future parts or kits that have serious defects. I can't repair everything, and I don't want to waste any more time with those problems than I have to. Before I forget, try using Bare Metal Foil for mirror surfaces. It sure looks convincing and usually beats your best effort at painting a mirror surface.
|